
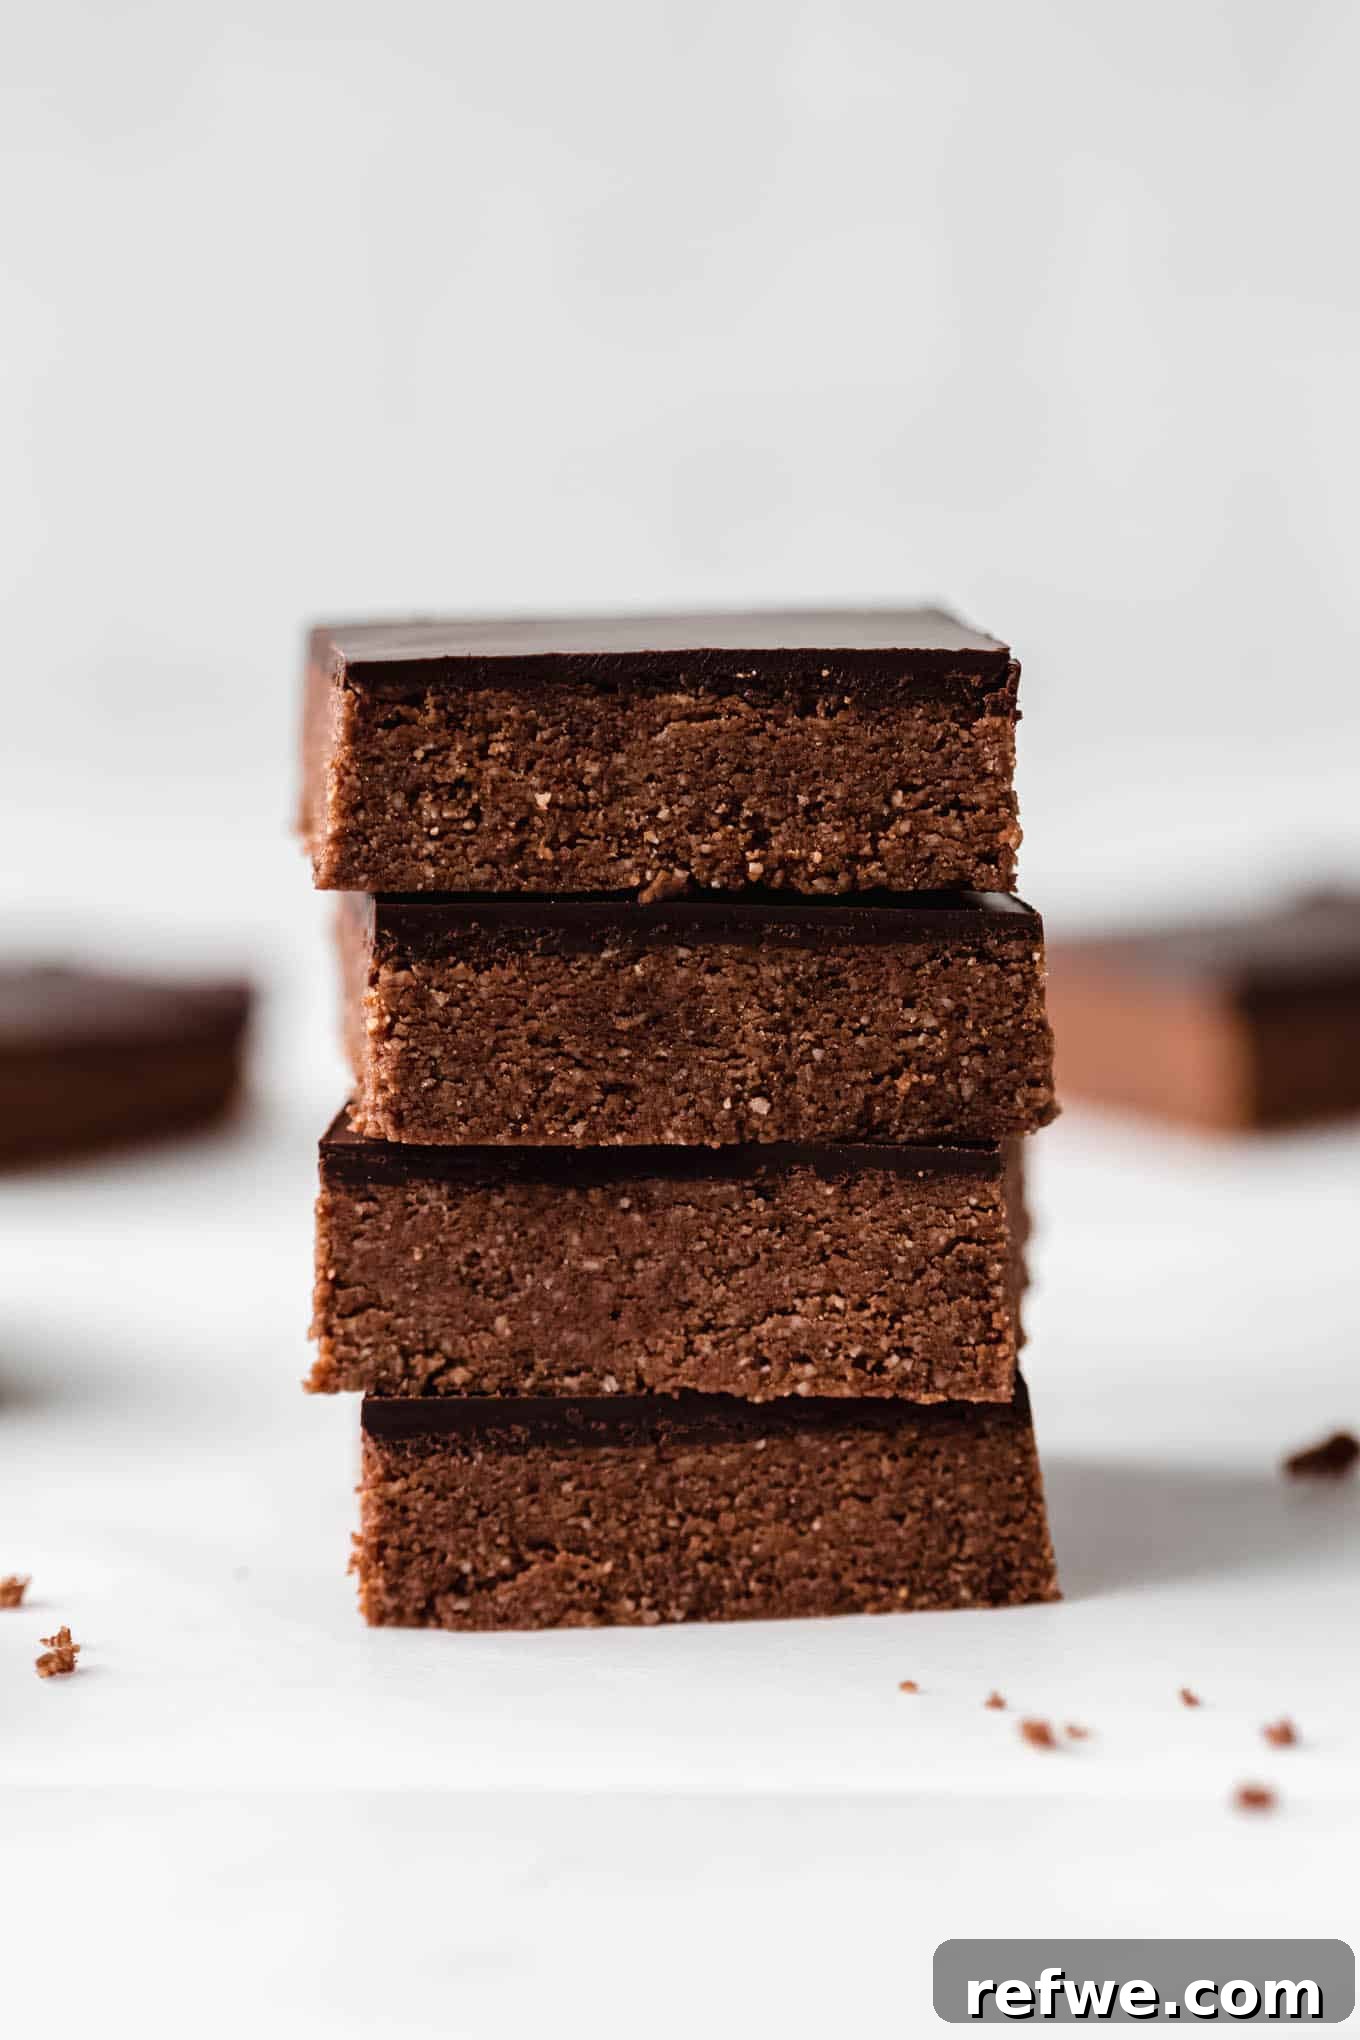
Tired of expensive, sugar-laden store-bought protein bars? It’s time to take control of your snacks and create your own delicious, nutritious treats right at home! Our **No-Bake Chocolate Protein Bars** are an absolute game-changer. These incredible bars come together in just 15 minutes and each one delivers a satisfying 10 grams of protein, making them the perfect fuel for your busy day. Say goodbye to unpronounceable ingredients and hello to wholesome, homemade goodness!
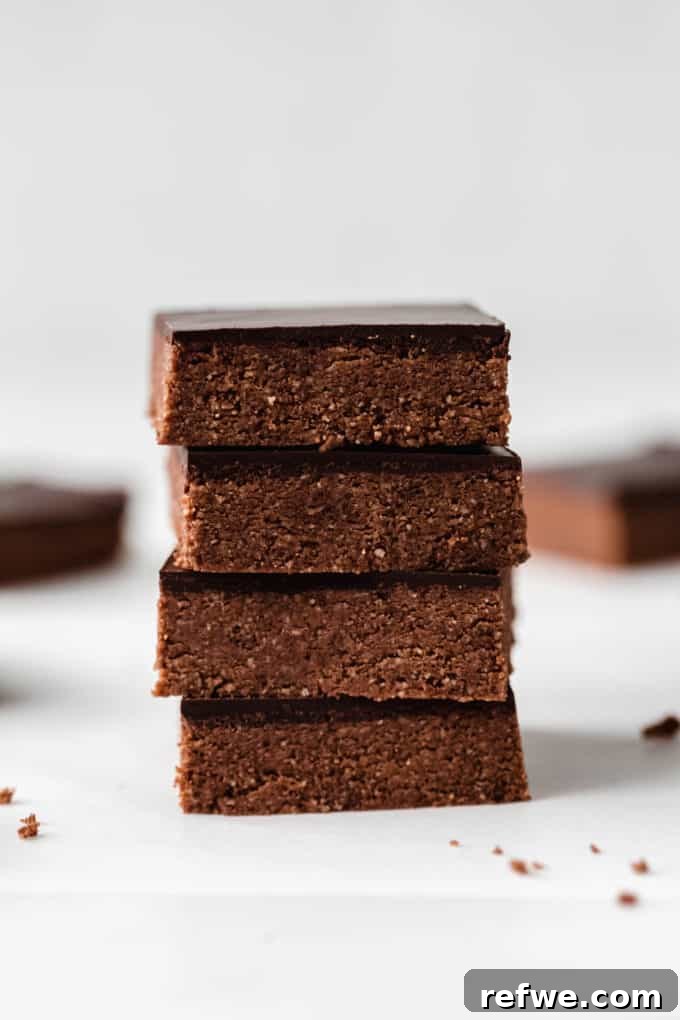
Crafting the Perfect Homemade Protein Bars
In our fast-paced lives, finding convenient yet healthy snack options can be a challenge. That’s where homemade protein bars shine! Protein is a vital macronutrient, essential not only for building and repairing muscles and maintaining strong bones but also for keeping us feeling full, satisfied, and energized throughout the day. While many of us strive to incorporate more protein into our diets, commercial protein bars often fall short, packed with excessive sugars, artificial additives, and unfamiliar ingredients that can undermine your health goals.
This is precisely why these **No-Bake Chocolate Protein Bars** are such a fantastic solution. Each bar boasts an impressive **10 grams of protein** and 3.5 grams of dietary fiber. This powerful combination works synergistically to curb hunger cravings and sustain your energy levels, preventing those mid-afternoon slumps. Unlike many store-bought alternatives that hide inflammatory oils and refined sugars, our recipe uses only wholesome, natural ingredients you can easily recognize and trust. While they share the irresistible chewiness of my popular Peanut Butter Protein Bars, this chocolate rendition brings a rich, decadent cocoa flavor that chocolate lovers will adore.
By opting for homemade, you gain complete control over the quality and quantity of every ingredient. This means you can tailor the sweetness, choose your preferred protein source, and avoid common allergens or unwanted additives, making them a superior and healthier choice for your body and your budget.
Why You’ll Fall in Love with This Chocolate Protein Bar Recipe
- Lightning Fast Preparation: Imagine crafting a batch of healthy, homemade snacks in less time than it takes to drive to the store! These chocolate protein bars require only **15 minutes of active preparation**. This makes them an ideal choice for meal prepping on busy Sundays or whipping up a quick snack on a weeknight.
- Minimal Equipment, Maximum Simplicity: Forget about pulling out stand mixers, food processors, or other specialized kitchen gadgets. This recipe is designed for ultimate simplicity. All you’ll need are a couple of mixing bowls, a sturdy spoon or spatula, and a pan to set your bars. It’s a truly accessible recipe for any home cook, regardless of their kitchen arsenal.
- Diet-Friendly and Highly Adaptable: One of the greatest advantages of these bars is their versatility to accommodate various dietary needs. They are naturally **gluten-free and grain-free**, making them safe for those with sensitivities. They are also completely **vegan and refined sugar-free**, using maple syrup as a natural sweetener. For those following a ketogenic diet, simple substitutions like sugar-free syrup and keto-friendly chocolate can easily transform this recipe to fit your macros.
- Your Freezer’s New Best Friend: Batch cooking just got easier! These protein bars are incredibly freezer-friendly. You can store them in an airtight container in your freezer for up to three months. The best part? They can be enjoyed straight out of the freezer, offering a refreshing and satisfying snack whenever a craving strikes, or simply thawed for a few minutes.
Essential Ingredients for Your Homemade Protein Bars
Crafting the perfect no-bake protein bar starts with selecting high-quality ingredients. Each component plays a crucial role in both the flavor and nutritional profile of these delicious chocolate bars.
- Almond Flour: This forms the foundational base of our bars. Almond flour is celebrated for its low-carb, gluten-free, and grain-free properties, making it an excellent alternative to traditional flours. It also contributes a subtle nutty flavor and a good amount of healthy fats and protein. Ensure you use finely ground almond flour, not almond meal, for the smoothest texture. If almond flour isn’t available, oat flour can be a suitable substitute, though it will alter the grain-free aspect.
- Protein Powder: The key ingredient for a protein punch! For optimal flavor and texture, I recommend using an unflavored or vanilla-flavored protein powder. This allows the rich chocolate to truly shine without competing flavors. When choosing a protein powder, consider your dietary needs: whey for dairy, or pea, rice, or hemp protein for a plant-based option. If you prefer to skip protein powder, you can increase the almond flour quantity by an additional 1/2 cup to maintain the bar’s consistency. Explore other ways to use protein powder in recipes like Protein Overnight Oats or Fluffy Protein Pancakes.
- Cocoa Powder: This is where the magic happens for our chocolate flavor! Opt for a high-quality unsweetened cocoa powder for the best depth of flavor. Natural cocoa powder offers a robust, slightly bitter chocolate taste, while Dutch-processed cocoa is milder and darker. Both work well, but quality makes a difference. Cocoa powder isn’t just for flavor; it’s also rich in antioxidants, contributing to the overall health benefits of these bars. It’s also fantastic in recipes like Chocolate Overnight Oats.
- Salt: A small pinch of salt is a secret weapon in chocolate recipes! It doesn’t just add salinity; it actively enhances and intensifies the chocolate flavor, making it taste richer and more complex. For an extra touch of gourmet appeal and a delightful sweet-and-salty contrast, consider sprinkling a bit of flaky sea salt, like Maldon, over the finished chocolate topping before it sets.
- Almond Butter: For this recipe, a natural, runny almond butter that drizzles easily from a spoon works best to bind the ingredients together smoothly. If your almond butter is thick, you might need to warm it slightly. You can easily substitute almond butter with other creamy nut or seed butters such as peanut butter, cashew butter, or even sunflower seed butter for a nut-free option. Be aware that different butters will impart their unique flavor and may slightly alter the texture.
- Maple Syrup: Our chosen natural sweetener, maple syrup, not only provides a lovely sweetness but also acts as a crucial liquid binder, ensuring the bars hold their shape without baking. Ensure you use pure maple syrup, not pancake syrup which is often high in corn syrup. Other liquid sweeteners like agave nectar or brown rice syrup can also be used, but avoid granulated sugars as they won’t provide the necessary binding.
- Vanilla Extract: Just a teaspoon of good quality vanilla extract elevates the overall flavor profile of these bars. Vanilla has a remarkable ability to deepen and round out chocolate notes, making the final product taste even more indulgent and complex.
- Dark Chocolate: This ingredient is reserved for our optional, yet highly recommended, luxurious chocolate topping. I suggest using a 70% dark chocolate bar for a rich, bittersweet layer that perfectly complements the bar’s interior. Dark chocolate is also known for its health benefits, including antioxidants. While optional, this topping takes these protein bars from great to absolutely irresistible!
- Coconut Oil: Added to the dark chocolate for the topping, a small amount of refined coconut oil helps the chocolate melt smoothly and ensures it sets with a firm yet easily sliceable texture. This prevents the chocolate from cracking when you cut into the bars. Refined coconut oil has a neutral flavor, so it won’t impart a coconut taste, but unrefined (virgin) coconut oil can be used if you enjoy the flavor.
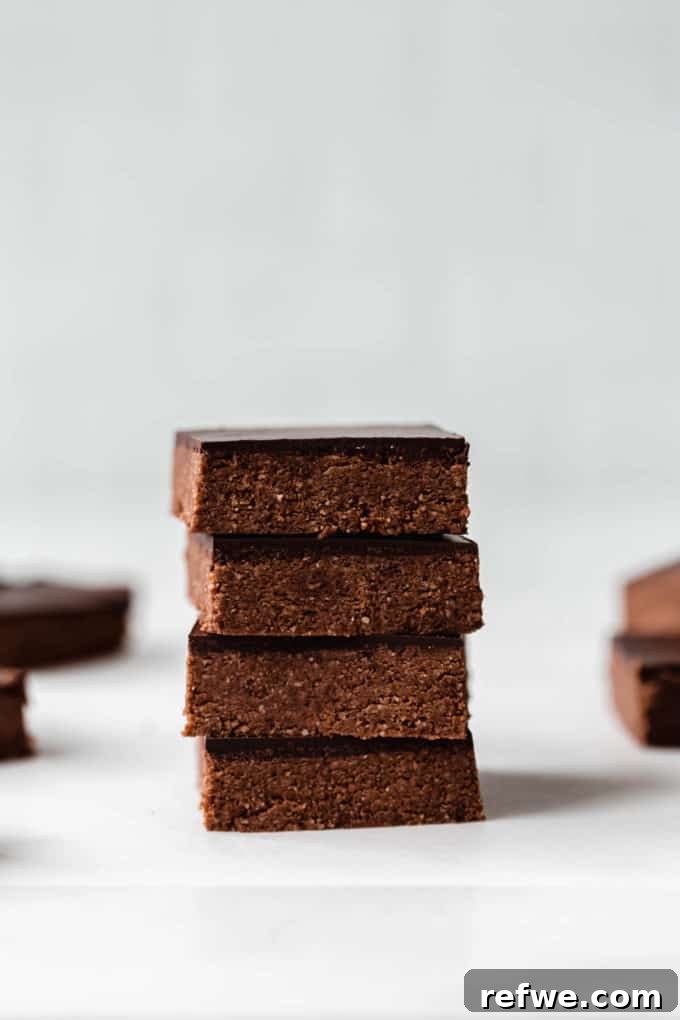
Step-by-Step Guide: How to Make No-Bake Chocolate Protein Bars
Making these delicious protein bars is incredibly simple and requires no baking! Just follow these straightforward steps to create your perfect healthy snack.
Step 1: Combine Dry and Wet Ingredients Separately
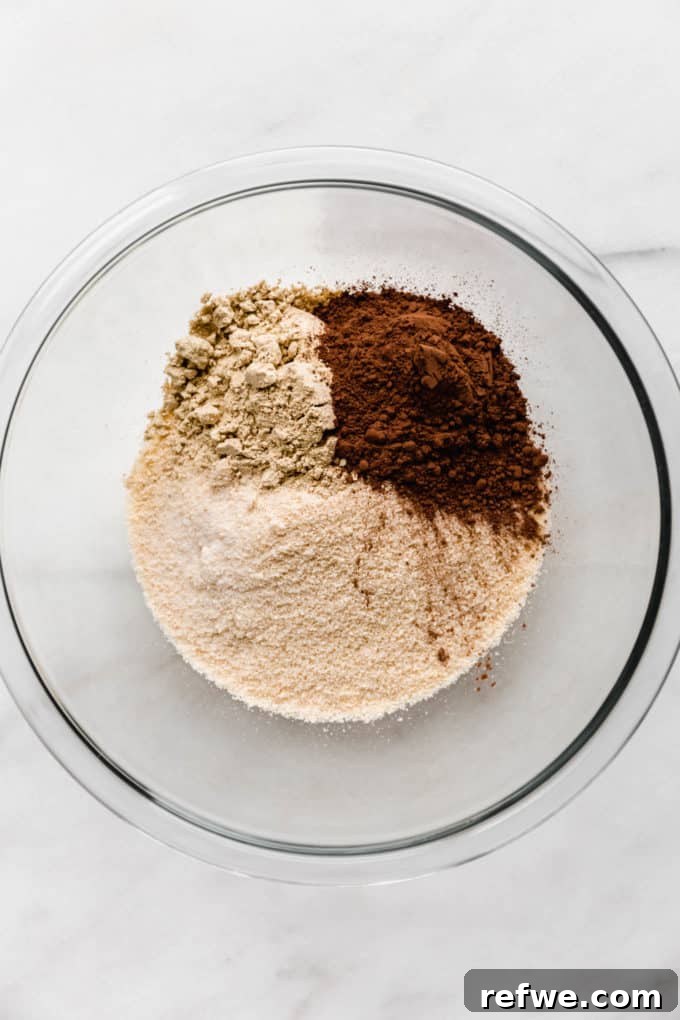
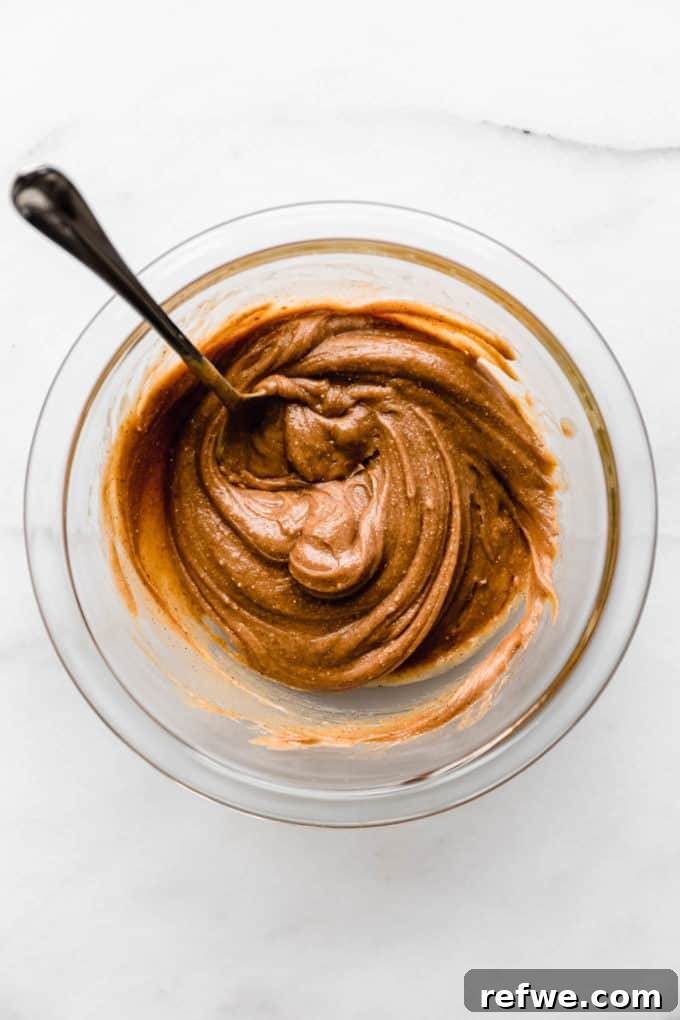
Begin by taking a large mixing bowl and adding your dry ingredients: the almond flour, protein powder, cocoa powder, and a pinch of salt. Whisk them together thoroughly until they are well combined and there are no clumps. In a separate, medium-sized mixing bowl, combine your wet ingredients: the natural runny almond butter, maple syrup, and vanilla extract. Stir these together until they form a smooth, uniform mixture.
Step 2: Form the Protein Bar Dough
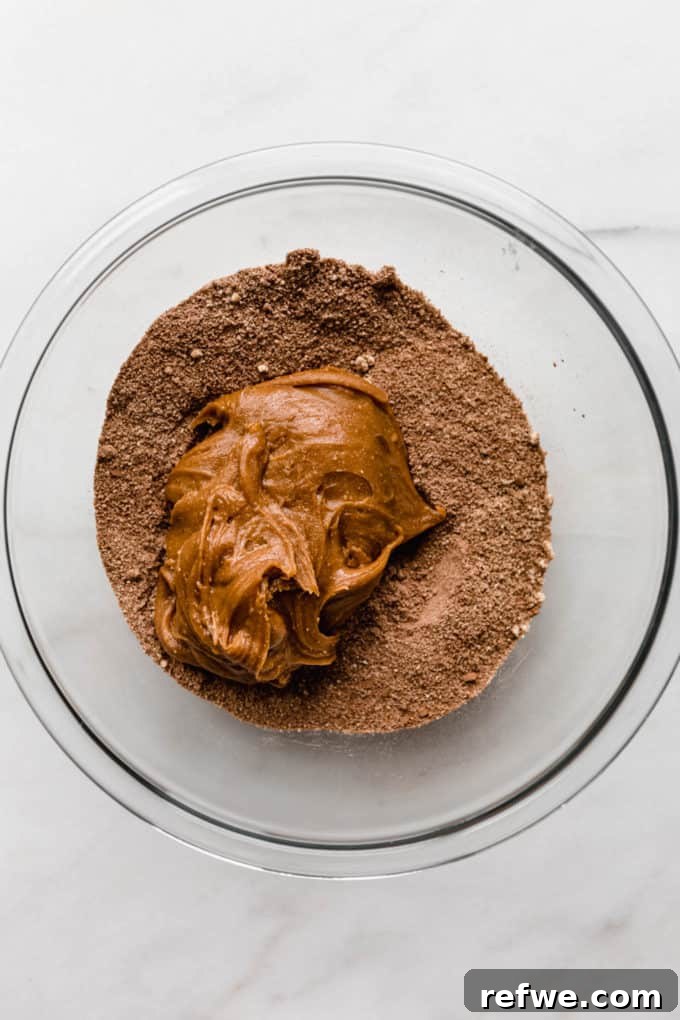
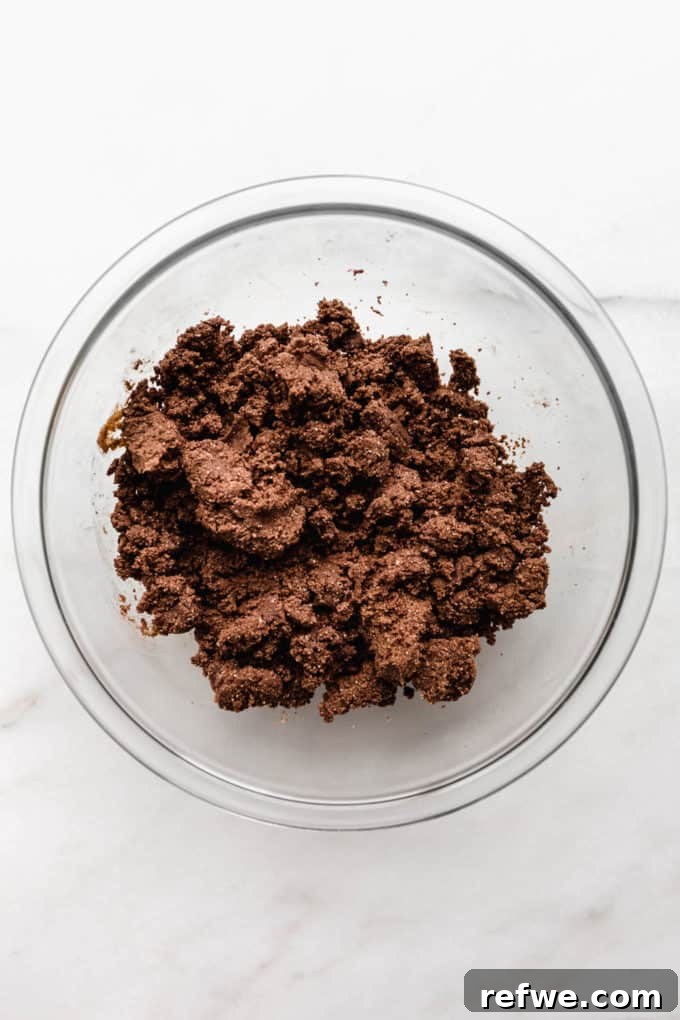
Now, pour the wet ingredient mixture into the bowl containing your dry ingredients. Using a sturdy spoon or spatula, begin mixing until a thick dough starts to form. You’ll notice it transitioning from crumbly to cohesive. Once it becomes too stiff for a spoon, switch to mixing with your hands. This allows you to really work the ingredients together and feel the consistency of the dough. If the dough seems a little too dry or isn’t coming together well, add 1-2 teaspoons of almond milk (or any plant-based milk) at a time, mixing thoroughly after each addition, until the dough is pliable and holds its shape when pressed.
Chef’s Tip: Don’t be afraid to get your hands dirty! Mixing with your hands is the most effective way to ensure all ingredients are evenly incorporated and the dough reaches the perfect consistency.
Step 3: Press, Top, and Chill
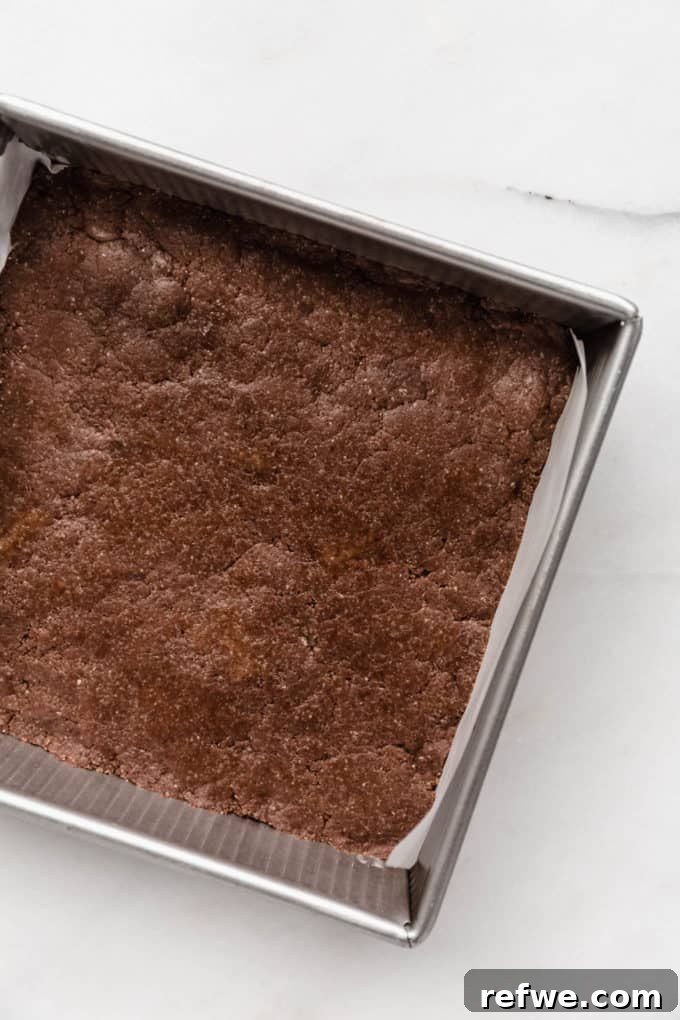
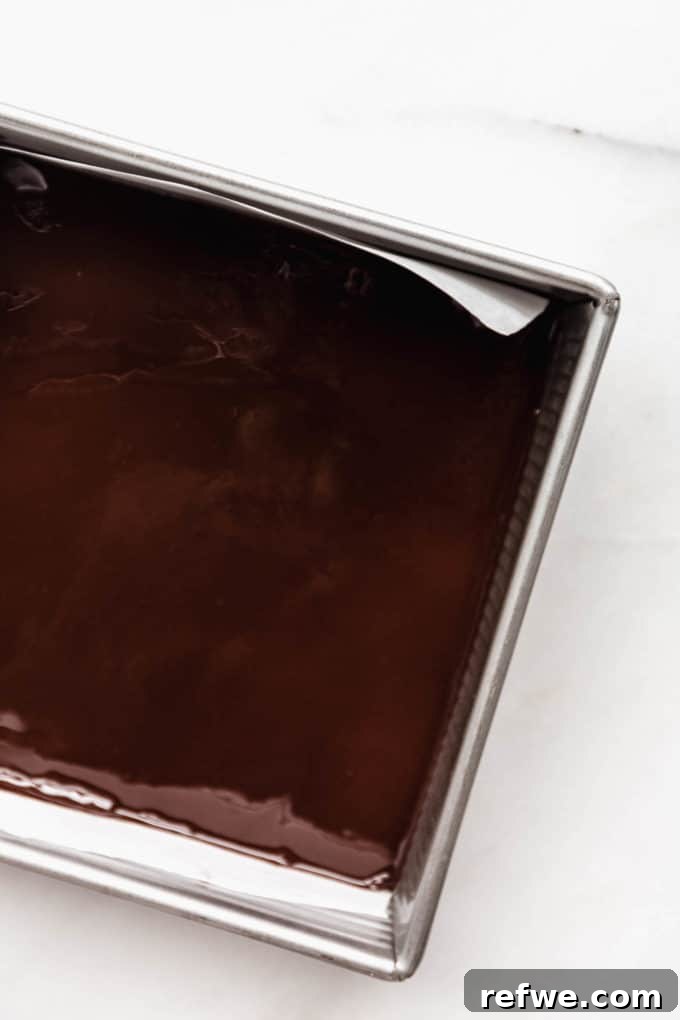
Line an 8×8 inch square baking pan with parchment paper, leaving a slight overhang on the sides to easily lift the bars out later. Transfer the prepared chocolate protein bar dough into the lined pan. Using your hands or the back of a spoon, press the dough firmly and evenly into the pan, ensuring it’s compacted and flat across the entire surface. Next, prepare your decadent chocolate topping. In a microwave-safe bowl, combine the dark chocolate and coconut oil. Microwave in 30-second intervals, stirring well after each, until the chocolate is completely melted and smooth. Alternatively, melt over a double boiler. Pour the melted chocolate evenly over the pressed dough in the pan. Gently tilt and shake the pan to help the chocolate spread to all edges.
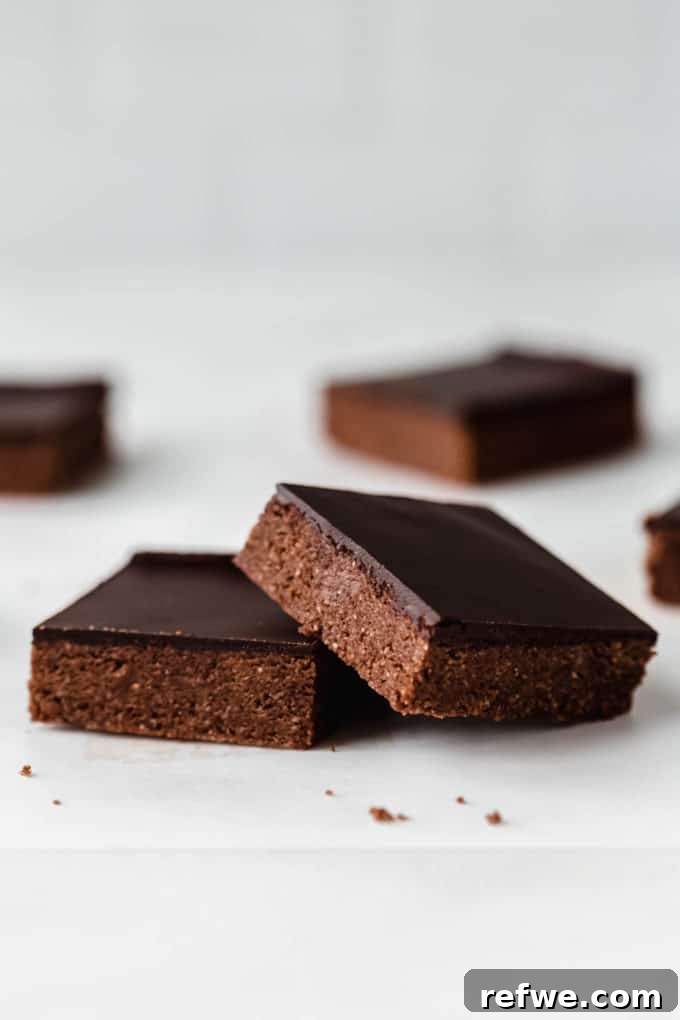
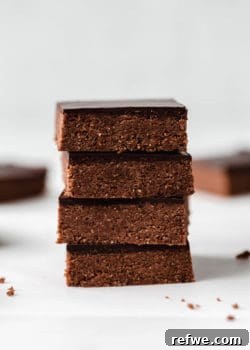
Once topped, transfer the pan to the refrigerator. Allow the bars to chill and set completely for at least 3 hours, or ideally, overnight. This chilling time is crucial for the bars to firm up and for the chocolate topping to harden. Once firm, lift the parchment paper to remove the slab of bars from the pan, then carefully cut them into 15 even-sized bars using a sharp knife. For clean cuts, let the bars sit at room temperature for about 5 minutes before slicing, which helps prevent the chocolate topping from cracking.
Optimal Storage for Your Protein Bars
Proper storage is key to maintaining the freshness, texture, and flavor of your homemade No-Bake Chocolate Protein Bars. Since they contain nut butter and are no-bake, they require refrigeration.
Fridge Storage: These protein bars will stay fresh and delicious when stored in an **airtight container in the refrigerator for up to 2 weeks**. After this period, you might notice they start to become a little drier, though still perfectly safe to eat. Storing them in an airtight container prevents them from absorbing odors from other foods and keeps them from drying out.
Freezer Storage: These bars are exceptionally freezer-friendly, making them perfect for batch preparation! You can transfer the cut bars to a freezer-safe container or a freezer-safe bag, separated by parchment paper to prevent sticking. They can be stored in the **freezer for up to 3 months**. What’s more, these bars are fantastic eaten directly out of the freezer as a firm, chewy, and refreshing treat, especially on a warm day. For a slightly softer texture, simply let them sit at room temperature for 5-10 minutes before enjoying.
Choosing the Best Protein Powder for Your Bars
Navigating the vast array of protein powders on the market can be overwhelming, with options ranging from animal-based to various plant-based sources. The “best” protein powder ultimately depends on your dietary preferences, taste, and how it performs in no-bake recipes.
For these chocolate protein bars, the primary goal is a powder that blends smoothly and doesn’t impart a chalky or overpowering aftertaste. I generally recommend unflavored or vanilla-flavored protein powder. Here’s a breakdown of common types:
- Whey Protein: Derived from milk, whey is a complete protein and tends to mix very well, often contributing a creamy texture. If you consume dairy, a high-quality whey isolate can be a good choice.
- Casein Protein: Also dairy-based, casein is digested slowly. It can make mixtures thicker, so you might need a bit more liquid.
- Pea Protein: A popular plant-based option, pea protein is widely available and typically unflavored varieties blend well. It’s a complete protein and provides a good texture in no-bake applications.
- Brown Rice Protein: Another plant-based alternative, brown rice protein can sometimes have a slightly grainy texture if not finely milled.
- Hemp Protein: Known for its earthy flavor and nutritional benefits (fiber, omega fatty acids), hemp protein can sometimes give a green tint and stronger flavor.
- Blended Plant Proteins: Many brands offer blends (e.g., pea, rice, hemp) designed to offer a complete amino acid profile and often a better texture than single-source plant proteins.
Through extensive testing, I’ve found that the Epic Protein from Sprout Living, particularly their Original (unflavored) version, consistently delivers the smoothest taste and texture in my recipes. It integrates seamlessly without any grittiness or strong flavor, allowing the natural chocolate notes to truly shine. When selecting your protein powder, always check the ingredient list for unnecessary fillers, artificial sweeteners, or gums that can impact flavor and digestibility.
Are Homemade Chocolate Protein Bars Truly Healthy?
This is a crucial question, especially with the abundance of “health” food products on the market. The answer often depends on whether you’re buying them or making them yourself.
Many commercial chocolate protein bars, despite their marketing, are unfortunately far from healthy. They frequently contain alarmingly high amounts of added sugars (often disguised under various names), artificial sweeteners, cheap fillers, unhealthy fats, and preservatives. These ingredients can negate any potential benefits of the protein content, leading to sugar crashes, digestive issues, and a general feeling of dissatisfaction. They’re often engineered for shelf stability and mass appeal, not for optimal nutrition.
This is precisely why making your own homemade protein bars is an incredibly smart and **perfectly healthy** choice! With this recipe, you are in full control of every ingredient that goes into your body. We use:
- Natural Sweeteners: Maple syrup provides a wholesome sweetness without the refined sugars or artificial alternatives.
- Wholesome Fats: Almond butter and the small amount of coconut oil contribute healthy fats essential for satiety and nutrient absorption.
- Fiber-Rich Ingredients: Almond flour and cocoa powder add valuable dietary fiber, important for digestive health and sustained energy.
- Quality Protein: You choose the protein powder that best fits your needs, ensuring it’s free from undesirable additives.
- No Artificial Additives: Absolutely no hidden chemicals, preservatives, or unpronounceable ingredients.
By preparing these bars at home, you’re not just making a snack; you’re making a conscious decision for better health, providing your body with clean, nourishing fuel that supports your well-being without compromise.
Expert Tips for Perfect Chocolate Protein Bars
Achieve homemade protein bar perfection every time with these valuable insights and troubleshooting advice:
- Choose Almond Flour, Not Almond Meal: This distinction is important for the final texture. Almond flour is typically made from blanched almonds and is much more finely ground, resulting in a smoother, more uniform dough. Almond meal, often made from unblanched almonds with skins, is coarser and can make your bars a bit grittier. For the best consistency, opt for fine almond flour.
- Troubleshooting Dry Dough: If your dough feels too crumbly or dry after mixing all ingredients, don’t despair! Start by adding 1-2 teaspoons of almond milk (or your preferred plant-based milk) and mix thoroughly. If it’s still too dry to stick together after that, consider adding another tablespoon of almond butter. The absorbency of protein powders and the thickness of nut butters can vary significantly between brands, so a little adjustment might be necessary to achieve that perfect pliable dough.
- Achieving Clean Cuts: To prevent the chocolate topping from cracking when you slice your bars, allow the chilled slab to sit on the countertop at room temperature for about 5-10 minutes before cutting. This slight warming softens the chocolate just enough to make it pliable. For even cleaner cuts, you can also heat your knife under hot water, wipe it dry, and then slice, repeating for each cut.
- Refrigeration is Non-Negotiable: Just like my Homemade Perfect Bars, these no-bake protein bars rely on cold temperatures to hold their shape and maintain their texture. They will not store well on the counter and will become soft and lose their form. Always keep them in an airtight container in the fridge or freezer for optimal freshness and structural integrity.
Expand Your No-Bake Repertoire!
Loved these chocolate protein bars? Dive into more delicious no-bake creations to satisfy your cravings and simplify your healthy snacking:
- No-Bake Cookie Dough Bars
- Raw Salted Caramel Slice
- No-Bake Chocolate Coconut Bars
- No-Bake Brownies
If you tried these No-Bake Chocolate Protein Bars or any other recipe from our blog, we’d absolutely love to hear from you! Please share your thoughts by leaving a comment and rating below. Your feedback helps our community of healthy eaters. And don’t forget to follow us on Pinterest, Instagram, and Facebook for even more delicious and wholesome recipes!
Print Recipe
No-Bake Chocolate Protein Bars
Author: Jessica Hoffman
Prep Time: 15 minutes
Cook Time: 0 minutes
Total Time: 15 minutes
Yield: 15 bars
Category: Snack
Method: Mix, No-Bake
Cuisine: American
Diet: Gluten Free, Vegan, Refined Sugar-Free
Description
Whip up your very own healthy and irresistible Chocolate Protein Bars at home in a mere 15 minutes! These no-bake wonders are packed with protein, making them an ideal, energizing snack.
Ingredients
- 1 1/2 cups almond flour
- 1/2 cup protein powder (unflavored or vanilla recommended)
- 1/4 cup cocoa powder
- Pinch of salt
- 3/4 cup almond butter (natural, runny; can substitute with peanut butter, cashew butter, or sunflower seed butter)
- 1/4 cup maple syrup
- 1 tsp vanilla extract
- 1-2 tsp almond milk, as needed (for consistency)
- 4 oz 70% dark chocolate (for topping)
- 1 tbsp refined coconut oil (for topping)
Instructions
- In a large bowl, mix the almond flour, protein powder, cocoa powder, and salt together until well combined. Set aside.
- In a separate bowl, stir the almond butter, maple syrup, and vanilla extract until smooth.
- Add the wet ingredients mixture to the bowl of dry ingredients. Mix them together thoroughly, starting with a spoon and then switching to your hands to form a cohesive dough.
- If the dough feels too dry or crumbly, add 1-2 teaspoons of almond milk gradually, mixing well after each addition, until the dough comes together and is easy to press.
- Line an 8×8 inch pan with parchment paper, leaving an overhang. Press the chocolate protein bar dough evenly and firmly into the pan.
- Melt the dark chocolate and coconut oil together in a microwave-safe bowl (in 30-second intervals, stirring) or over a double boiler. Pour the melted chocolate evenly over the pressed bars, gently tilting the pan to ensure an even spread.
- Place the pan in the fridge to set for at least 3 hours, or preferably overnight, until firm. Once set, lift from the pan using the parchment paper and cut into 15 even bars.
- Store the finished bars in an airtight container in the fridge.
Notes
*I personally use the Sprout Living Epic Protein Original in these bars for its smooth texture and neutral flavor. If you choose to try it, make sure to find the original unflavored version.
Remember to always store these bars in the fridge or freezer to maintain their shape and freshness.
Nutrition
- Serving Size: 1 bar
- Calories: 230
- Sugar: 8g
- Fat: 6g
- Carbohydrates: 12g
- Fiber: 3.5g
- Protein: 10g