
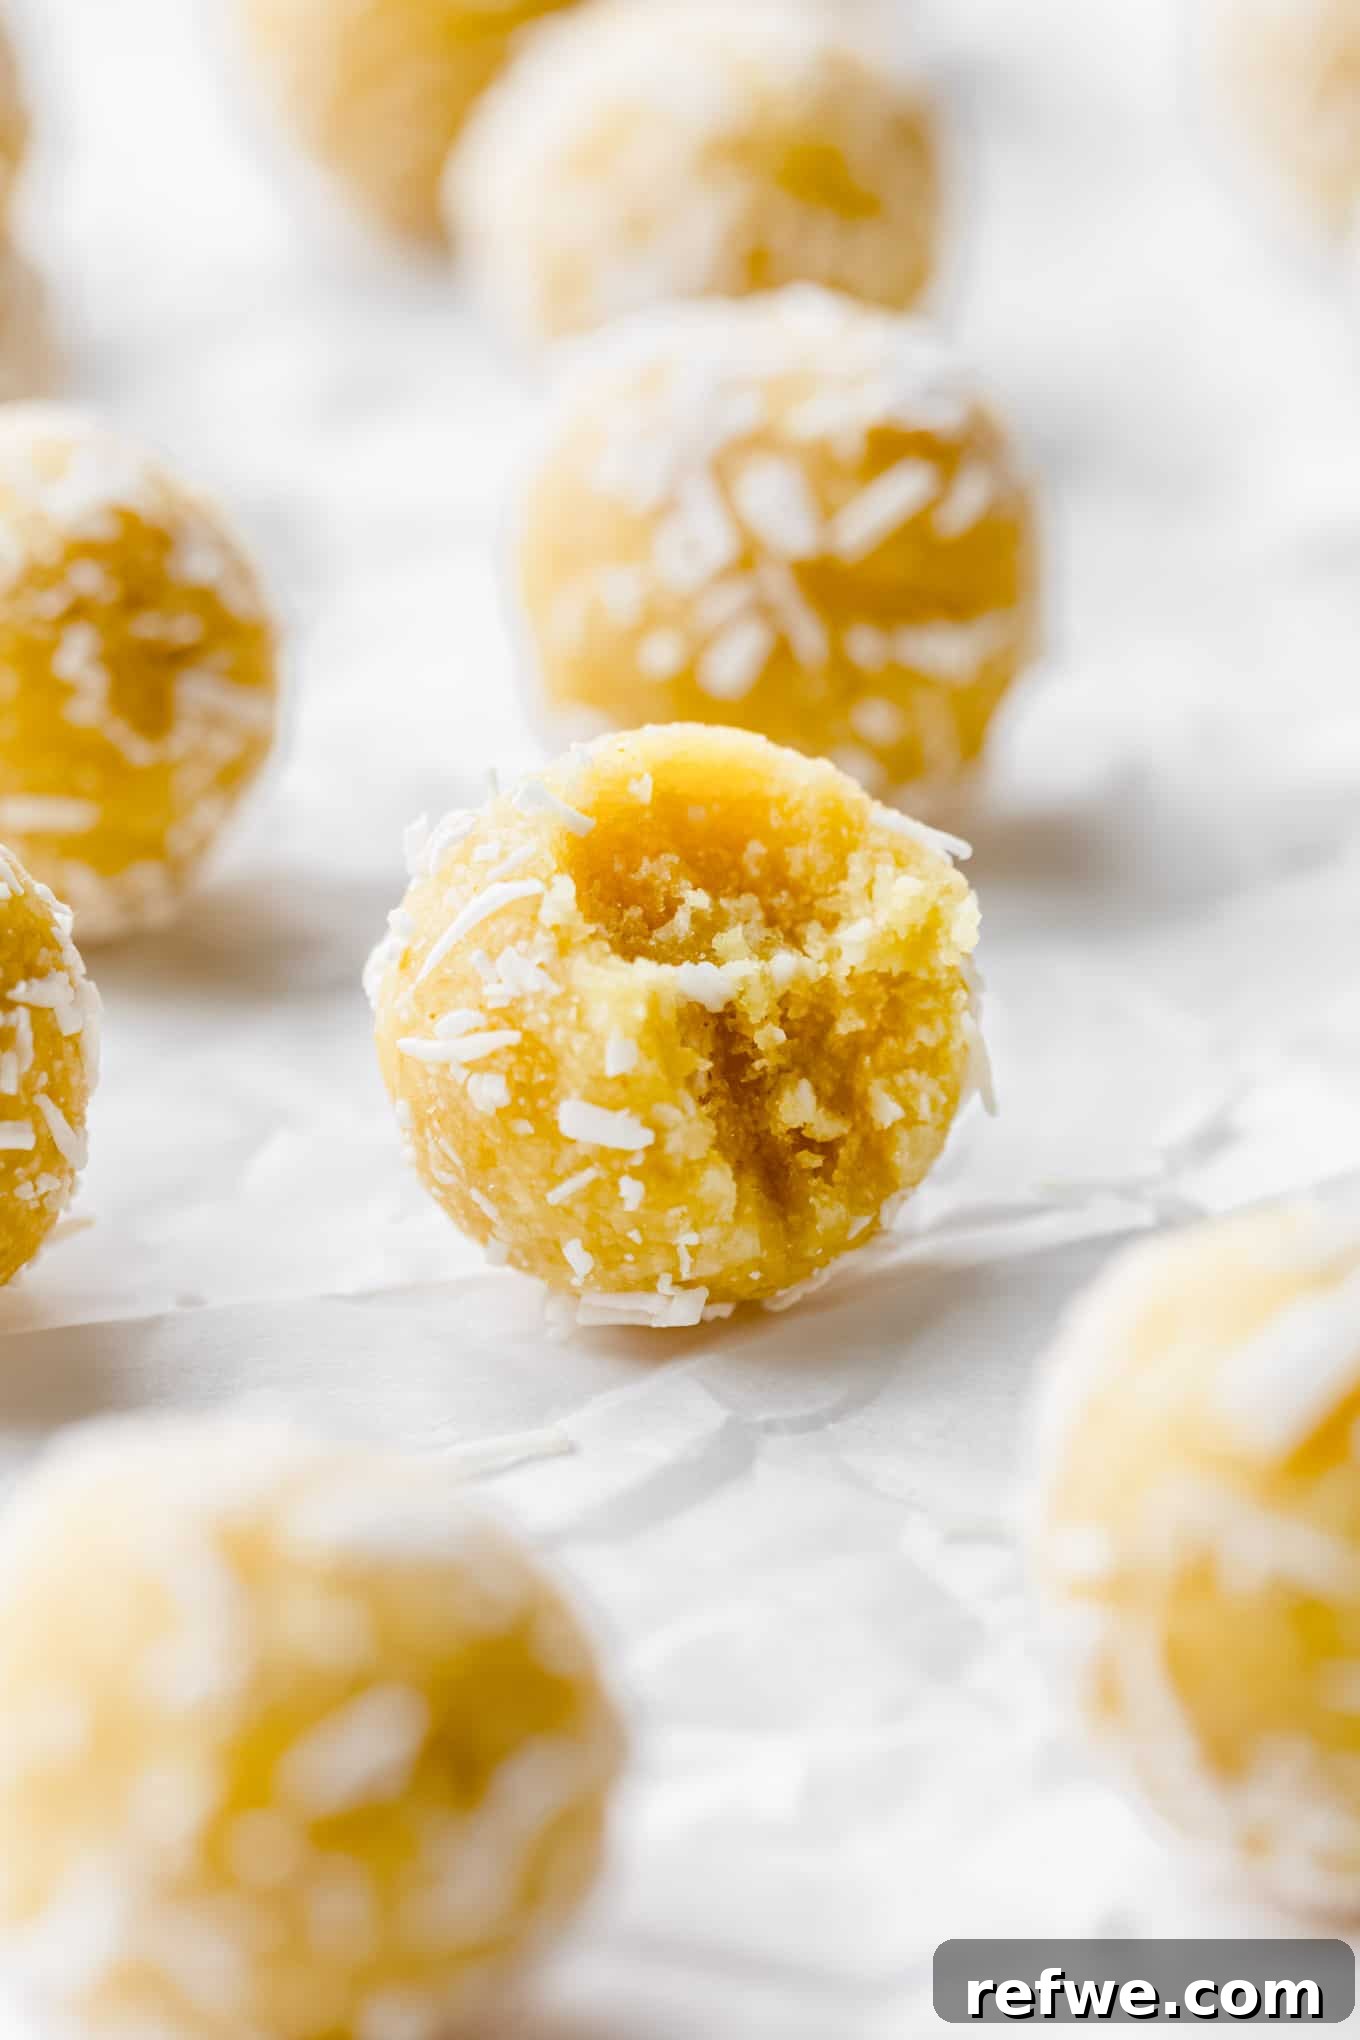
Craving a wholesome, refreshing snack that’s both healthy and bursting with flavor? Look no further than these incredible **Lemon Bliss Balls**! Easy to whip up, naturally gluten-free, grain-free, and packed with zesty lemon goodness, they’re the perfect guilt-free treat for any time of day. Whether you’re fueling up before a workout, need a midday energy boost, or simply desire a sweet bite without the added sugars and unhealthy fats, these vibrant lemon energy bites are your answer.
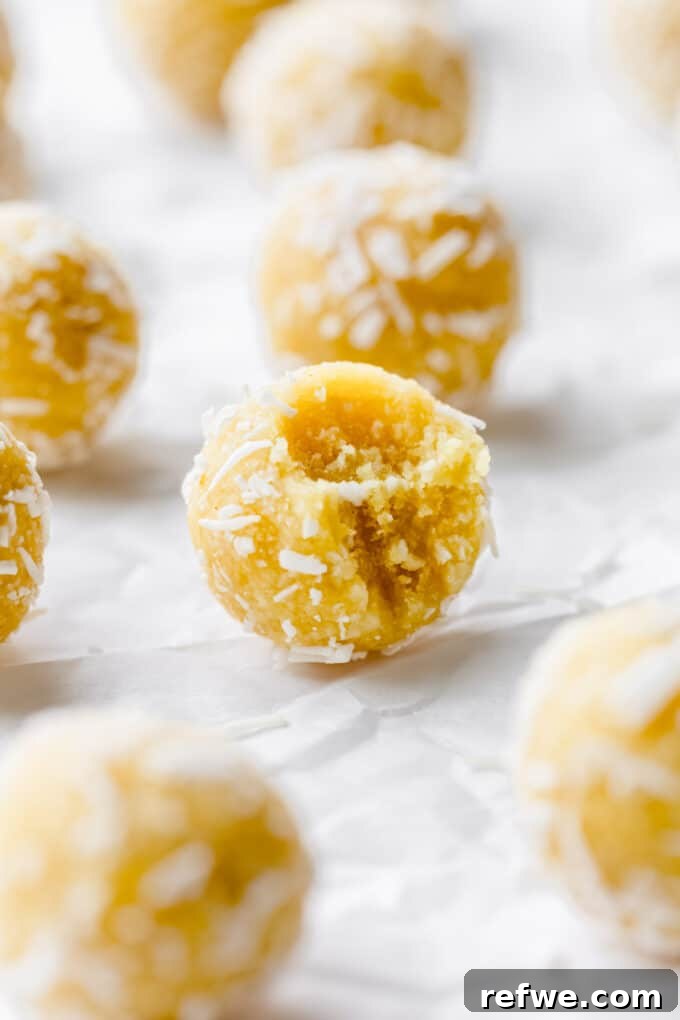
Table of Contents
- What Exactly Are Lemon Energy Balls?
- Why These Lemon Bliss Balls Will Become Your Favorite
- Essential Ingredients and Smart Substitutions
- How to Make the Best Lemon Bliss Balls: Step-by-Step
- Storing Your Lemon Bliss Balls for Maximum Freshness
- Expert Tips for Perfect Lemon Bliss Balls
- Frequently Asked Questions About Lemon Bliss Balls
- More Delicious Bliss Ball Recipes to Explore
- Lemon Bliss Balls Full Recipe
What Exactly Are Lemon Energy Balls?
Lemon energy balls, often referred to as lemon bliss balls, are a popular type of no-bake snack designed to provide a quick, sustained energy boost. These delightful bites are made from a blend of wholesome ingredients like nuts, seeds, dried fruit, and natural sweeteners, all processed together to form a sticky, rollable dough. In this particular recipe, we harness the bright, invigorating power of fresh lemon juice and zest, combined with nutrient-dense almond flour and shredded coconut, to create a truly irresistible treat.
Unlike many store-bought snacks that are laden with refined sugars and artificial additives, homemade bliss balls offer a healthier alternative. They are incredibly versatile, perfect for meal prepping, and an excellent way to satisfy sweet cravings while nourishing your body. From Salted Caramel Bliss Balls to Chocolate Date Balls or Peanut Butter Oatmeal Protein Balls, the possibilities are endless. This lemon version stands out with its refreshing citrus kick, making it a favorite for lemon lovers.
Creating these lemon-infused delights is incredibly simple, requiring just a handful of pantry staples and a food processor. In merely **15 minutes** of active prep time, you can transform these simple ingredients into a batch of ready-to-eat energy bites that will keep you energized and satisfied throughout your busy week.
Why These Lemon Bliss Balls Will Become Your Favorite
These Lemon Bliss Balls aren’t just another snack recipe; they’re a revelation for anyone seeking convenience, flavor, and health in one delicious package. Here’s why you’ll absolutely adore them:
- Effortlessly Gluten-Free and Grain-Free: Made with a base of almond flour and unsweetened shredded coconut, these bliss balls are naturally free from grains and gluten, making them an ideal snack for those with dietary restrictions or anyone looking to reduce their grain intake. For more grain-free goodness, try these Pumpkin Protein Balls.
- A Burst of Pure Lemon Zest: If you’re a true connoisseur of lemon treats, from gluten-free lemon bars to lemon chia pudding, prepare to be captivated. This recipe maximizes lemon flavor by incorporating both fresh lemon juice and zest, delivering an incredibly bright, tangy, and invigorating taste with every bite.
- Perfectly Freezer-Friendly for Easy Meal Prep: Life gets busy, and having healthy snacks on hand is a game-changer. These lemon energy balls store beautifully in the freezer for up to two months, ready to be grabbed whenever a craving strikes. They can even be enjoyed straight from the freezer for a refreshing, slightly firmer texture.
- Quick and Simple No-Bake Recipe: Forget turning on the oven! This recipe requires zero baking, saving you time and effort. Everything comes together in a food processor, making cleanup a breeze and ensuring you can enjoy your delicious snack almost instantly.
- Wholesome Ingredients You Can Trust: We prioritize real, natural ingredients that nourish your body. With healthy fats from almonds and coconut, natural sweetness from honey (or agave for a vegan option), and the vitamin C benefits of lemon, these bliss balls are a snack you can feel good about.
- Customizable to Your Taste: Whether you prefer a sweeter tang or a milder citrus note, this recipe is easily adaptable. You can adjust the amount of honey or lemon to suit your palate, or even experiment with other citrus fruits like lime for a delightful variation.
Essential Ingredients and Smart Substitutions
Crafting these delectable Lemon Bliss Balls requires just a few key ingredients. Each component plays a vital role in both flavor and texture. Here’s a closer look at what you’ll need and how you can adapt the recipe to fit your pantry or dietary preferences:
- Almond Flour: This forms the foundational bulk of our energy balls, providing a tender texture and a good source of healthy fats and protein. Almond flour is naturally gluten-free and grain-free.
- Substitution: If almond flour isn’t available, you can substitute with oat flour (ensure it’s certified gluten-free if needed) or even finely ground cashews or sunflower seeds for a nut-free option. Coconut flour can also work, but use a significantly smaller amount (start with 1/2 cup and add more as needed) as it’s highly absorbent.
- Unsweetened Shredded Coconut: Adds a lovely chewy texture and subtle tropical flavor that complements the lemon beautifully. Using unsweetened coconut allows you to control the overall sweetness of the bliss balls.
- Substitution: If you’re not a fan of coconut, you can increase the amount of almond flour by an equivalent measure. Alternatively, finely ground nuts like cashews or pecans can offer a similar texture without the coconut flavor.
- Honey: Beyond just sweetening the bliss balls, honey acts as a crucial binding agent, helping all the ingredients stick together to form a firm dough. It also lends a rich, natural sweetness.
- Substitution: For a vegan version, agave nectar or pure maple syrup are excellent alternatives. Ensure your chosen liquid sweetener is thick enough to help bind the mixture.
- Fresh Lemon Juice and Zest: These are the stars of the show, delivering that unmistakable bright, tangy lemon flavor. Using both the juice and the zest ensures a deep, aromatic citrus profile.
- Recommendation: I cannot stress enough the importance of using **fresh lemons** for this recipe. Bottled or jarred lemon juice simply won’t provide the same vibrant, authentic flavor that fresh zest and juice do. It makes a monumental difference in the final taste!
- Pinch of Salt: A tiny bit of salt goes a long way in balancing the sweetness and enhancing all the other flavors, making the lemon taste even brighter.
- Turmeric (Optional, for Color): A very small pinch of turmeric can lend a beautiful, natural yellow hue to your bliss balls, making them look even more appetizing.
- Caution: Use sparingly, as too much can impart a noticeable earthy flavor.
- Vanilla Extract: A touch of vanilla rounds out the flavors, adding warmth and depth to the zesty lemon.
While this provides a detailed overview, the exact measurements for these delightful Lemon Bliss Balls can be found in the comprehensive recipe card located further down the page.
How to Make the Best Lemon Bliss Balls: Step-by-Step
Making these vibrant lemon energy balls is incredibly straightforward and comes together in just a few simple steps with the help of a food processor. Follow these instructions for perfect bliss balls every time!
Storing Your Lemon Bliss Balls for Maximum Freshness
To maintain their perfect texture and prevent them from becoming too soft, these Lemon Bliss Balls **MUST be stored in the refrigerator or freezer.** Leaving them out at room temperature will cause them to soften considerably and potentially lose their shape.
- Refrigerator Storage: Place your lemon bliss balls in an airtight container in the fridge. They will stay wonderfully fresh and firm for up to **2 weeks**. This makes them an excellent option for weekly meal prepping.
- Freezer Storage: For longer-term storage, arrange the bliss balls in a single layer on a baking sheet and freeze until solid. Once frozen, transfer them to a freezer-safe bag or airtight container. They will maintain their quality for up to **2 months**. When you’re ready to enjoy one, simply grab it from the freezer – they can be eaten straight from frozen or allowed to thaw for a few minutes at room temperature.
Proper storage ensures you always have a healthy, delicious snack on hand, making healthy eating both convenient and enjoyable!
Expert Tips for Perfect Lemon Bliss Balls
Achieving the ideal texture and flavor for your lemon bliss balls is easy with these insider tips:
- Adjust the Dough Consistency: The perfect dough should be sticky enough to hold together but not overly wet. If your mixture feels too dry and crumbly after processing, add **2-3 extra tablespoons of honey (or agave)**, one at a time, and pulse again until the desired sticky consistency is reached. It should feel slightly tacky when pressed between your fingers. Conversely, if it’s too wet, add a tablespoon or two more of almond flour.
- Ensure Uniform Sizing: For aesthetically pleasing and evenly portioned bliss balls, use a **tablespoon measure** or a small cookie scoop to portion out the dough. This ensures consistency in size and helps them chill evenly.
- Experiment with Citrus: While lemon is the star here, don’t hesitate to get creative! Swap out the **lemon juice and zest for lime juice and zest** to create a refreshing lime-flavored energy ball. Or try a blend of both for a “citrus burst” variety.
- Naturally Enhance the Color: For a more vibrant yellow, akin to classic lemon desserts, add a tiny **pinch of ground turmeric** during the dry ingredient step. Remember, less is more here – just enough to tint the dough without altering the flavor.
- Pre-Chill the Mixture if Needed: If your kitchen is warm or if the dough feels too soft to roll easily after processing, pop the entire mixture (still in the food processor or transferred to a bowl) into the fridge for **10-15 minutes**. This brief chill will firm it up, making it much easier to handle and roll into perfect spheres.
- Elevate with a Flavorful Coating: The traditional shredded coconut coating is fantastic, but why stop there? For an extra layer of flavor and visual appeal, roll your bliss balls in **finely chopped pistachios, crushed almonds, extra fine lemon zest**, or even a light dusting of powdered sugar (for a sweeter, more dessert-like treat).
- Invest in Fresh Ingredients: The quality of your ingredients directly impacts the final taste. Opt for fresh lemons, high-quality almond flour, and unsweetened coconut for the best possible flavor profile.
Frequently Asked Questions About Lemon Bliss Balls
A lemon bliss ball is a delightful, no-bake energy bite crafted from a blend of natural, wholesome ingredients. Typically featuring a base of nuts or seeds, a natural sweetener, and a generous infusion of fresh lemon juice and zest, these balls are renowned for their bright flavor and satisfying texture. They serve as a perfect healthy snack, a quick breakfast on the go, or a guilt-free dessert option, often prepared in minutes using a food processor.
Yes, lemon bliss balls are generally considered a very healthy snack option! They are made with nutritious ingredients like almond flour, which provides healthy fats, protein, and fiber, and fresh lemon, a source of Vitamin C. While they are calorie-dense due to ingredients like almonds and coconut (around 110 calories per ball), these calories come from nutrient-rich sources that provide sustained energy and satiety. They are an excellent alternative to highly processed snacks, offering a natural boost without refined sugars or artificial additives.
The recommended serving size for these lemon bliss balls is typically one ball, which provides a satisfying and nutrient-dense snack. However, depending on your individual energy needs, activity level, and dietary goals, you can comfortably enjoy 1-3 bliss balls per day. They are packed with fiber and healthy fats, which help promote fullness and keep hunger at bay, making them an ideal portion-controlled treat.
While a food processor makes the process incredibly quick and ensures a smooth, uniform dough, it is possible to make lemon bliss balls without one. If you don’t have a food processor, I recommend using fine **coconut flour** or **pre-ground almond flour** instead of shredded coconut (which can be hard to break down manually). In a large mixing bowl, combine all the dry ingredients, then slowly stir in the wet ingredients. You will need to use your hands to thoroughly knead and mix the ingredients until a cohesive, sticky dough forms. It will require a bit more effort but is certainly achievable!
Absolutely! To make these lemon bliss balls completely vegan, simply substitute the honey with an equal amount of agave nectar or pure maple syrup. These liquid sweeteners will provide the same binding properties and delicious sweetness without using animal products.
If your bliss ball mixture is too crumbly, it likely needs more liquid to bind. This can happen if your almond flour is particularly dry, or if you’ve added slightly less liquid sweetener. The easiest fix is to add 1-2 extra tablespoons of honey (or agave/maple syrup if vegan) into the food processor and pulse again until the mixture comes together into a cohesive, sticky dough that holds its shape when squeezed.
More Delicious Bliss Ball Recipes to Explore
If you’ve fallen in love with these Lemon Bliss Balls, you’ll be thrilled to discover the world of other energy-boosting, no-bake treats. Here are a few more popular bliss ball recipes you might enjoy trying next:
- Matcha Energy Balls
- Pecan Pie Energy Balls
- Protein Cookie Dough Balls
- Key Lime Pie Energy Balls
If you tried these Lemon Bliss Balls or any other recipe on the blog, we’d love to hear from you! Please let us know how you liked it by leaving a comment and rating below. Don’t forget to follow along on Pinterest, Instagram, Tiktok, and Facebook for even more delicious and healthy recipes!

Lemon Bliss Balls
- Author: Jessica Hoffman
- Prep Time: 15 minutes
- Cook Time: 0 minutes
- Total Time: 15 minutes
- Yield: 12-16 balls
- Category: Snack
- Method: Mix, No-Bake
- Cuisine: American
- Diet: Gluten Free, Grain Free, Vegan Option
Description
These lemon bliss balls are the ultimate healthy, refreshing, and delicious no-bake snack! Naturally gluten-free and grain-free, they’re perfect for meal prepping, a quick energy boost, or a delightful sweet treat. Bursting with fresh lemon flavor, they’re incredibly easy to make in just 15 minutes.
Ingredients
Units
- 1 1/4 cups almond flour (finely ground, blanched)
- 1 cup unsweetened shredded coconut
- Pinch of sea salt
- 1/8 tsp turmeric (optional, for a brighter yellow color)
- 1/4 cup honey (use agave nectar or maple syrup for a vegan option)
- 2 tbsp fresh lemon zest (from 2 medium lemons)
- 3 tbsp fresh lemon juice (from 1-2 medium lemons)
- 1 tsp vanilla extract
- Extra shredded coconut for rolling (optional)
Instructions
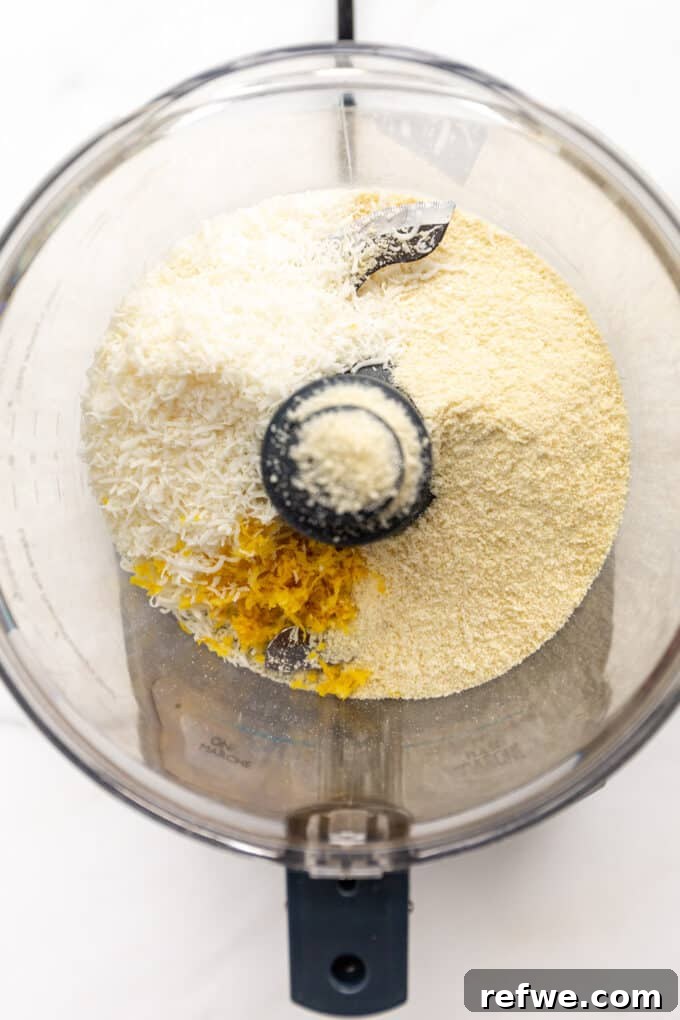
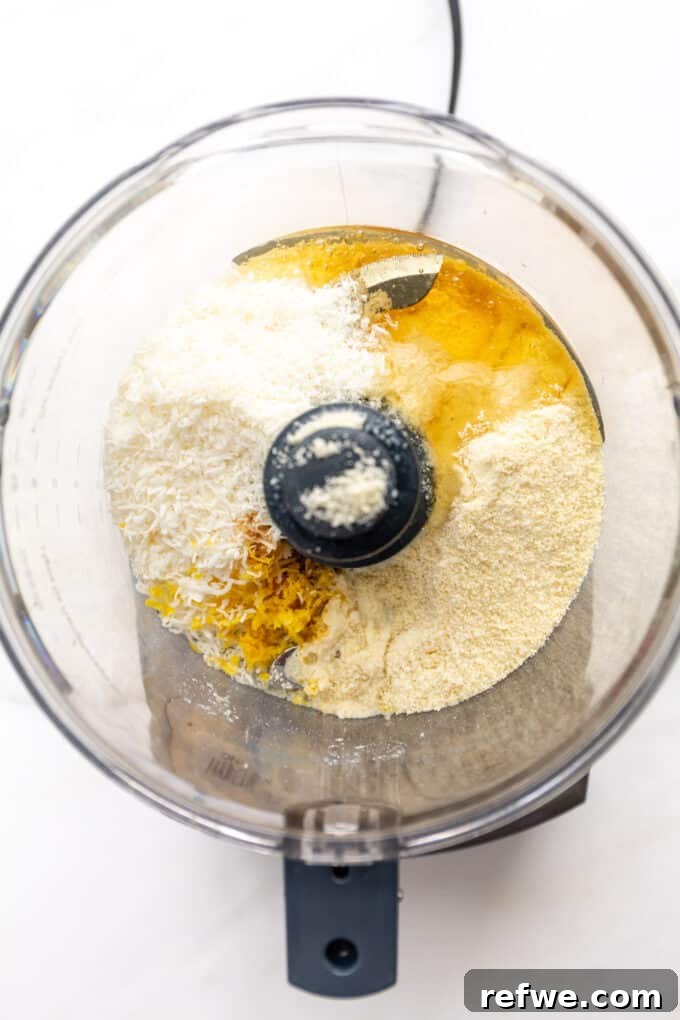
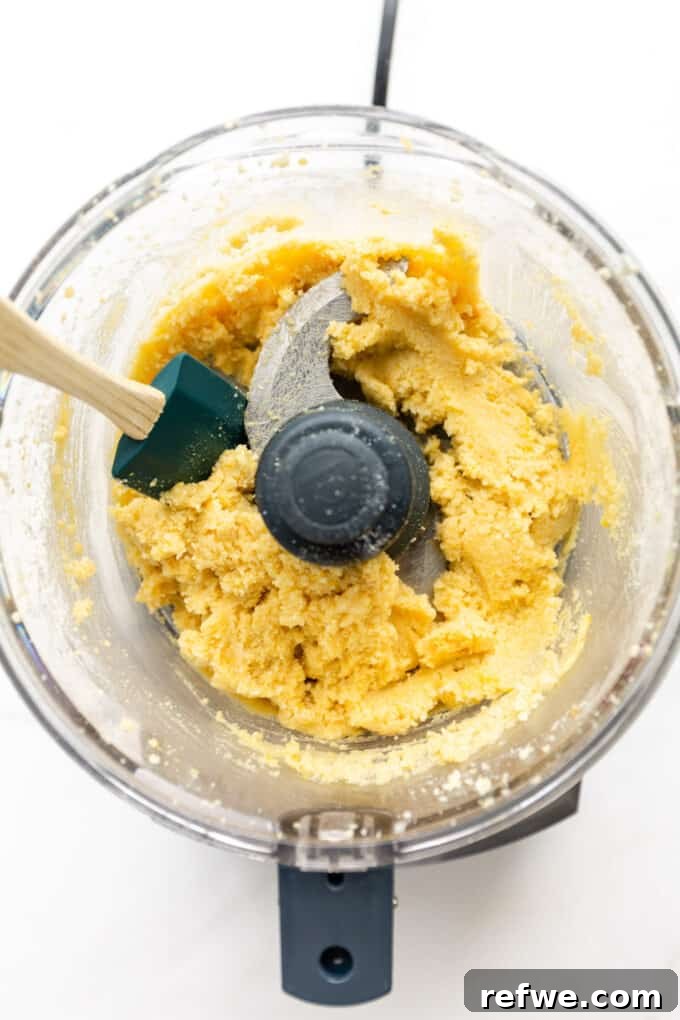
- Combine Ingredients: Add the almond flour, unsweetened shredded coconut, salt, and optional turmeric to a food processor. Pulse a few times to break down the coconut slightly and ensure dry ingredients are well mixed. Then, add the honey (or vegan alternative), fresh lemon zest, fresh lemon juice, and vanilla extract to the food processor.
- Process Until Dough Forms: Pulse the mixture continuously for 30-60 seconds, or until it comes together to form a sticky, cohesive dough. The dough should be firm enough to hold its shape when pressed between your fingers, but still moist. If the mixture appears too dry, add an additional tablespoon of honey/agave/maple syrup at a time until the desired consistency is achieved.
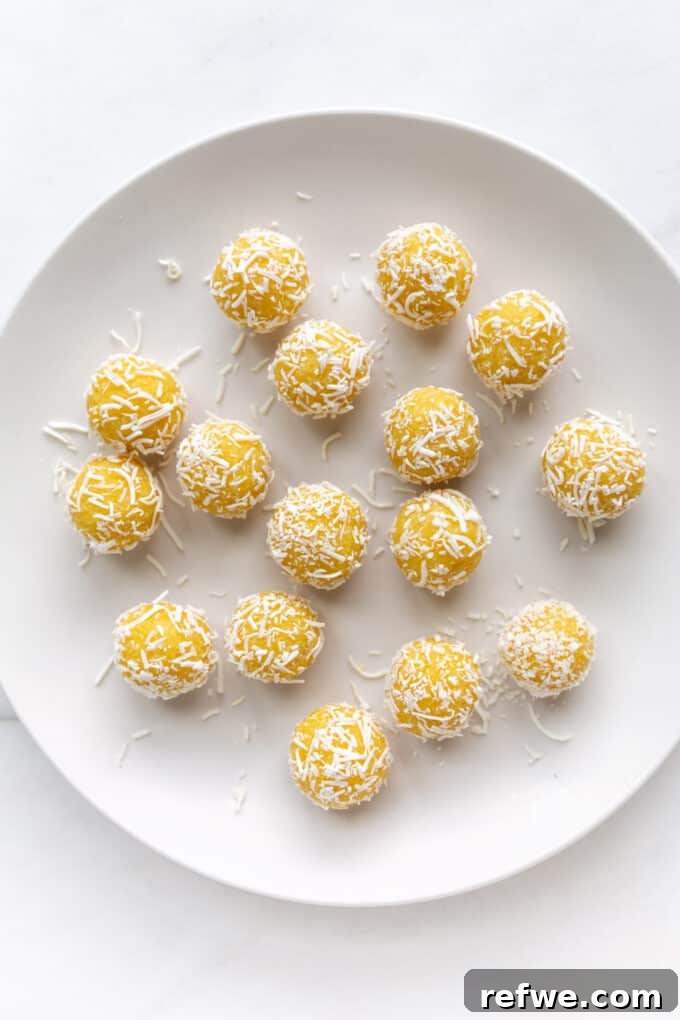
- Roll Into Balls: Using your hands, scoop out about 1 tablespoon of dough for each bliss ball and roll it into a uniform sphere. Repeat until all the dough is used.
- Optional Coating: For an enhanced flavor and texture, optionally roll each formed bliss ball into a shallow plate of extra shredded coconut, ensuring it’s evenly coated. You can also use finely chopped nuts or extra lemon zest.
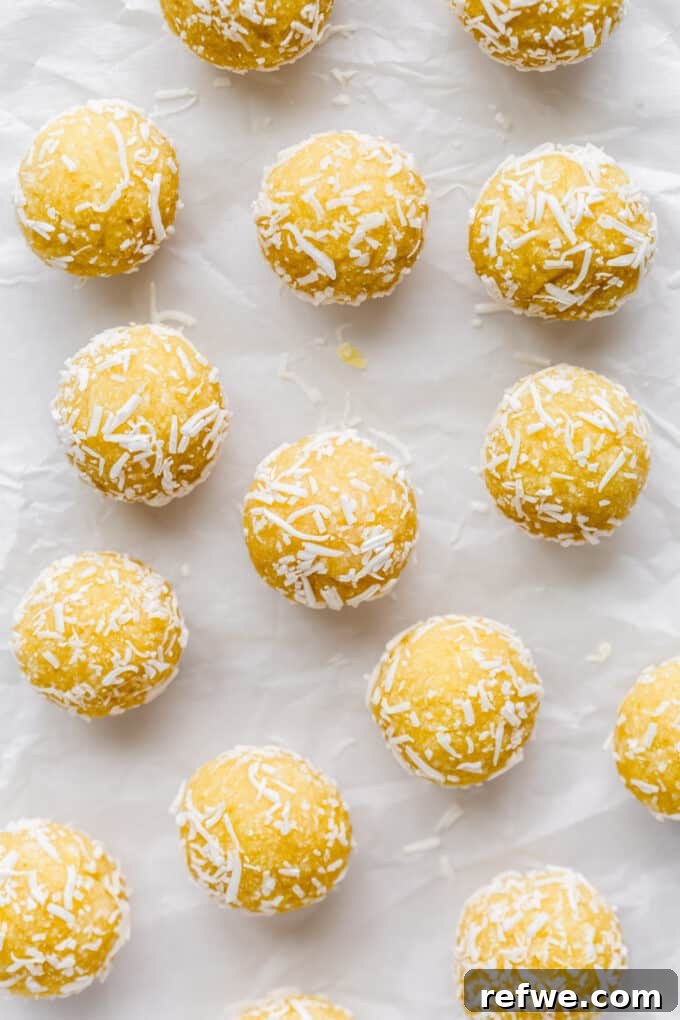
- Chill to Set: Place the rolled lemon bliss balls on a plate or baking sheet lined with parchment paper. Refrigerate for at least 2 hours to allow them to firm up completely. Chilling is crucial for their optimal texture and to prevent them from becoming too soft.
- Serve and Store: Enjoy your chilled lemon bliss balls! Store any leftovers in an airtight container in the refrigerator for up to 2 weeks, or in the freezer for up to 2 months.
Notes
- Adjust Texture: If the dough is too dry and crumbly, add 2-3 tbsp extra honey (or agave/maple syrup) and pulse again until it forms a sticky dough.
- Even Sizing: Use a tablespoon or small cookie scoop to ensure uniform bliss balls for consistent serving sizes.
- Lime Variation: For a delicious twist, substitute the lemon juice and zest with fresh lime juice and zest.
- Boost Color: A tiny pinch of turmeric can be added for a brighter yellow hue, but be careful not to add too much as it can alter the flavor.
- Chill Before Rolling: If the dough feels too soft to roll easily, refrigerate the mixture for 10-15 minutes to firm it up before forming balls.
- Extra Flavorful Coatings: Roll the bliss balls in additional shredded coconut, finely chopped nuts, or extra grated lemon zest for added taste and texture.
- For a Nut-Free Option: Substitute almond flour with oat flour (ensure gluten-free if needed) and use sunflower seeds or pumpkin seeds instead of coconut, blended finely.
Nutrition
- Serving Size: 1 ball
- Calories: 110
- Sugar: 3.5g
- Fat: 4g
- Carbohydrates: 15g
- Fiber: 1.5g
- Protein: 2g
Nutritional information is an estimate and may vary based on specific ingredients and preparation methods.