
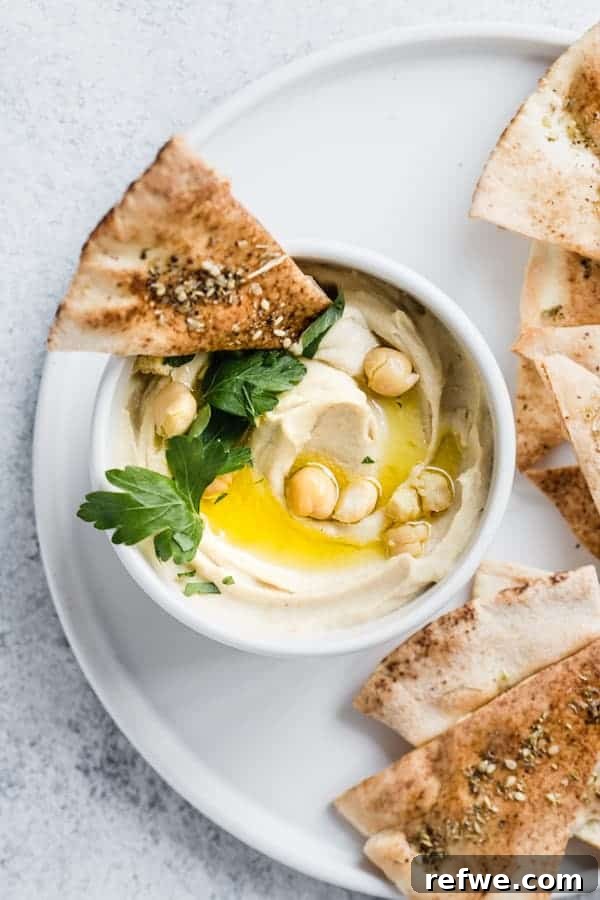
Welcome to the definitive guide for crafting the most luscious, smooth, and genuinely creamy healthy hummus recipe you’ll ever taste! Made with simple, wholesome ingredients, this homemade delight perfectly replicates the authentic flavors found in top Middle Eastern restaurants. Prepare to elevate your snack game and impress your palate with this unparalleled chickpea dip.
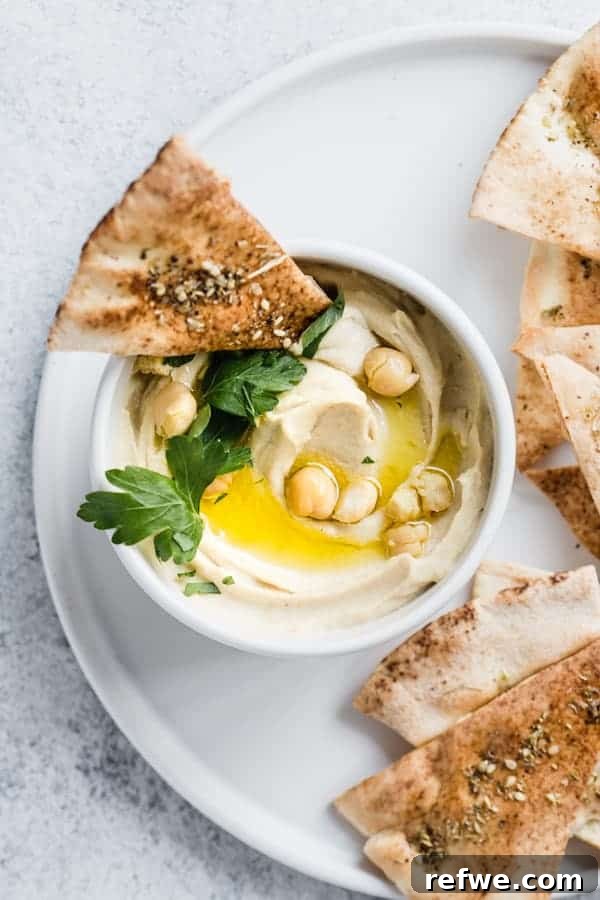
Discover the Secret to the Best Homemade Healthy Hummus
There are certain staples in my kitchen that I simply cannot live without, and a fresh batch of homemade hummus tops that list. Seriously, an empty hummus container in the fridge feels like a culinary crisis! This isn’t just any hummus recipe; it’s *the* go-to healthy hummus recipe that will fundamentally transform your perspective on this beloved dip. Once you experience the velvety texture and rich, nuanced flavors of homemade hummus, going back to store-bought versions will seem like a distant, less flavorful memory.
This recipe isn’t just about making hummus; it’s about unlocking a world of fresh, vibrant flavors and a superior creamy texture that industrial processes simply can’t replicate. We’ll delve into the subtle techniques and ingredient choices that make all the difference, ensuring your hummus is not only healthy but also incredibly delicious and utterly irresistible.
If you’re eager to explore beyond the classic, don’t miss out on these fantastic variations: try our vibrant Everything Bagel Hummus for a savory twist or the stunning Roasted Beet Hummus with Pistachio Dukkah for a splash of color and unique flavor profile. These are perfect for adding a creative touch to your culinary repertoire!
Essential Ingredients for a Perfectly Creamy Hummus
Achieving that coveted smooth and creamy hummus texture begins with selecting the right ingredients and understanding their crucial roles. Here’s a closer look at what you’ll need and why each component is vital for your best hummus:
- Can of Chickpeas (Garbanzo Beans): For convenience and consistent results, we recommend using canned chickpeas. Opt for organic whenever possible, as they often boast a superior flavor and texture. If you prefer using dried chickpeas, remember to soak them overnight and cook them until exceptionally tender before proceeding with the recipe.
- Baking Soda (The Secret Ingredient): This is the unsung hero of ultra-creamy hummus! A small amount of baking soda added during the cooking process helps to break down the chickpea skins and soften their structure significantly. This crucial step ensures a luxuriously smooth consistency when blended, truly mimicking authentic restaurant-style hummus.
- Tahini (Sesame Paste): The cornerstone of traditional hummus, tahini provides a nutty richness and contributes significantly to the creamy texture. It’s essential to use a good quality, runny tahini. Thicker tahini can result in a more pasty hummus. You can typically find high-quality tahini in the international or Middle Eastern section of most well-stocked grocery stores.
- Fresh Garlic: There’s no substitute for fresh garlic here. Its pungent, aromatic flavor is indispensable for authentic hummus. Avoid garlic powder; fresh cloves deliver the vibrant kick this dip deserves.
- Salt: A fundamental seasoning to enhance all the other flavors. Adjust to your personal preference.
- Cumin: Just a touch of ground cumin adds a warm, earthy depth that beautifully complements the chickpeas and tahini, elevating the overall taste profile of your homemade hummus.
- Good Quality Olive Oil: Beyond just a garnish, olive oil is integral to the emulsification and flavor of the hummus. Invest in a good quality extra virgin olive oil; its fruity, peppery notes will shine through, enriching the dip.
- Freshly Squeezed Lemon Juice: Bright, zesty, and essential for balancing the richness of the tahini and the earthiness of the chickpeas. Always use freshly squeezed lemon juice – bottled varieties lack the vibrant flavor needed for truly spectacular hummus.
- Ice-Cold Water: This is perhaps the most overlooked, yet critical, ingredient for achieving a light, airy, and super creamy hummus. The cold temperature helps the tahini and olive oil emulsify properly, whipping the mixture into a fluffy, irresistible dip. Ensure your water is genuinely cold, ideally ice water.
Mastering the Art of Healthy Hummus: A Step-by-Step Guide
Crafting the perfect batch of healthy homemade hummus is simpler than you might think, especially with these insider tips for achieving an exceptionally smooth and creamy texture. While some recipes call for dried chickpeas, for efficiency and ease, we’re using canned chickpeas in this guide. If you opt for dried, remember to soak them overnight and cook them until they are incredibly soft – this tenderness is key.
The Secret to Silky Smoothness: Peeling and Pre-Cooking Chickpeas
The first crucial step to a truly authentic, silky-smooth hummus involves dealing with the chickpea skins. Chickpeas naturally have a thin outer peel that, if left on, can make your hummus slightly gritty. While this step can seem tedious, it’s remarkably easy and makes a world of difference. After draining and rinsing your canned chickpeas, gently roll them in a clean kitchen towel or lightly squeeze them between your fingers. The skins will loosen and come right off. Don’t be tempted to skip this step; it is fundamental for that coveted velvety texture.
Next, we’re going to give those peeled chickpeas a quick, but important, second cook. Place them in a pot of boiling water along with our “secret ingredient” – baking soda. Cook on medium-high heat for about 8-12 minutes, or until they are extra soft and practically melt when squeezed. This additional cooking time, coupled with the baking soda, further breaks down their structure, making them incredibly amenable to blending. This is step two in achieving truly dreamy, creamy hummus.
The Blending Process: Emulsification is Key
Once your chickpeas are perfectly tender, it’s time to blend. You can use either a powerful high-speed blender (like a Vitamix) or a sturdy food processor. Add the warm, cooked chickpeas, tahini, fresh garlic, salt, cumin, olive oil, and freshly squeezed lemon juice to your chosen appliance. Begin blending, scraping down the sides as needed, until the mixture is quite smooth. This initial blend helps to combine the core flavors.
Now comes the final touch for that signature fluffy consistency: the ice-cold water. Gradually add the cold water, about 1/4 cup at a time, while the blender or food processor is running. Continue blending and mixing for a good 4-5 minutes. This extended blending time, combined with the cold water, is what truly emulsifies all the ingredients, incorporating air and transforming the mixture into a light, super luscious, and incredibly creamy dip. The cold water is absolutely vital for this process, so ensure it’s chilled!
Taste your hummus and adjust the seasonings if necessary. You might want to add a bit more salt, a squeeze of lemon juice, or a pinch of cumin to perfectly match your preference. Serve immediately or chill for later enjoyment.
Storing Your Fresh Hummus: Keep it Delicious
Because this healthy hummus is made with all-natural, fresh ingredients and without preservatives, it has a shorter shelf life compared to commercially produced hummus. However, in my home, this has never been an issue, as a batch rarely lasts beyond a day or two! The vibrant taste and creamy texture are just too irresistible.
For optimal freshness and flavor, store your homemade hummus in an airtight container in the refrigerator for up to 5-7 days. To prevent the surface from drying out and to maintain its vibrant flavor, you can pour a thin layer of olive oil over the top of the hummus before sealing the container. This creates a protective barrier and keeps it tasting fresh.
This healthy hummus recipe is not only easy to make but also naturally vegan, making it a versatile and inclusive option for many diets. Whether you use a high-speed blender or a food processor, the results will be consistently delicious and satisfying.
Can You Freeze Hummus? Absolutely!
One of the fantastic benefits of making a big batch of this delicious healthy hummus is that it freezes exceptionally well! This is perfect for meal prep or ensuring you always have a healthy snack on hand. You can store your homemade hummus in the freezer for up to 4 months without significant loss of quality or flavor.
To freeze hummus effectively, transfer it to an airtight, freezer-safe container. It’s crucial not to over-fill the container, as hummus will expand slightly when frozen. Leave about an inch of headspace to accommodate this expansion. For an extra layer of protection against freezer burn and to preserve moisture, you can drizzle a small amount of olive oil on top of the hummus before sealing the container.
When you’re ready to enjoy your frozen hummus, simply transfer the container from the freezer to the refrigerator and allow it to thaw slowly overnight. Once thawed, give it a good stir, and if desired, add a tiny splash of fresh lemon juice or a drizzle of olive oil to bring back its original creamy consistency and bright flavor. You might be surprised at how fresh it still tastes!
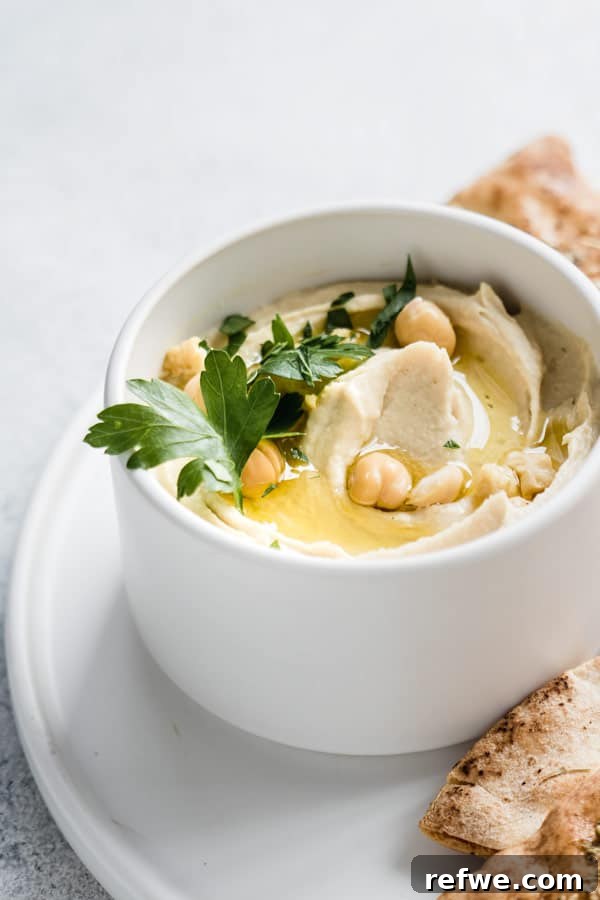
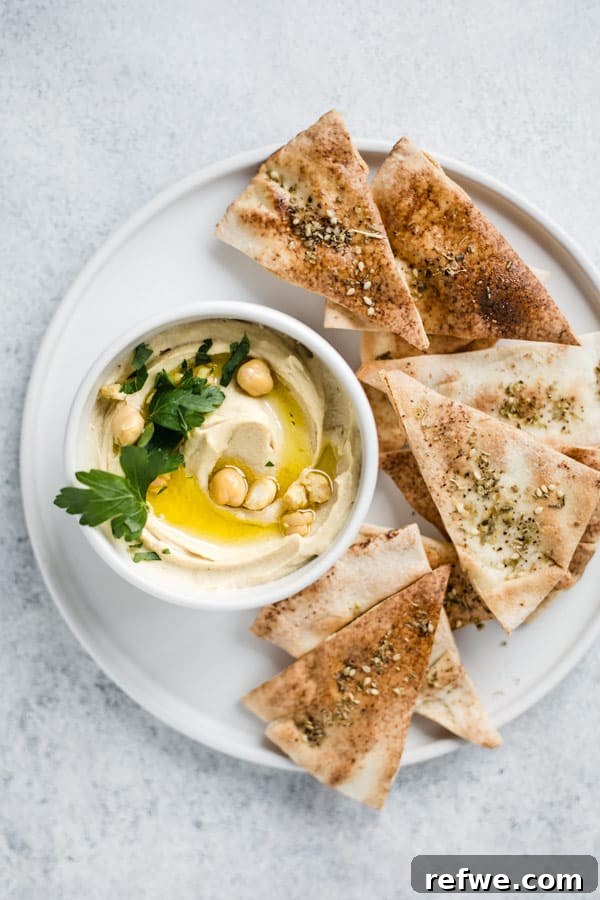
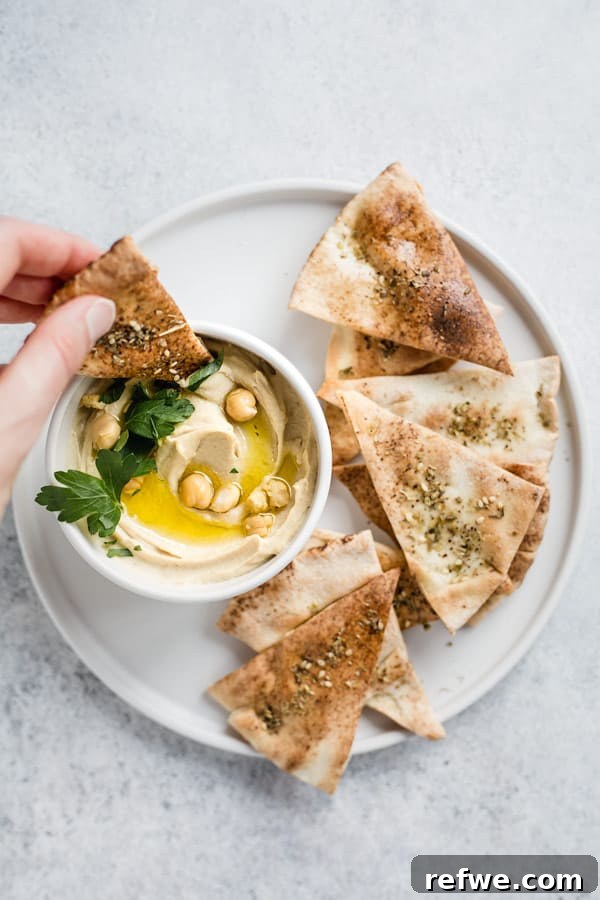
There are countless delightful ways to enjoy this healthy homemade hummus, but one of my personal favorites is serving it with homemade pita chips. They’re incredibly easy to make! Just cut some pita bread into triangles, brush them lightly with olive oil, sprinkle generously with za’atar spice for an aromatic kick, and toast them in the oven or air fryer until they’re golden brown and perfectly crispy. The warm, savory crunch of the pita chips is the ultimate companion to the cool, creamy hummus.
Versatile Ways to Serve Your Healthy Hummus
Beyond the classic dip, healthy homemade hummus is incredibly versatile and can elevate a multitude of dishes. Here are some of my favorite ways to incorporate this creamy delight into meals and snacks:
- As a Classic Dip: Serve it traditionally with a side of your favorite crackers, fresh vegetables like cucumber sticks, carrot sticks, bell pepper strips, or cherry tomatoes for a refreshing and healthy snack.
- A Flavorful Sandwich or Wrap Spread: Ditch the mayo! Spread a generous layer of hummus on your sandwiches, wraps, or pita pockets. It adds moisture, protein, and a burst of flavor, making your lunch healthier and more satisfying.
- Elevate Your Salads: Dollop a spoonful of hummus onto your green salads or grain bowls. It acts as a creamy dressing substitute, adding richness and a nutritional boost. Thin it slightly with a little water and lemon juice for a pourable dressing.
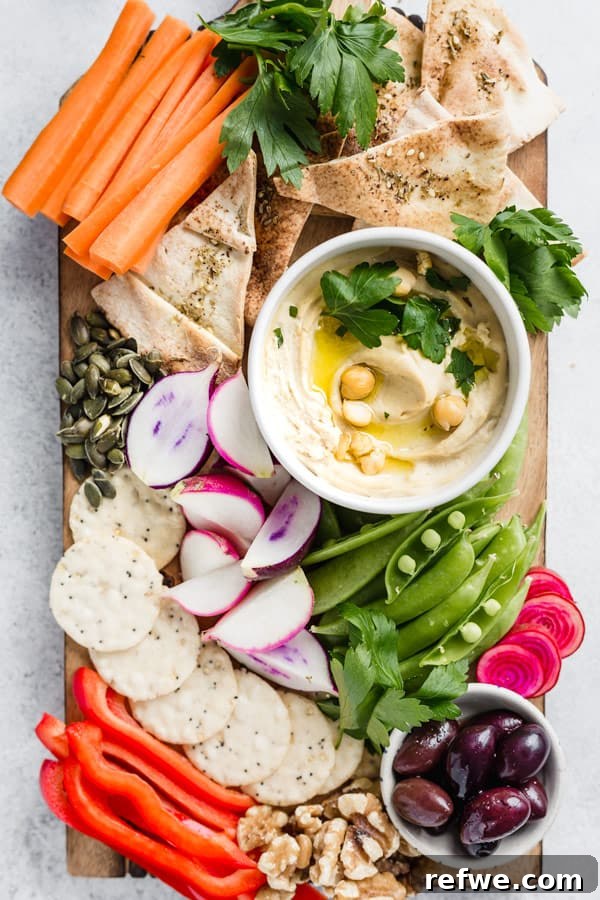
- Wholesome Vegetable Platter: Create an impressive and nutritious platter by arranging a variety of colorful cut-up veggies around a central bowl of hummus. It’s perfect for entertaining or a healthy family snack.
- A Quick, Healthy Spoonful: Let’s be honest, sometimes it’s just so good, a spoonful straight from the container is all you need for a quick, protein-packed pick-me-up!
- With Grilled Meats or Falafel: Serve alongside grilled chicken, lamb kofta, or crispy falafel for a complete and authentic Middle Eastern meal experience.
- Avocado Toast Reinvented: Spread hummus on toast, then top with sliced avocado, red pepper flakes, and a squeeze of lime for an extra nutritious and delicious breakfast or brunch.
If you’re eager to broaden your hummus horizons, be sure to check out our unique roasted beet hummus for its earthy sweetness and vibrant color, or our protein-packed edamame hummus recipe for a fresh, green twist!
Healthy Hummus FAQs
Yes, when consumed in moderation and made with quality ingredients, hummus is indeed a healthy addition to your diet. It’s primarily made from chickpeas, tahini, olive oil, and lemon juice – all ingredients known for their nutritional benefits. Two tablespoons of hummus typically contain around 2 grams of fiber and 5 grams of plant-based protein, contributing to satiety and digestive health. However, like any food, portion control is key. While healthy, hummus can be relatively calorie and fat-dense due to the tahini and olive oil, so enjoy it thoughtfully as part of a balanced meal.
Hummus offers a impressive array of health benefits! Its main ingredient, chickpeas, are a fantastic source of plant-based protein and dietary fiber, which aids digestion, helps regulate blood sugar, and promotes feelings of fullness. Tahini contributes healthy monounsaturated and polyunsaturated fats, essential vitamins, and minerals like calcium and iron. Olive oil, a staple of the Mediterranean diet, is renowned for its heart-healthy monounsaturated fats and antioxidants. Lemon juice provides Vitamin C. Together, these ingredients make hummus a nutrient-dense food that supports heart health, provides sustained energy, and can aid in weight management when incorporated into a balanced diet.
While tahini is a defining ingredient for authentic hummus, providing its signature nutty flavor and creamy texture, it is possible to make a tahini-free version if you have an allergy or simply don’t have it on hand. You can substitute tahini with other creamy alternatives like nut butter (cashew or almond butter work well, though they will alter the flavor profile), or even a tablespoon of plain Greek yogurt for a non-vegan option. However, for the most traditional and satisfying creamy hummus, tahini is highly recommended.
This recipe emphasizes health through its use of fresh, whole, and minimal ingredients. We focus on organic chickpeas (less processing), fresh garlic and lemon juice (maximum nutrients and flavor without artificial enhancers), and high-quality olive oil and tahini (healthy fats and vitamins). By avoiding artificial preservatives and excessive amounts of less healthy oils often found in commercial brands, this homemade version offers a purer, more nutritious, and intensely flavorful experience, allowing you to control exactly what goes into your body.
Explore More Hummus & Dip Recipes
- Curried White Bean Dip
- Edamame Hummus
- Hummus Toast 3 Ways
If you tried this fantastic Healthy Hummus recipe or any other delicious creation from the blog, I would absolutely love to hear from you! Please let me know how you liked it by leaving a comment and rating below. Your feedback helps me immensely and encourages others to try these recipes. And for even more deliciousness, behind-the-scenes glimpses, and healthy inspiration, be sure to follow along on Pinterest, Instagram, and Facebook!
The Best Healthy Hummus Recipe
Author: Jess
Prep Time: 15 minutes
Cook Time: 10 minutes
Total Time: 25 minutes
Yield: 20 servings
Category: Appetizer, Dip
Method: Blend
Cuisine: Middle Eastern
Description
This is the BEST healthy hummus recipe you’ll ever make! Discover the ultimate secret to achieving a smooth, creamy, and wonderfully fluffy hummus that tastes truly authentic.
Ingredients
- 1 15 oz can organic chickpeas
- 1/2 tsp baking soda
- 1/2 cup tahini
- 2 garlic cloves, fresh
- 1/2 tsp salt
- 1/2 tsp cumin
- 3 tbsp olive oil, good quality extra virgin
- 2 tbsp fresh lemon juice
- 1/2 cup to 3/4 cup cold water (adjust based on desired thickness)
- For topping: extra olive oil, za’atar, paprika, fresh parsley, or your preferred garnishes!
Instructions
- Drain and thoroughly rinse the can of chickpeas under cold water. For the silkiest texture, remove the skins: gently roll the chickpeas in a clean kitchen towel or lightly squeeze them between your fingers until the skins naturally come off. Discard the skins.
- Place the peeled chickpeas in a medium pot and cover with fresh water. Add 1/2 tsp of baking soda to the pot.
- Bring the water to a boil over medium-high heat and cook the chickpeas for 8-12 minutes, or until they are incredibly soft and easily mashed. Remove from heat and drain thoroughly.
- Transfer the warm, cooked chickpeas, tahini, fresh garlic cloves, salt, cumin, good quality olive oil, and fresh lemon juice to a food processor or high-speed blender. Blend the mixture continuously until it becomes smooth, stopping occasionally to scrape down the sides of the bowl as needed.
- While the processor/blender is running, slowly begin to add the ice-cold water, starting with 1/4 cup. Continue to blend for at least 3-5 minutes, adding more cold water as necessary (up to 3/4 cup total) until the hummus achieves a wonderfully light, fluffy, and creamy consistency. The longer blending with cold water creates the perfect emulsion and texture.
- Taste the hummus and adjust seasonings to your preference. You may wish to add a little more salt, cumin, or a squeeze of lemon juice for optimal flavor balance.
- Spoon the creamy hummus into a serving bowl. Drizzle generously with olive oil and garnish with your choice of za’atar spice, paprika, fresh parsley, or other toppings. Serve immediately with warm pita bread or fresh vegetables, or chill for later enjoyment.
Notes
I typically use about 1/2 teaspoon of salt, but the exact amount can vary depending on the brand of chickpeas and your personal taste. Always taste and adjust the seasoning accordingly. Don’t be afraid to experiment with a little extra cumin or a splash more lemon juice!
This freshly made hummus will store beautifully in an airtight container in the refrigerator for up to one week. For longer storage, refer to our freezing instructions above.
Nutrition Information
- Serving Size: 2 tbsp
- Calories: 110
- Sugar: 2g
- Fat: 6g
- Saturated Fat: 0g
- Carbohydrates: 14g
- Fiber: 2g
- Protein: 5g
This post contains affiliate links which means I will make a small commission if you purchase through those links. I only recommend products that I know, trust and love!