
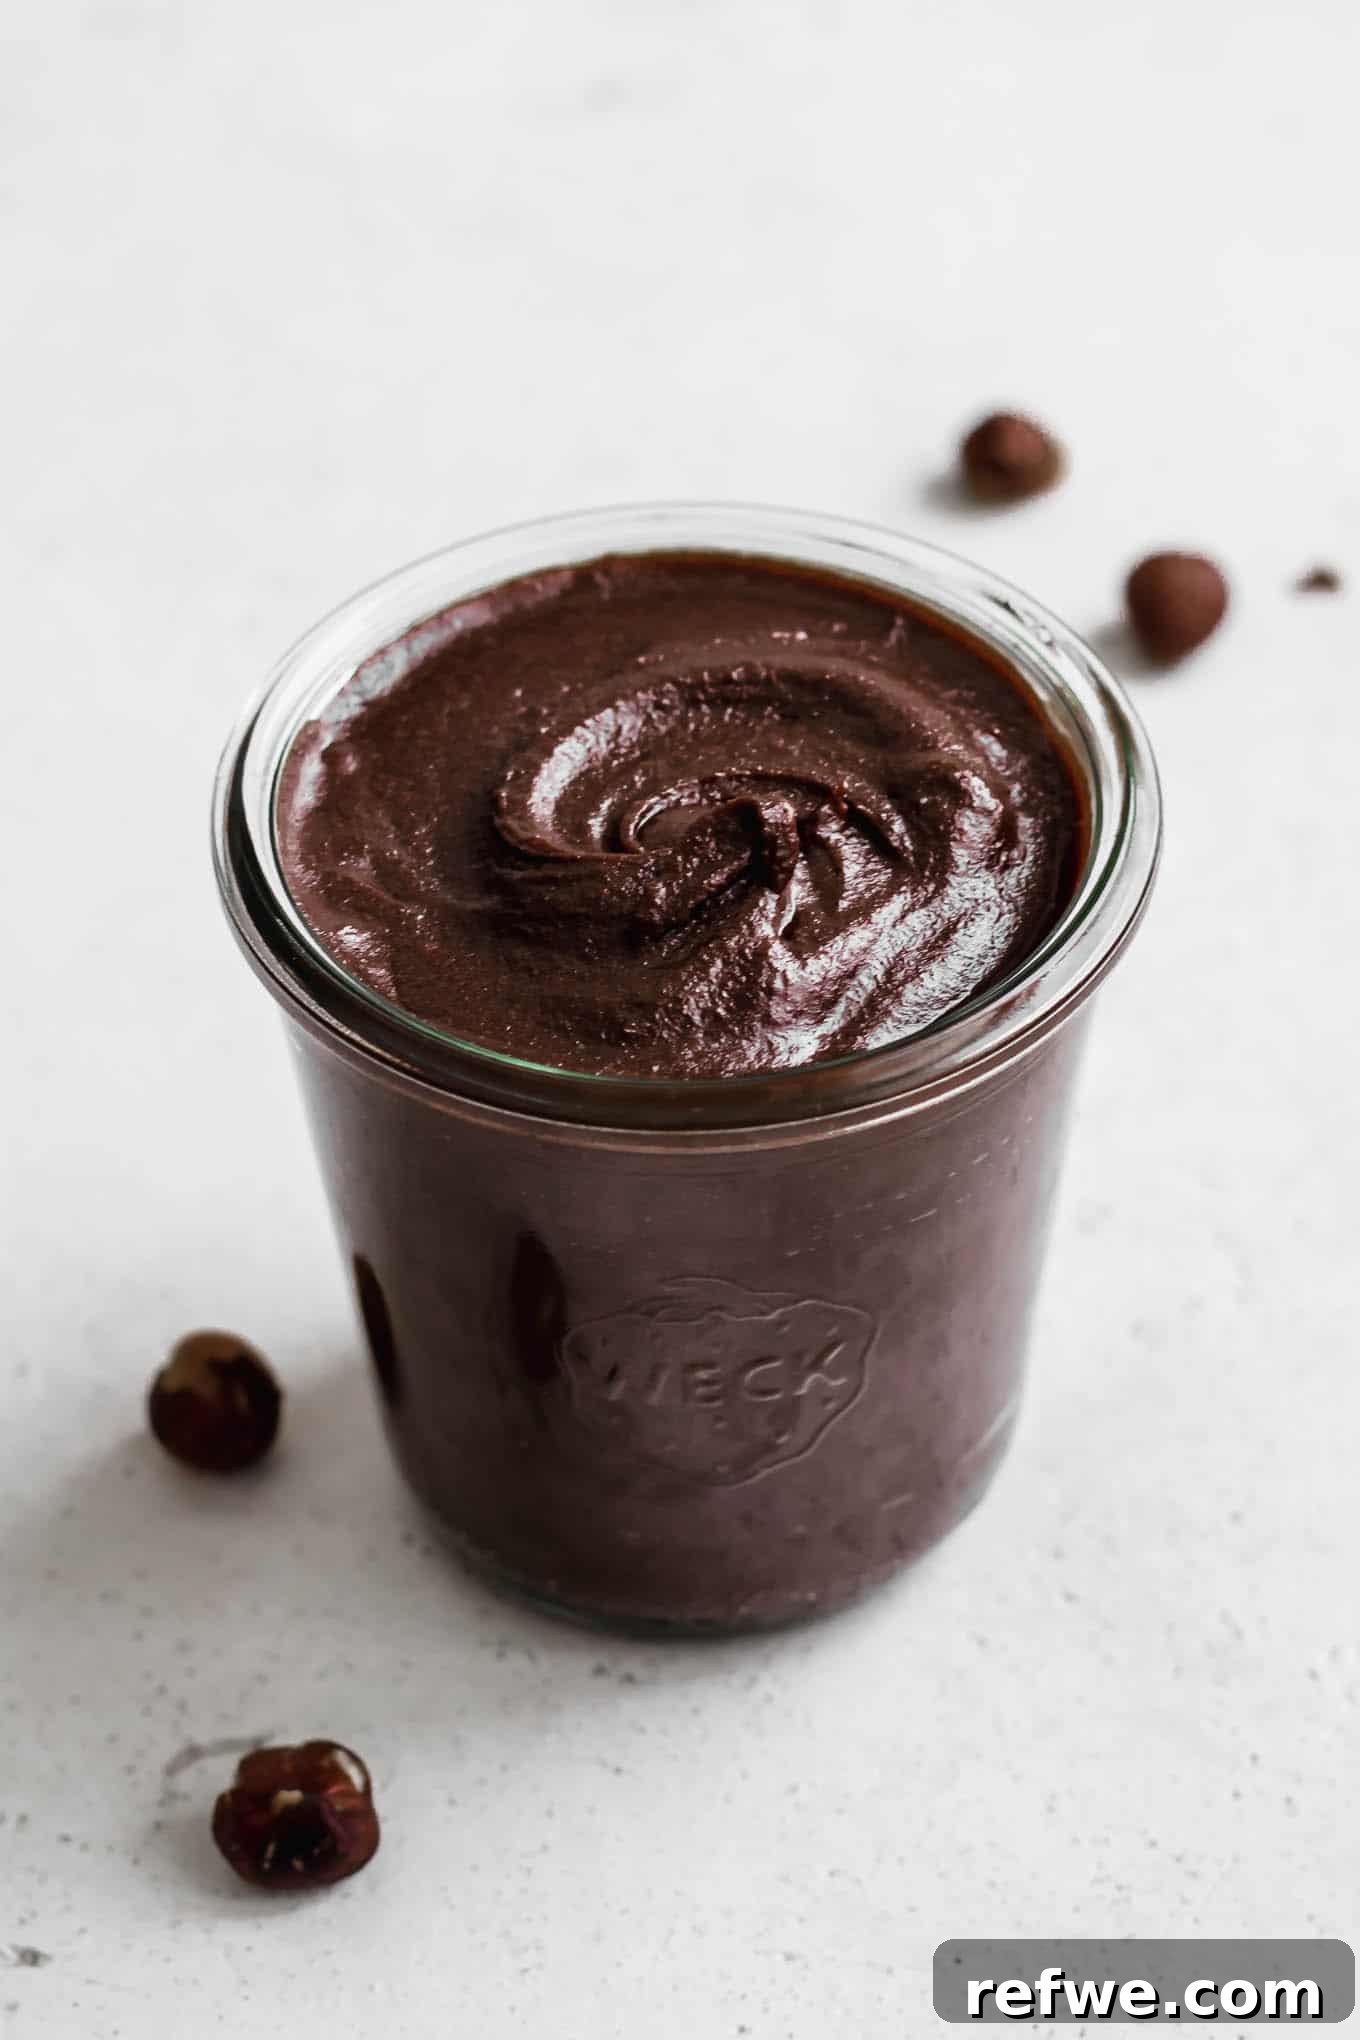
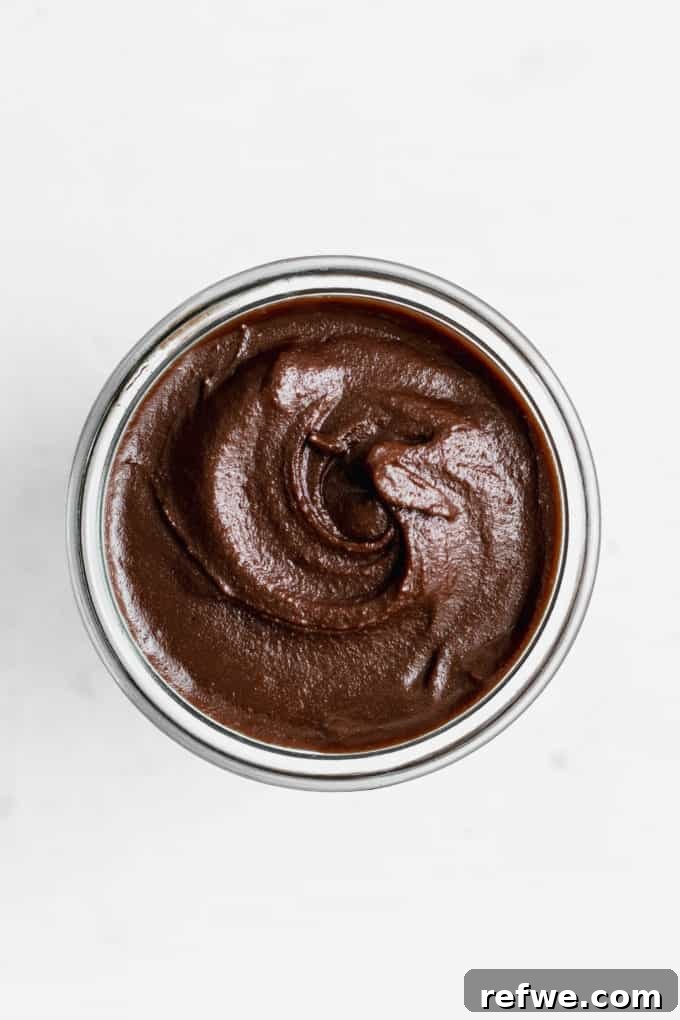
Say goodbye to store-bought spreads and hello to your new favorite indulgence: this incredibly rich and creamy Homemade Vegan Nutella. Crafted with just 5 simple, wholesome ingredients, this recipe offers a delicious and healthy alternative to traditional chocolate hazelnut spreads. It’s not only dairy-free and gluten-free but also paleo-friendly and entirely free of refined sugars, making it a guilt-free pleasure for everyone.
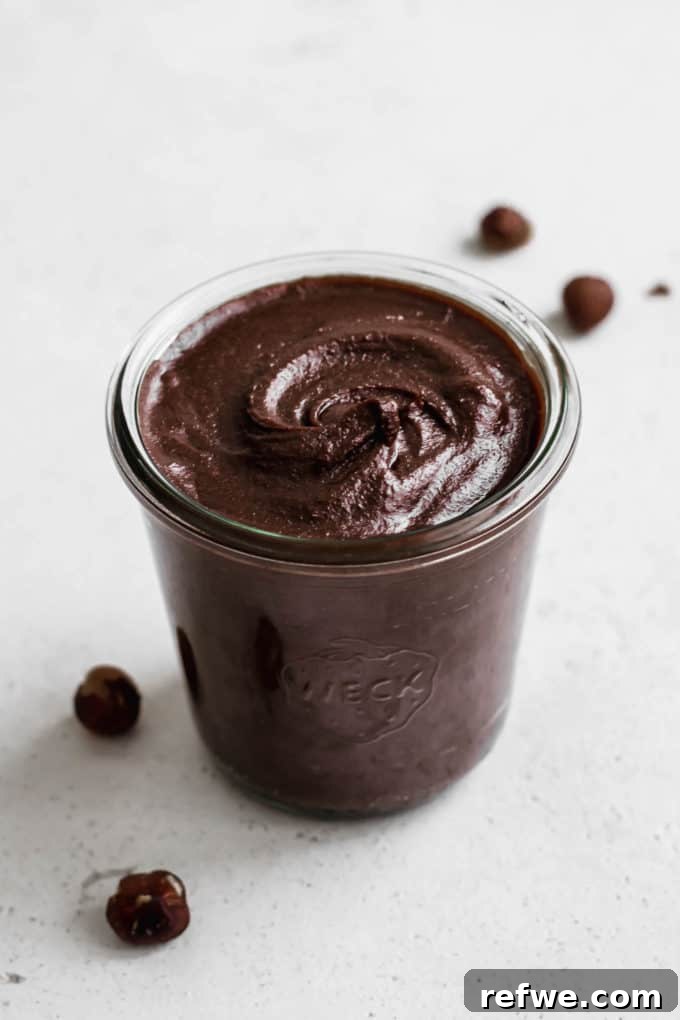
The Best Vegan Nutella Recipe You’ll Ever Make
If you’ve been searching for an easy, healthy, and genuinely satisfying alternative to commercial chocolate hazelnut spreads, look no further. This Homemade Vegan Nutella recipe is poised to become your go-to staple. Boasting an intense chocolate and hazelnut flavor complemented by an irresistibly creamy texture, this spread elevates your everyday snacks and desserts. What truly sets this recipe apart is its reliance on real dark chocolate, which imparts an unparalleled depth of flavor and luxurious creaminess that cocoa powder alone simply cannot replicate. While cocoa powder (about 1/3 cup, omitting the chocolate) can be used in a pinch, we highly recommend sticking to quality dark chocolate for the most exquisite results.
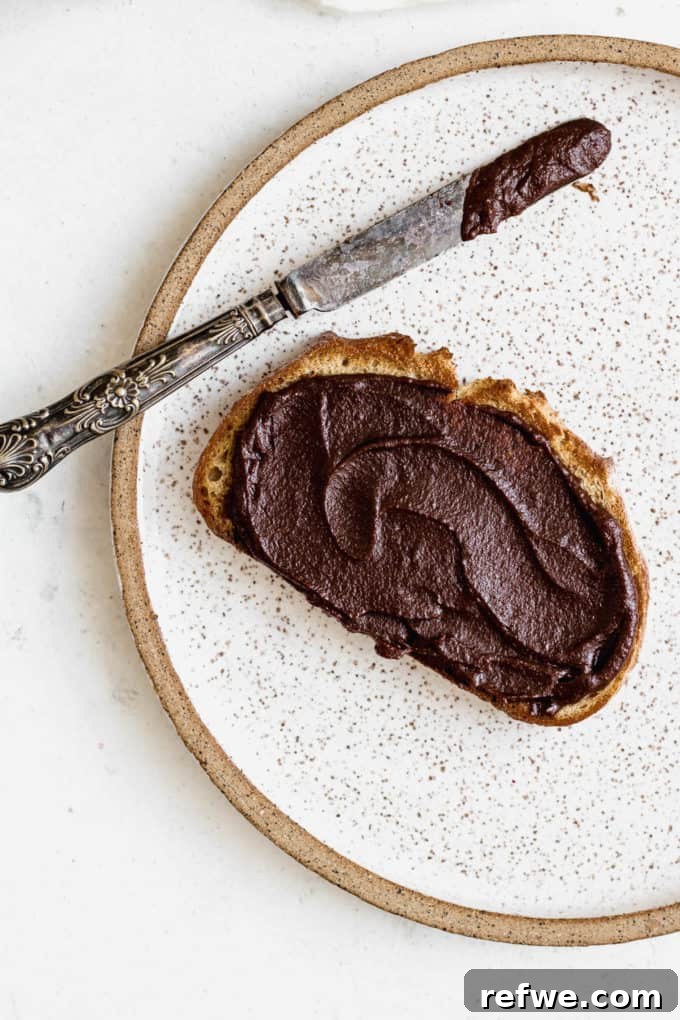
Imagine spreading this decadent vegan Nutella on warm toast, swirling it into your morning oatmeal, or even enjoying a spoonful straight from the jar – the possibilities are deliciously endless. It’s so good, you might just find yourself reaching for it more often than you think!
Why You’ll Fall in Love with This Vegan Chocolate Hazelnut Spread
There are countless reasons to adore this homemade treat, but here are the highlights that make it a must-try:
- Minimal Ingredients: You only need 5 simple ingredients, most of which you might already have in your pantry. No obscure additives or preservatives here!
- Effortlessly Easy to Make: The process is straightforward, requiring minimal effort for maximum reward. Even beginners can achieve perfect results.
- Significantly Healthier: Unlike many store-bought options loaded with excessive sugar and artificial ingredients, our recipe is free from refined sugars, dairy, and gluten, making it a much healthier indulgence.
- Dietary-Friendly: Perfectly suited for various dietary needs, this spread is vegan, gluten-free, and paleo-friendly, ensuring almost everyone can enjoy its deliciousness.
- Incredible Flavor & Texture: The combination of roasted hazelnuts and real dark chocolate creates a deeply rich, nutty, and velvety-smooth spread that will tantalize your taste buds.
Essential Ingredients for Your Homemade Nutella
Crafting the perfect vegan Nutella begins with selecting high-quality ingredients. Here’s what you’ll need, along with some helpful tips:
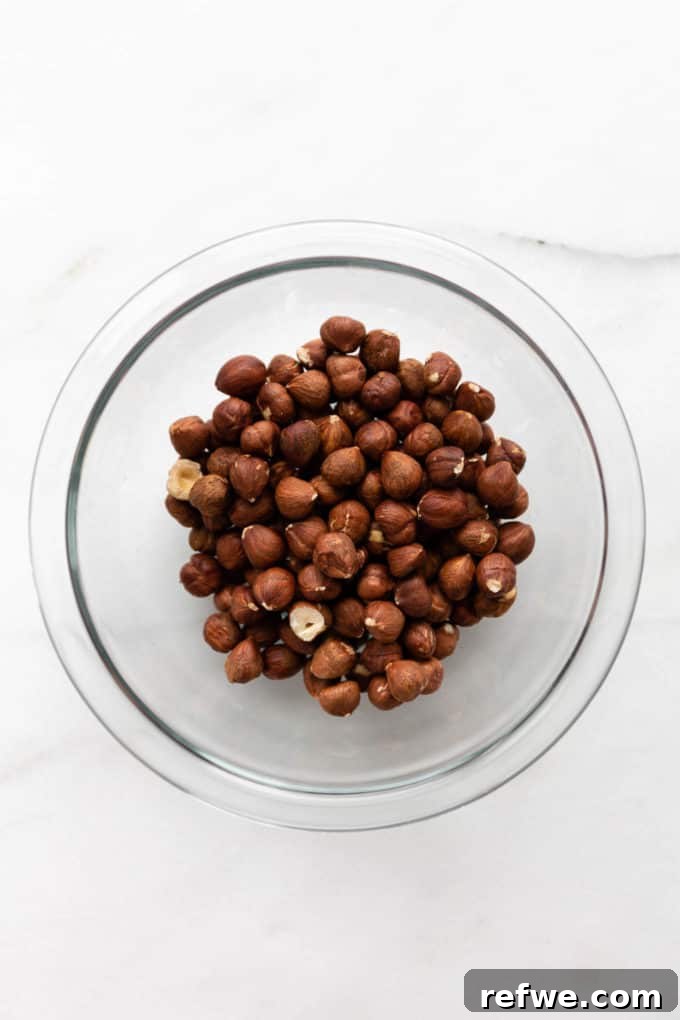
- Hazelnuts: The star of the show! For the most authentic and fresh hazelnut flavor, choose raw, unsalted hazelnuts. Roasting them yourself (as we’ll do in the recipe) enhances their natural sweetness and nutty aroma, which is crucial for that classic Nutella taste.
- Dark Chocolate: This is where the magic happens! We recommend using 70% dark chocolate or higher for a deep, rich, and truly decadent chocolate flavor that balances beautifully with the hazelnuts. Opt for a high-quality brand you enjoy eating on its own.
- Coconut Oil: A touch of refined coconut oil helps achieve that ultra-creamy, spreadable consistency. It also contributes to the smooth mouthfeel without imparting a strong coconut flavor (if refined).
- Maple Syrup: Our natural sweetener of choice! Pure maple syrup provides a delicate sweetness that complements the chocolate and hazelnut without being overpowering. You can also substitute with agave nectar if preferred. Adjust the amount to your desired sweetness level.
- Salt: Just a pinch of fine sea salt is all it takes to enhance and balance all the wonderful flavors, bringing out the best in the chocolate and nuts.
How to Make Homemade Vegan Nutella: A Step-by-Step Guide
Making your own vegan Nutella is simpler than you might imagine. Follow these steps to create a luscious, healthy spread:
Step 1: Roasting the Hazelnuts for Enhanced Flavor
Preheat your oven to 350°F (175°C). Spread the unsalted hazelnuts evenly on a baking sheet. Roast them for about 8-10 minutes, or until they are lightly golden and fragrant. Be careful not to burn them, as this can make the spread bitter. Once toasted, remove them from the oven and allow them to cool completely. This cooling step is important for easy skin removal.
Step 2: Removing the Hazelnut Skins
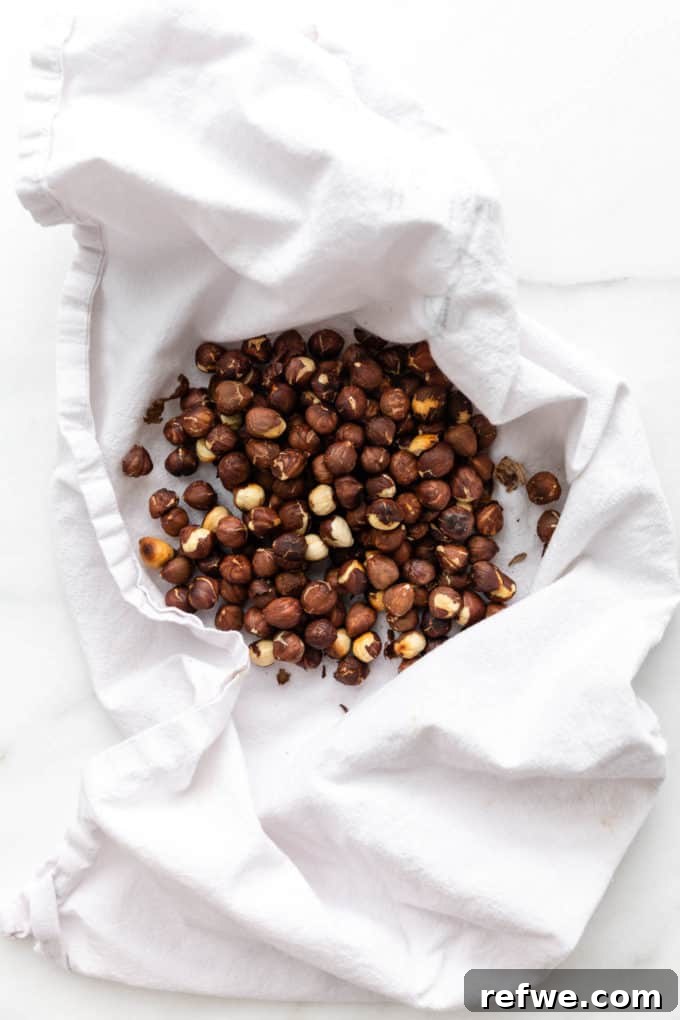
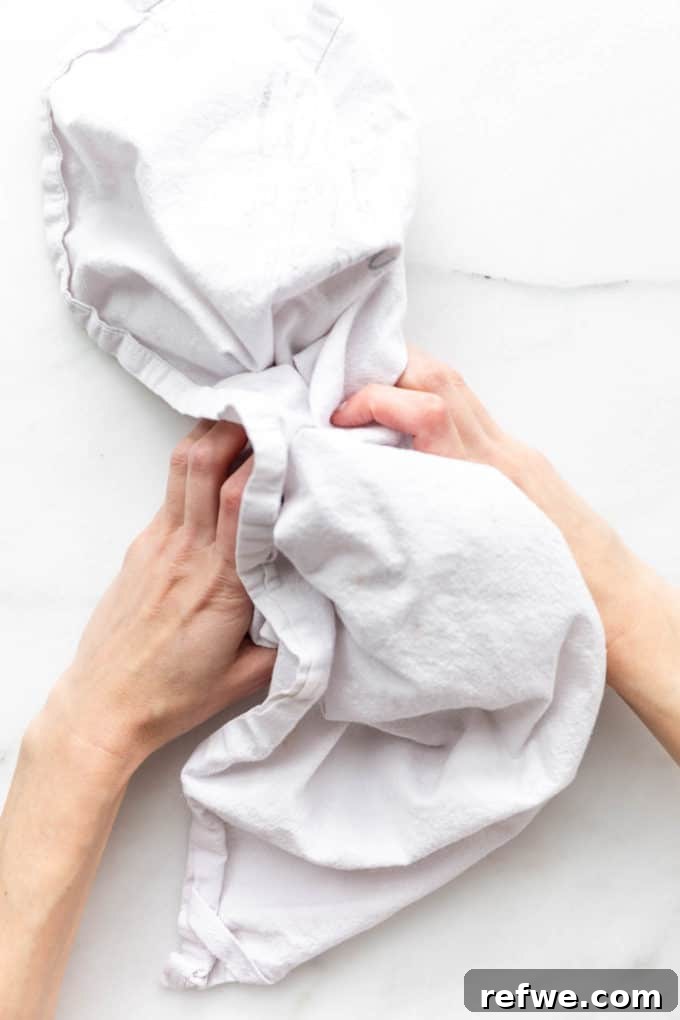
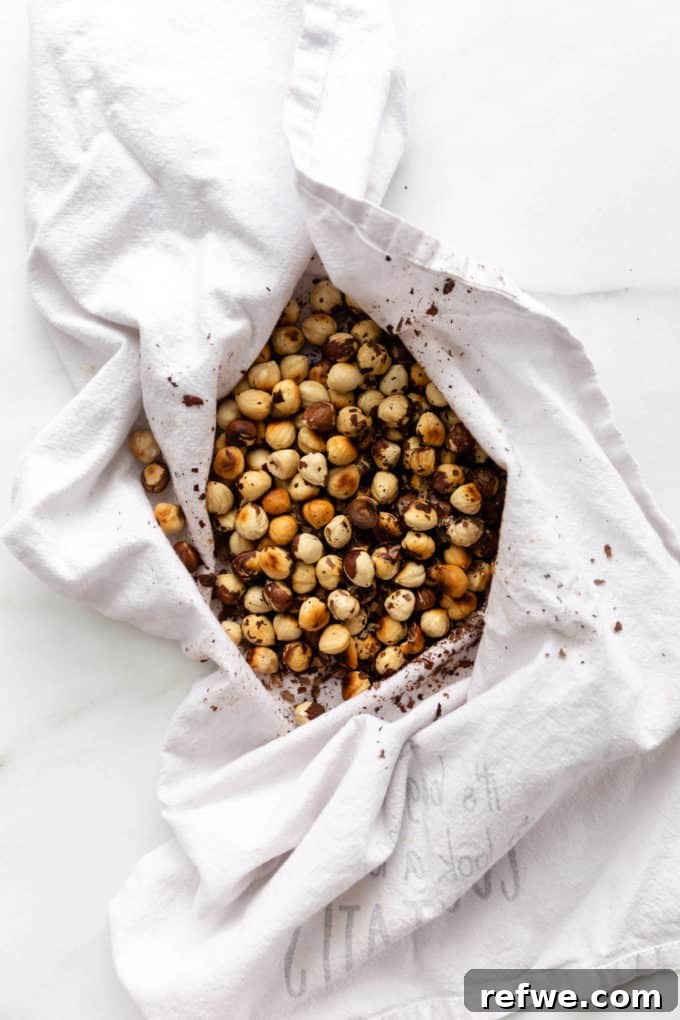
Once the hazelnuts are cool enough to handle, transfer them to the center of a clean kitchen towel. Gather the edges of the towel to form a pouch, then vigorously rub the hazelnuts against each other within the towel. This friction will cause most of the papery skins to loosen and fall off. Separate the skinned hazelnuts from the discarded skins. Don’t worry if a few stubborn skins remain; they won’t significantly affect the taste or texture.
Step 3: Creating Creamy Hazelnut Butter
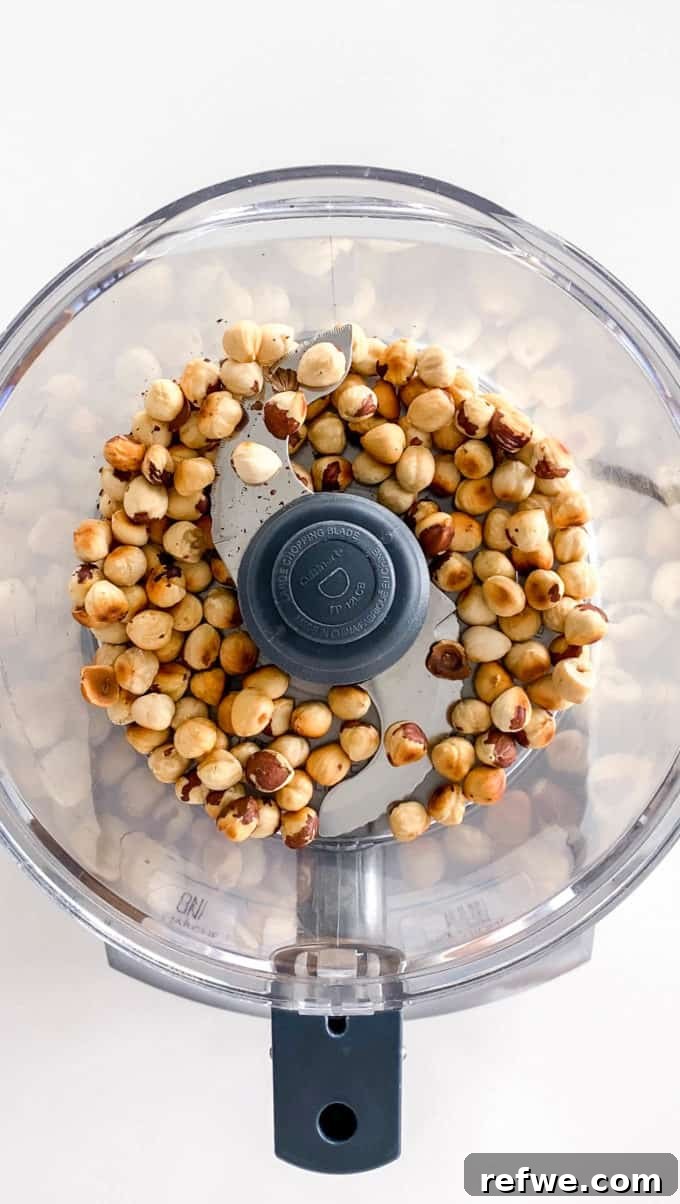
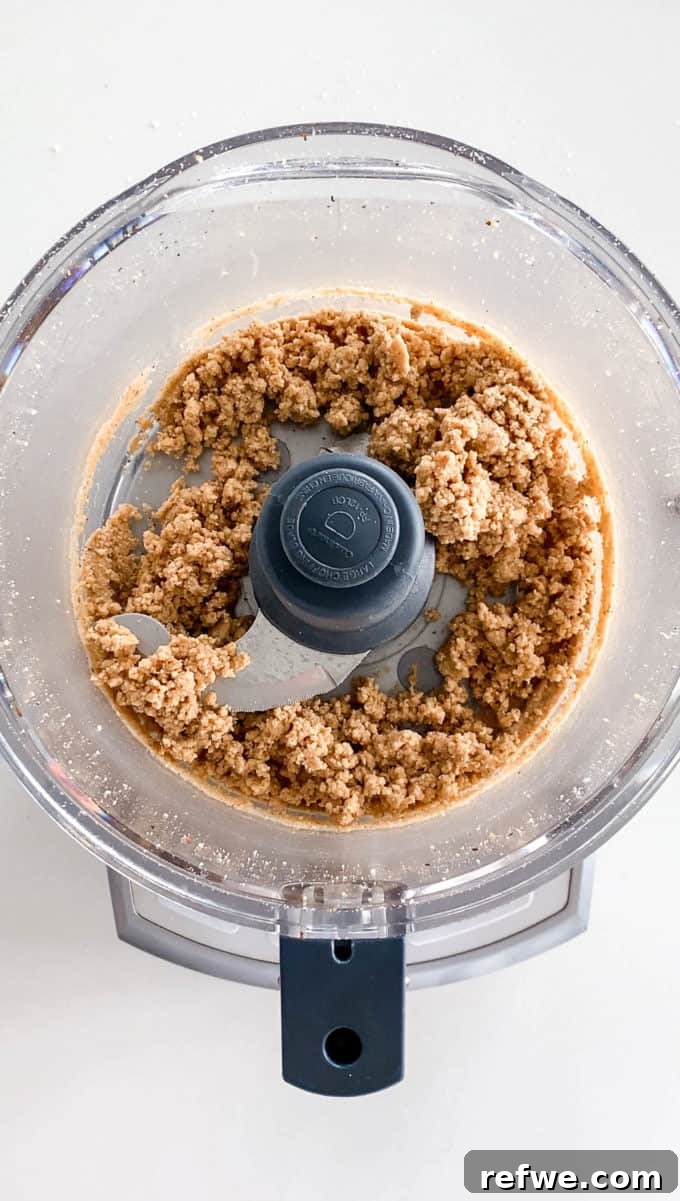
Place the skinned hazelnuts into a high-speed blender or a powerful food processor. Begin blending, and be patient! The hazelnuts will first break down into a coarse flour, then a finer powder. As they continue to blend, their natural oils will release, transforming the powder into a thick, clumpy paste, and eventually into a smooth, creamy hazelnut butter. This process typically takes 5-10 minutes, depending on your appliance. You may need to stop occasionally to scrape down the sides of the bowl.
Step 4: Melting the Chocolate and Coconut Oil
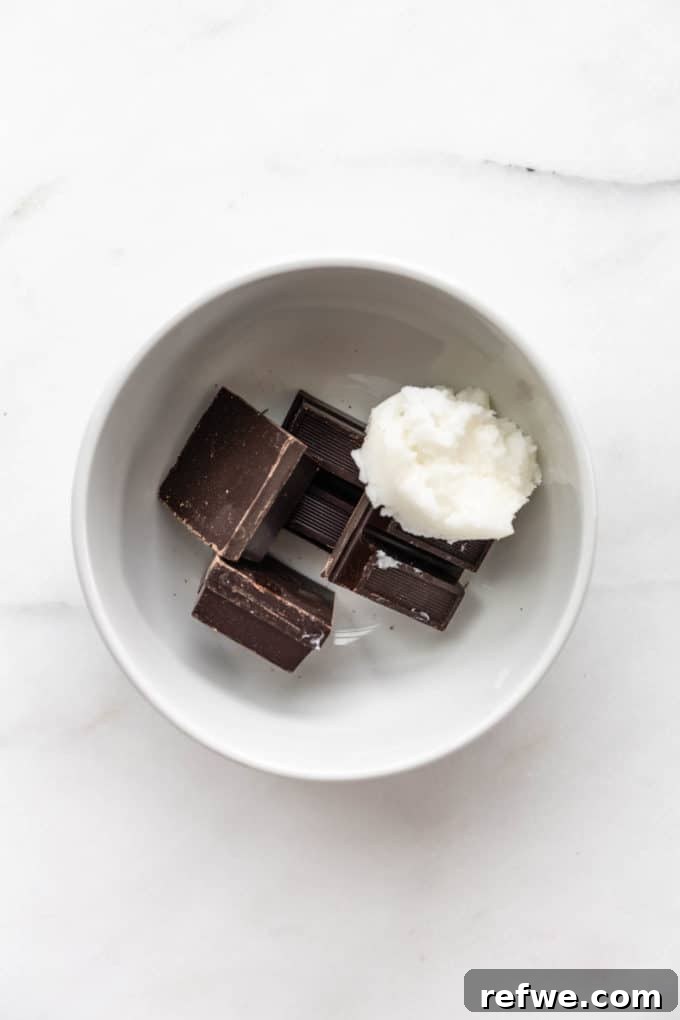
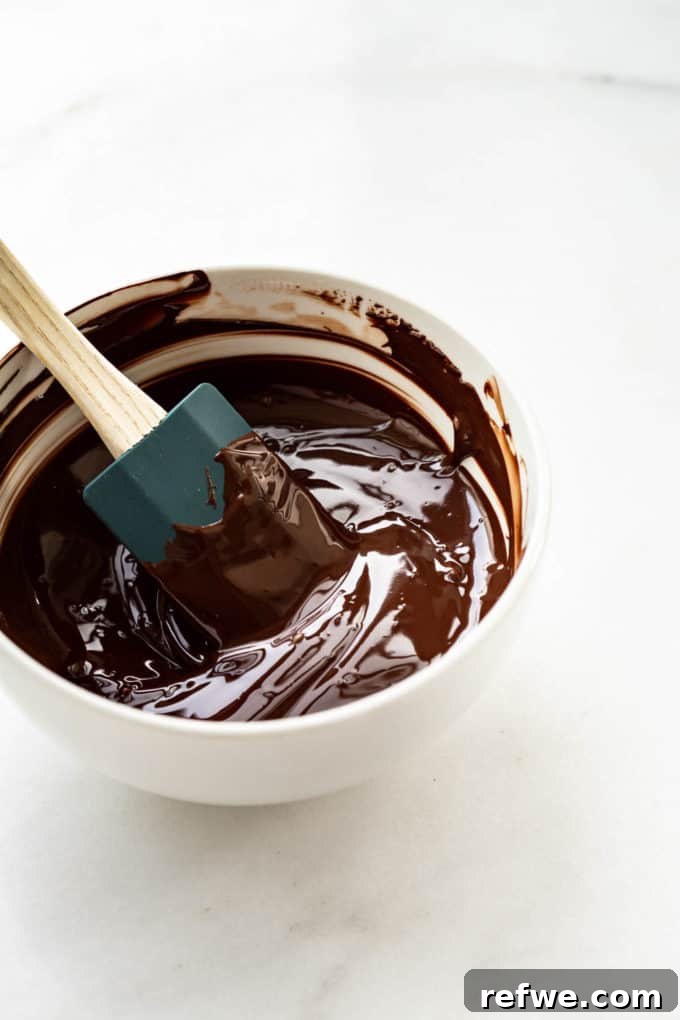
While the hazelnuts are blending, prepare your chocolate. Combine the chopped dark chocolate and coconut oil in a microwave-safe bowl. Heat in short intervals (15-30 seconds), stirring well after each, until the mixture is completely smooth and melted. Alternatively, you can use a double boiler on the stovetop for a gentle melt.
Step 5: Combining and Blending for Ultimate Creaminess
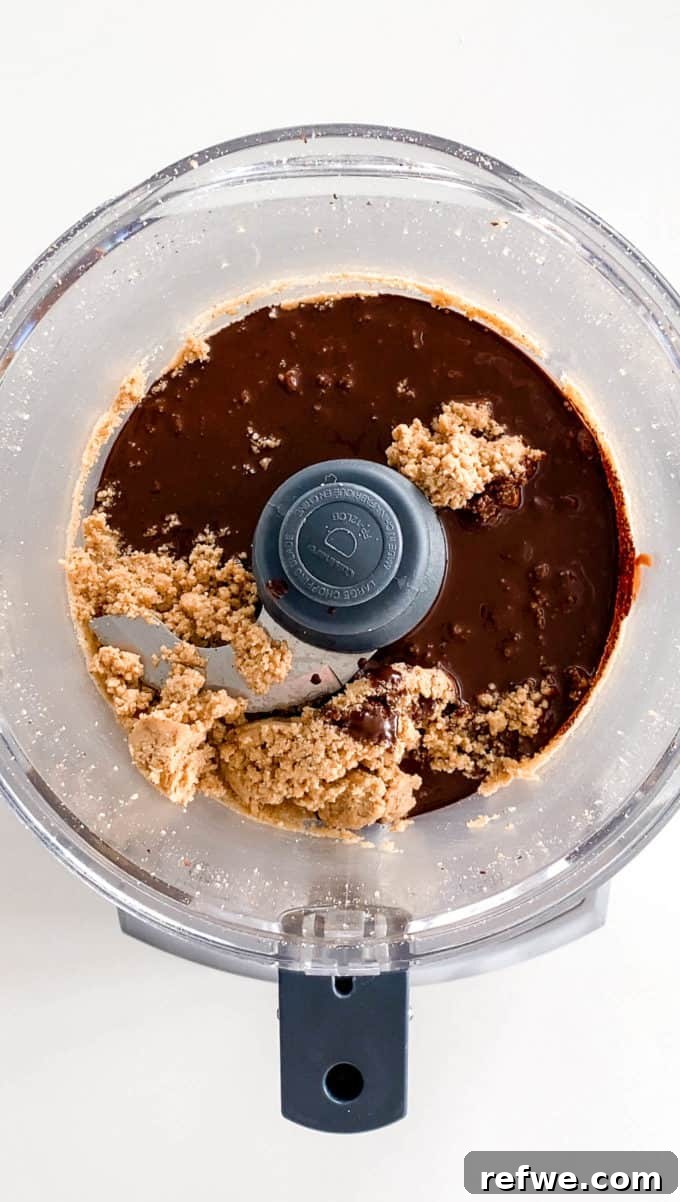
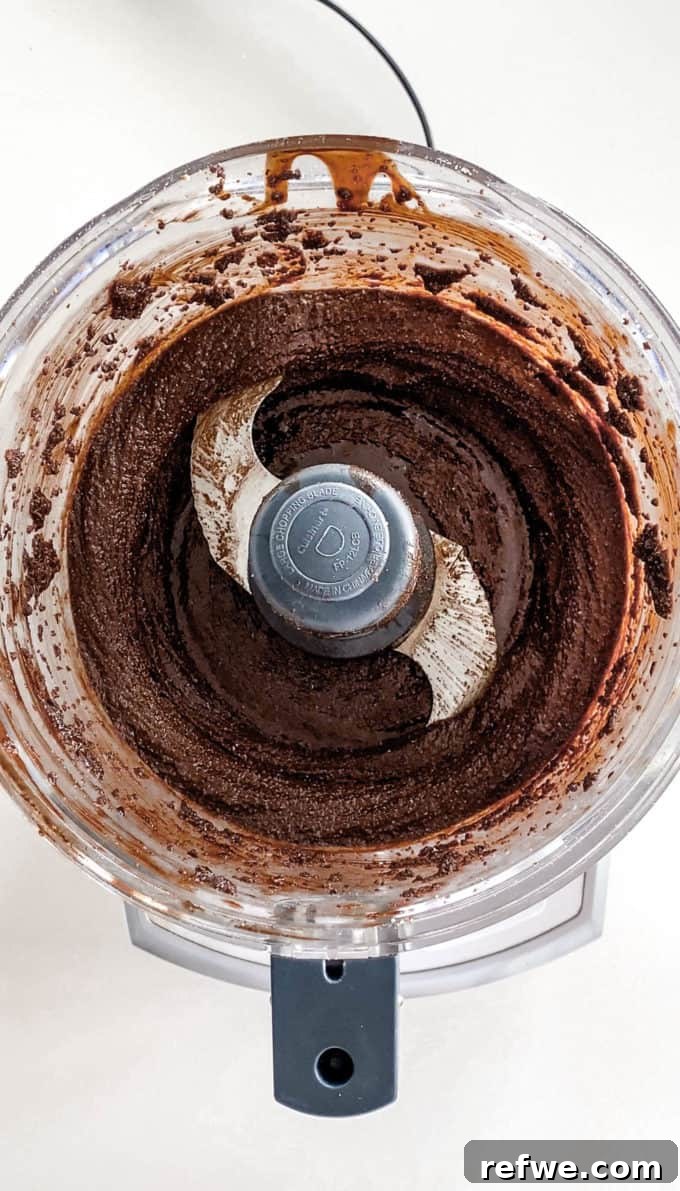
Add the melted chocolate and coconut oil mixture, maple syrup, and a pinch of salt to the food processor or blender with the hazelnut butter. Blend for another 3-4 minutes, or until all ingredients are thoroughly combined and the mixture is luxuriously smooth and creamy. The longer you blend, the silkier the texture will be. Scrape down the sides as needed to ensure everything is fully incorporated.
Storing Your Homemade Vegan Nutella for Freshness
Proper storage ensures your delicious homemade vegan Nutella stays fresh and enjoyable for as long as possible:
Room Temperature Storage: Store your freshly made Nutella in an airtight jar at room temperature for up to 2 weeks. This is the ideal way to keep it soft and easily spreadable.
Refrigerated Storage: If you prefer to extend its shelf life, you can store it in a sealed jar in the refrigerator for up to 2 months. However, be aware that chilling will cause the coconut oil to solidify, making the Nutella quite firm. To enjoy a spreadable consistency, simply let it sit on the countertop for 30-60 minutes before serving, or gently warm it slightly.
Freezer Storage: For even longer preservation, homemade Nutella is freezer-friendly! Store it in a sealed, freezer-safe jar or container for up to 2 months. When you’re ready to use it, transfer the jar to the countertop and let it thaw completely until it reaches your desired consistency.
Creative Ways to Enjoy Homemade Vegan Nutella
The versatility of this homemade vegan Nutella is truly incredible. It’s not just a spread; it’s an ingredient that can elevate countless dishes. Here are some inspiring ideas to get you started:
- Classic Toast Topping: Spread generously on a slice of warm, crusty bread or crispy toast for a simple yet satisfying breakfast or snack.
- Elevate Your Oatmeal: Swirl a spoonful into your morning oatmeal, porridge, or chia pudding for a burst of chocolate hazelnut goodness.
- Pancake & Waffle Perfection: Drizzle over freshly made pancakes, waffles, or delicate crepes instead of traditional syrup.
- Smoothie Boost: Add a tablespoon or two to your favorite smoothie recipe for an extra layer of flavor and richness. It pairs wonderfully with banana and date smoothies.
- Instant Brownie Frosting: Use it as a quick and decadent frosting for brownies, cupcakes, or cakes.
- Swirled into Baked Goods: Gently fold it into batters for banana bread, muffins, or even cookies for a marbled effect and added flavor.
- Straight from the Spoon: Let’s be honest, sometimes the simplest way is the best way! Enjoy a spoonful as a quick pick-me-up or a late-night treat.
- Stuffed Cookies or Pastries: Use it as a delectable filling for cookies, croissants, or other baked delights.
- Fruit Dip: Serve it alongside sliced apples, bananas, or strawberries for a healthy and satisfying dip.
Expert Tips for Crafting Perfect Vegan Nutella Every Time
- Choose the Right Hazelnuts: Always opt for raw, unsalted hazelnuts. Most roasted hazelnuts available in stores are salted and may have added oils, which can alter the flavor and consistency of your spread. Removing the skins as described ensures a smoother texture.
- Don’t Skip Roasting: Roasting the hazelnuts is a non-negotiable step. It significantly deepens their flavor and brings out their natural sweetness, which is essential for achieving that characteristic Nutella taste.
- Quality Dark Chocolate Matters: For the most luxurious and rich chocolate flavor, use a high-quality dark chocolate with at least 70% cocoa content. This will yield a spread that is intensely chocolatey without being overly sweet.
- Cocoa Powder Substitute (If Needed): If you don’t have dark chocolate on hand, you can substitute it with 1/3 cup of unsweetened cocoa powder. Simply melt the coconut oil, then add both the cocoa powder and melted coconut oil to the food processor with the hazelnut butter. The resulting flavor will be slightly different, but still delicious.
- Blend, Blend, Blend: Patience is key when blending! The longer you process the mixture, the smoother and creamier your Nutella will become. A powerful high-speed blender or food processor will yield the best, silkiest results. Don’t be afraid to let it run for several minutes, stopping to scrape down the sides as necessary.
Homemade Vegan Nutella: Frequently Asked Questions
No, traditional store-bought Nutella from the brand Nutella is not vegan. It contains skim milk powder and other dairy-derived ingredients. However, there are several commercial chocolate-hazelnut spreads available today that are specifically formulated to be vegan.
Homemade vegan Nutella can be stored at room temperature in an airtight jar for up to 2 weeks. If you store it in the refrigerator, it can last for up to 2 months, though it will become quite firm due to the coconut oil. For a longer shelf life, you can freeze it for up to 2 months and thaw before use.
Yes, this recipe is significantly healthier than most store-bought Nutella varieties. It’s made with natural ingredients, contains no refined sugars, and is free from dairy and gluten. While it is still an indulgent treat, it can certainly be enjoyed in moderation as part of a balanced and healthy diet.
Absolutely! While it won’t technically be a “chocolate hazelnut” spread, you can certainly experiment with other nuts. Almonds, cashews, or even walnuts would make delicious and unique chocolate nut spreads. The process remains largely the same.
Yes, you can! Finding high-quality, unsalted hazelnut butter can sometimes be challenging, which is why this recipe starts with whole hazelnuts (plus, making it from scratch just tastes better!). If you have access to good quality, unsalted hazelnut butter, you can substitute 1 1/2 cups of it for the whole hazelnuts, skipping the roasting and blending steps for the nuts themselves. Simply combine the hazelnut butter with the melted chocolate, maple syrup, and salt in your food processor or blender.
More Irresistible Chocolate Hazelnut Recipes to Explore
If you’re a fan of the rich pairing of chocolate and hazelnut, you’ll love these other delicious recipes:
- Flourless Fudge Hazelnut Brownies: Indulge in rich, gluten-free brownies with a delightful hazelnut twist.
- Vegan Chocolate Hazelnut Tart: A show-stopping dessert that’s creamy, chocolatey, and utterly decadent.
- Healthy Hazelnut Truffles: A lighter, homemade version of your favorite chocolate hazelnut candies.
We hope you enjoy making and savoring this incredible Homemade Vegan Nutella. If you tried this recipe or any other from our collection, please let us know what you thought by leaving a comment and rating below! Don’t forget to follow us on Pinterest, Instagram, and Facebook for even more delicious plant-based inspiration and healthy recipes!
Homemade Vegan Nutella
- Author: Jessica Hoffman
- Prep Time: 10 mins
- Cook Time: 0 minutes
- Total Time: 10 mins
- Yield: 25 servings
- Category: Breakfast
- Method: Blend
- Cuisine: American
- Diet: Vegan
Description
The BEST EVER homemade vegan Nutella with all-natural ingredients. Yum!
Ingredients
Units
- 1 1/2 cups plain unsalted hazelnuts
- 4 oz 70% dark chocolate
- 1/4 cup refined coconut oil
- 1/4 cup maple syrup
- 1/4 tsp salt
Instructions
- Preheat the oven to 350 degrees F (175°C). Place the hazelnuts on a baking sheet and toast for 8-10 minutes, or until lightly colored and fragrant.
- Remove from oven and let cool completely.
- Place the cooled hazelnuts in the center of a kitchen hand towel and close all 4 edges to make a pouch. Use your hands to rub the hazelnuts in the towel vigorously to remove the skins. (This method is much quicker than peeling them individually.)
- Once the skins are removed, place the hazelnuts in a food processor or high-speed blender and blend until they start to turn into smooth hazelnut butter. (This should take 5-10 minutes, stopping to scrape down the sides as needed.)
- Next, melt the dark chocolate with coconut oil in a microwave-safe bowl (in short intervals, stirring) or using a double boiler until smooth.
- Add the melted chocolate, maple syrup, and salt to the food processor and blend for 3-4 minutes until everything is smooth, creamy, and well-incorporated.
- Store in an airtight jar in the pantry at room temperature for up to 2 weeks. For longer storage, refrigerate for up to 2 months (it will firm up) or freeze for up to 2 months (thaw before use).
Notes
- Make sure to use unsalted raw hazelnuts for the best flavor and texture.
- No chocolate? Use cocoa powder. If you don’t have any dark chocolate on hand, you can substitute it with 1/3 cup of unsweetened cocoa powder. Simply melt the coconut oil, then add the cocoa powder and melted coconut oil to the food processor.
- Blend the Nutella long enough. Patience is key! The longer you blend it, the smoother and more luxurious the consistency will become. A powerful blender or food processor is highly recommended for achieving optimal creaminess.
Nutrition
- Serving Size: 1 tbsp
- Calories: 100
- Sugar: 4.6g
- Fat: 8.5g
- Saturated Fat: 3.2g
- Carbohydrates: 6g
- Fiber: 1g
- Protein: 1.8g