
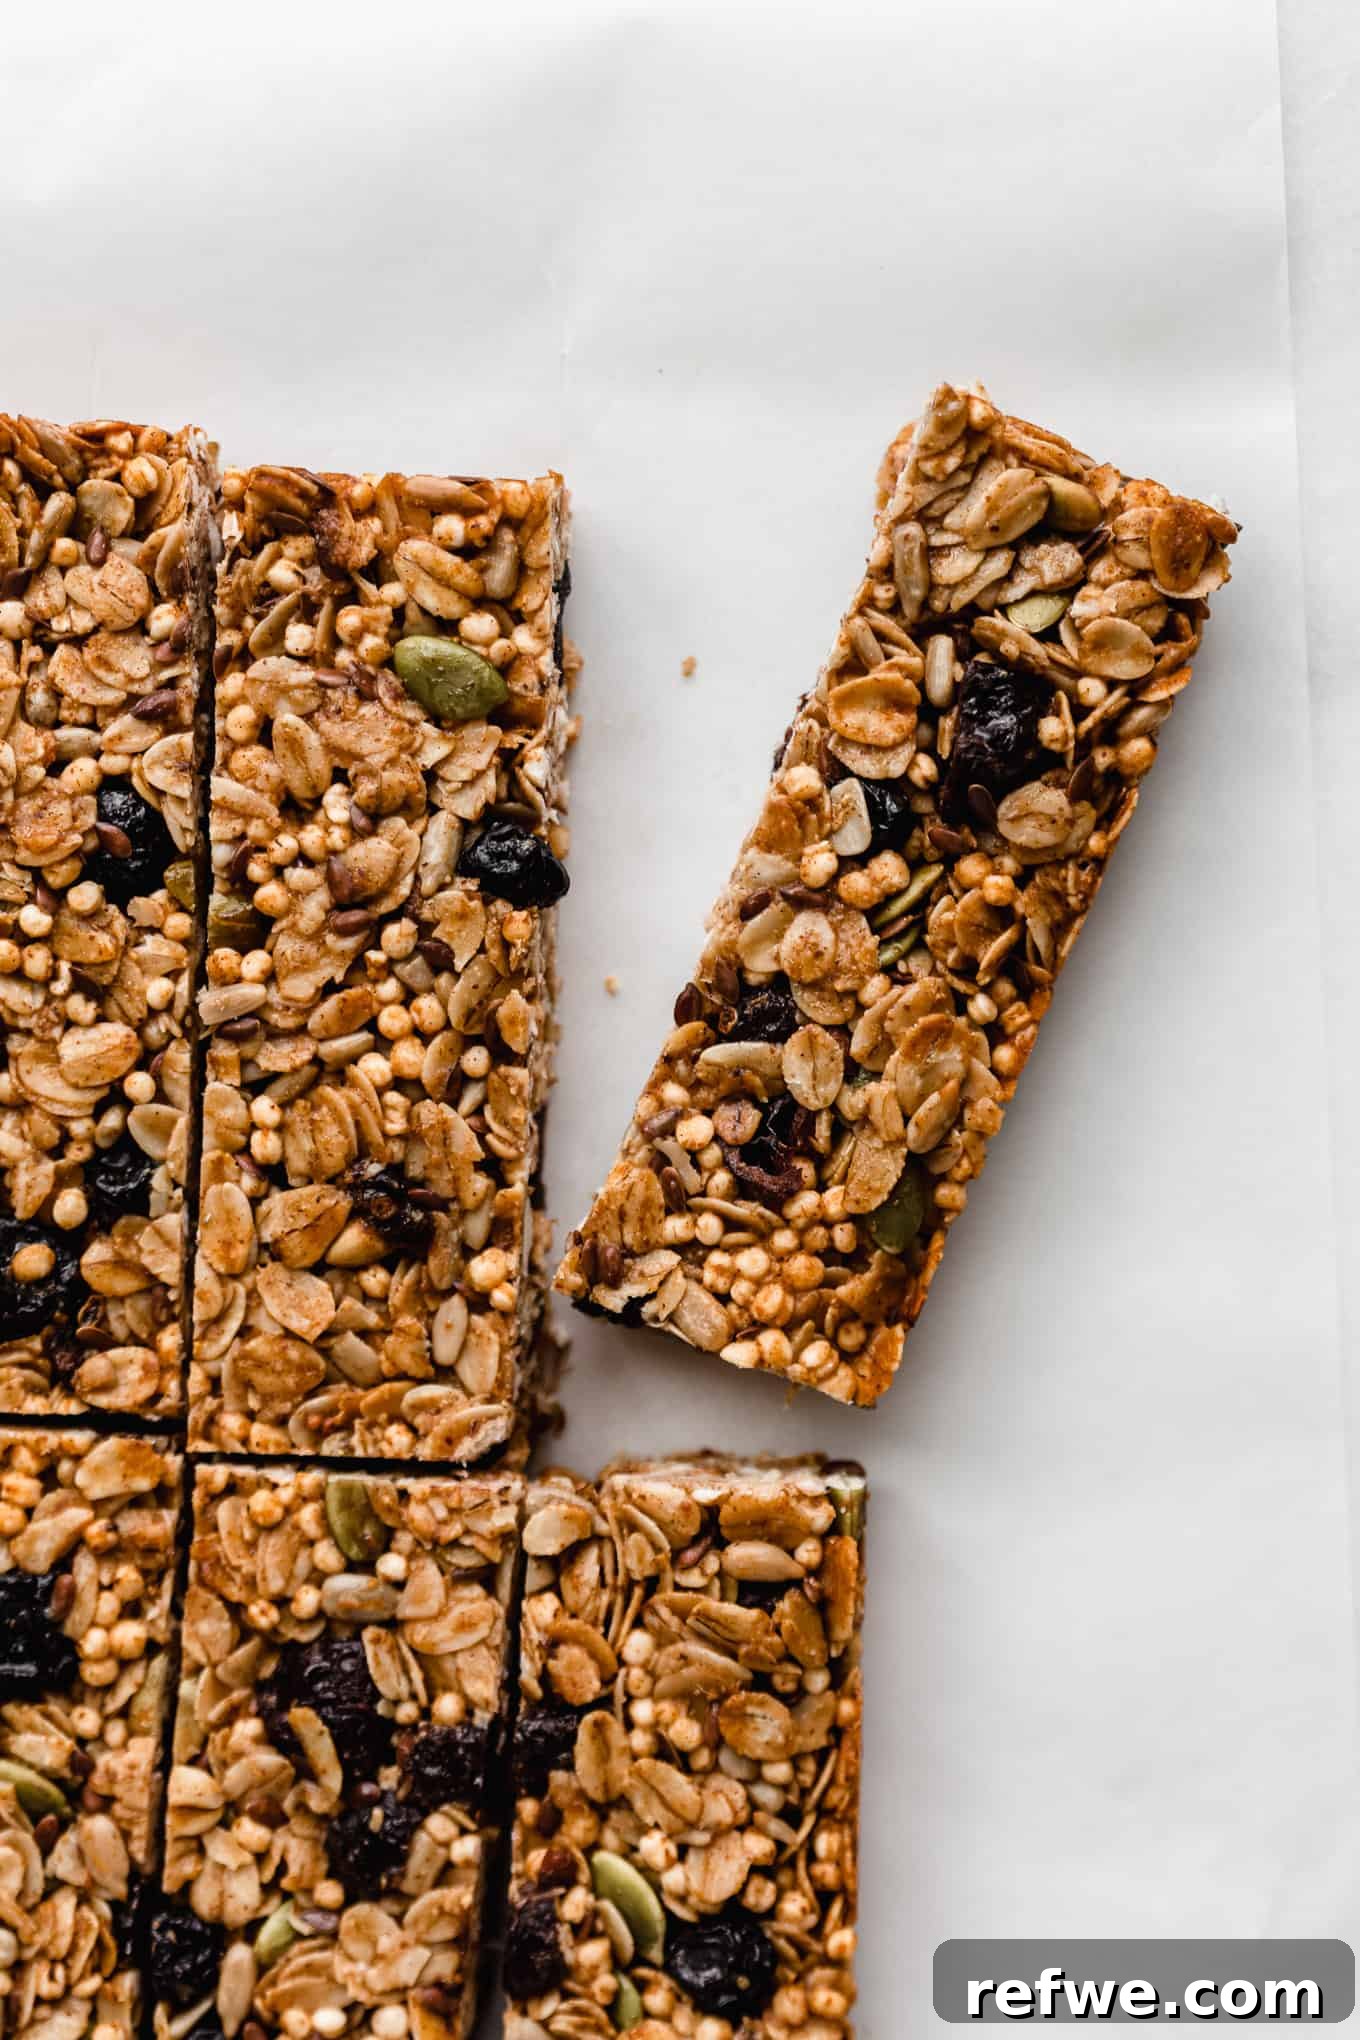
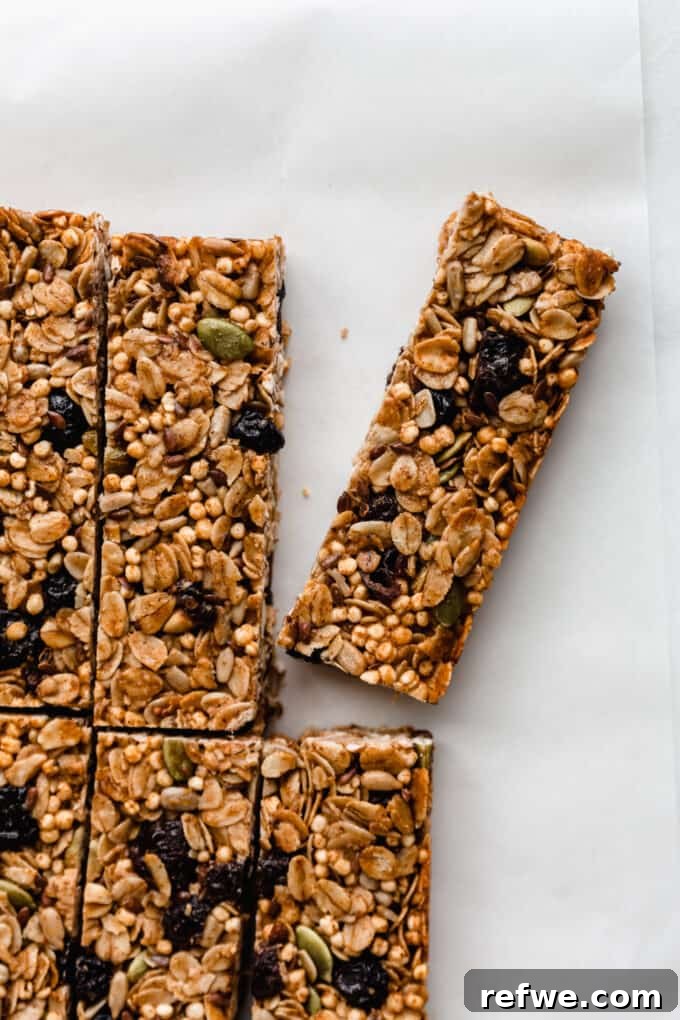
Craving a wholesome snack that’s both delicious and energizing? Look no further than these incredible Homemade Healthy Granola Bars! Effortlessly simple to prepare, these bars are the ideal companion for busy mornings, afternoon slumps, or any time you need a nutritious boost. Enjoy them as a quick breakfast at home, pack them for work or school lunches, or grab one before your next adventure. They are designed to fuel your day with natural goodness.
This recipe is brought to you in partnership with Zoë.
Easy Baked Granola Bars for Sustained Energy
If you’re searching for a healthy, satisfying snack that provides lasting energy to power you through your afternoon, these Healthy Homemade Granola Bars are exactly what you need. Forget the sugar crashes and artificial ingredients found in many store-bought options; this recipe focuses on whole foods and natural sweetness to keep you feeling great.
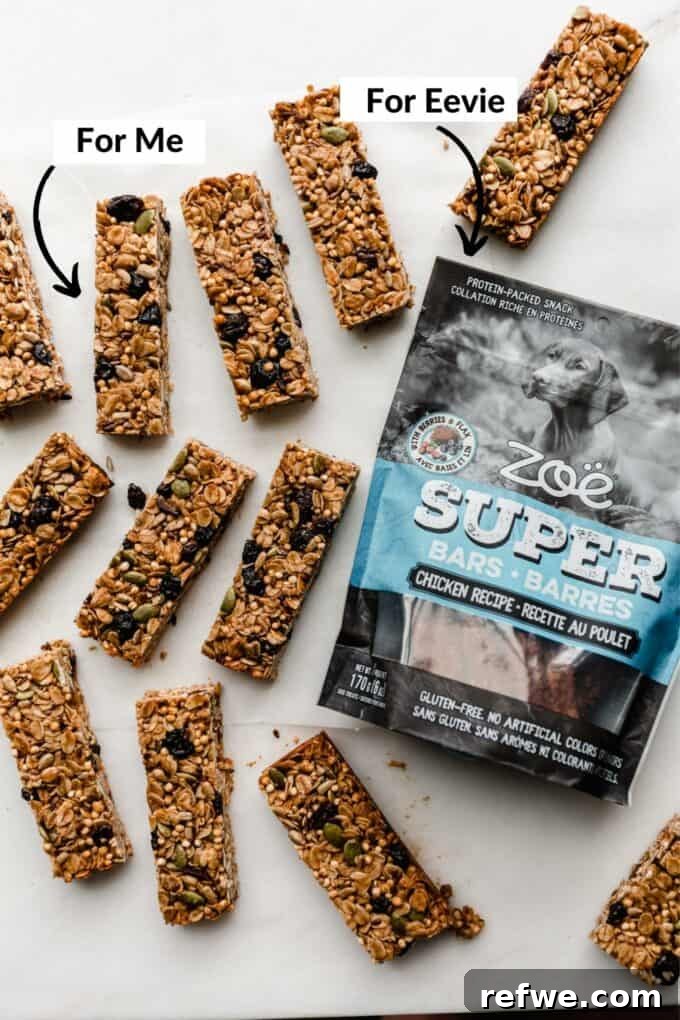
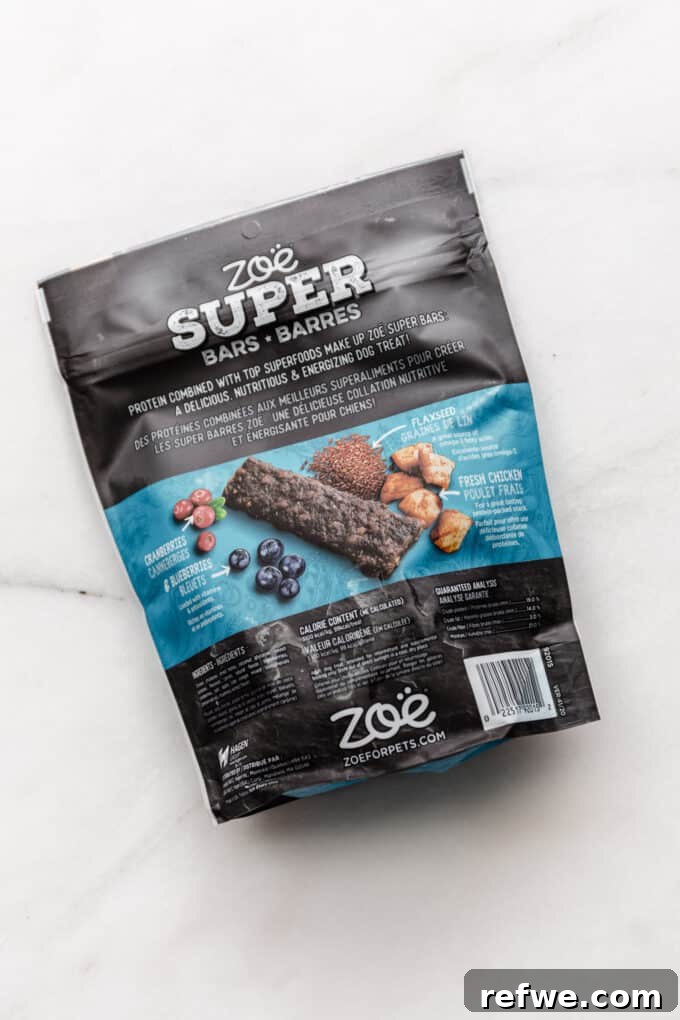
Our inspiration for this human-friendly granola bar recipe comes from Zoë Super Bars for dogs. Zoë is a reputable pet food brand committed to providing healthy, natural products for our beloved furry companions. Their dedication to quality ingredients sparked an idea: why not create a similar “super bar” packed with nutrients for humans?
My dog, Eevie (who many of you may have seen on Instagram), absolutely adores her Zoë Super Bars, which are brimming with superfoods like flax seeds, cranberries, and blueberries. Witnessing her enthusiasm, I was inspired to adapt the concept into a “human super bar”—a delicious and wholesome granola bar version for us!
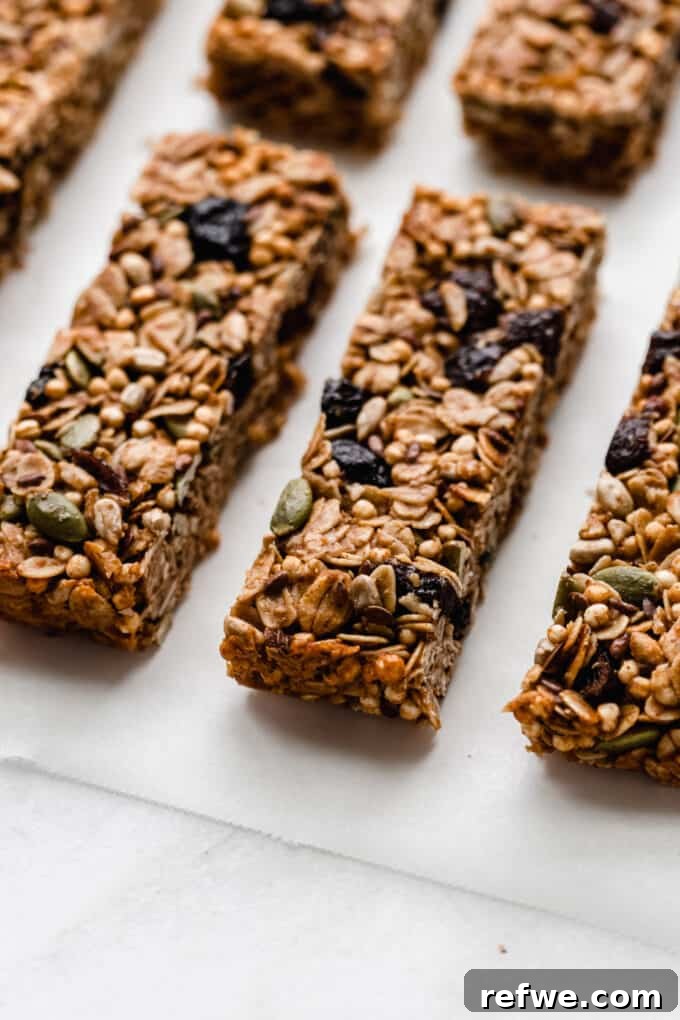
These healthy granola bars are meticulously crafted with a blend of wholesome ingredients: hearty oats for sustained energy, nutrient-dense flax seeds for essential omega-3s, and vibrant dried cranberries and blueberries for a burst of antioxidants and natural sweetness. Every bite is designed to provide a nourishing and delicious experience.
Why You’ll Absolutely Love This Homemade Granola Bar Recipe
- Packed with Healthy Ingredients: Unlike many mass-produced granola bars that often contain excessive sugars, artificial flavors, and unpronounceable additives, our homemade version uses only simple, natural ingredients you can trust. You’ll know exactly what’s going into your body, making these a truly guilt-free indulgence. For another fantastic wholesome snack, be sure to try my Perfect Bars recipe.
- Surprisingly Easy to Make: You might think making granola bars from scratch is complicated, but this recipe proves just how simple it can be. Once you experience the ease and satisfaction of creating your own, you’ll likely stop buying them altogether! You can even use homemade granola as a versatile base for other treats, such as these delightful Frozen Yogurt Granola Cups.
- Perfect for On-the-Go Lifestyles: These sturdy and satisfying granola bars don’t require refrigeration, making them incredibly convenient for busy schedules. Whether you’re packing lunches for school or work, heading out for a hike, or just need a quick bite during errands, these bars are the perfect grab-and-go solution. Their robust texture ensures they hold up well in bags and backpacks.
- Endlessly Customizable: This recipe provides a fantastic foundation, but the real fun begins with customization! You can easily adapt it to suit your taste preferences, dietary needs, or whatever ingredients you have on hand. Add your favorite nuts, different dried fruits, or even a sprinkle of chocolate chips for an extra treat.
- Cost-Effective Snack Solution: Buying individual granola bars can add up quickly. Making them at home in a larger batch is significantly more economical, providing you with a healthy supply of snacks without breaking the bank.
Healthy Granola Bar Ingredients and Smart Substitutions
Here’s a detailed look at the core ingredients for these healthy granola bars and how you can easily swap them out to fit your pantry and preferences:
- Oats: The foundation of any good granola bar! We recommend using **rolled oats** (also known as old-fashioned oats) for their satisfying chewiness and texture. If you’re short on time or prefer a softer bar, **quick oats** can also be used, though the texture will be slightly less pronounced. Ensure they are certified gluten-free if you require a gluten-free option.
- Puffed Quinoa: This adds a wonderful lightness and subtle crunch without being too dense. If puffed quinoa is hard to find, don’t worry! You can easily substitute it with **puffed rice cereal** for a similar airy texture. Alternatively, simply add an equivalent amount of extra oats to the mixture for a denser bar.
- Pumpkin Seeds (Pepitas): These provide a lovely nutty flavor and a boost of healthy fats and protein. We use unsalted pumpkin seeds to control the sodium content. Feel free to substitute these with **any other nuts or seeds** you love, such as chopped almonds, walnuts, pecans, or even a mix of different seeds.
- Sunflower Seeds: Another excellent source of healthy fats and a satisfying crunch. Like pumpkin seeds, unsalted sunflower seeds are ideal. They can be substituted with other nuts or seeds if preferred, or simply increase the amount of pumpkin seeds.
- Flax Seeds: A true superfood! Flax seeds are rich in omega-3 fatty acids, fiber, and lignans. You can use whole flax seeds for texture, or if you prefer to maximize nutrient absorption, **ground flax seeds (flax meal)** are a fantastic choice. **Chia seeds** also work wonderfully as a substitute, offering similar nutritional benefits and helping to bind the bars.
- Dried Cranberries: These offer a delightful tartness and vibrant color. We recommend using no-sugar-added dried cranberries to keep the sugar content in check. However, any type of dried cranberry will work. Feel free to swap them out for **any other dried fruit** you enjoy, such as chopped apricots, raisins, dried cherries, or chopped dates.
- Dried Blueberries: Adding natural sweetness and a powerful punch of antioxidants. Again, look for no-sugar-added varieties if possible. Like cranberries, these can be replaced with other dried fruits based on your preference.
- Cinnamon: A warm, inviting spice that enhances the overall flavor. This ingredient is entirely optional, but a hint of cinnamon can elevate the taste profile significantly.
- Salt: Just a pinch is needed to balance and enhance all the other flavors. If you’re using salted nuts or seeds, you might want to omit this ingredient or reduce the amount.
- Honey: Serves a dual purpose here: it provides natural sweetness and acts as a crucial binding agent to hold the bars together. For a vegan option, or if you simply prefer, **agave syrup** or **rice syrup** are excellent substitutes. Maple syrup can also work, though it may result in a slightly different texture.
- Coconut Oil: Helps to coat the ingredients, add richness, and further aid in binding the bars. When melted, it blends beautifully with the other wet ingredients. Unsalted **butter** can be used as a substitute if you don’t need a dairy-free option.
- Nut Butter: I typically use almond butter for its mild flavor, but this is a highly versatile ingredient. **Peanut butter, cashew butter, tahini, or sunflower seed butter** (for a nut-free option) all work exceptionally well. Choose a natural, unsweetened variety for the best results.
- Vanilla Extract: A touch of vanilla extract adds depth and warmth to the overall flavor profile. It’s a small addition that makes a big difference.
How to Make Homemade Granola Bars: A Step-by-Step Guide
Making your own delicious and healthy granola bars is simpler than you might think. Follow these easy steps to create your perfect batch:
Step 1: Prepare Dry Ingredients and Optional Toasting
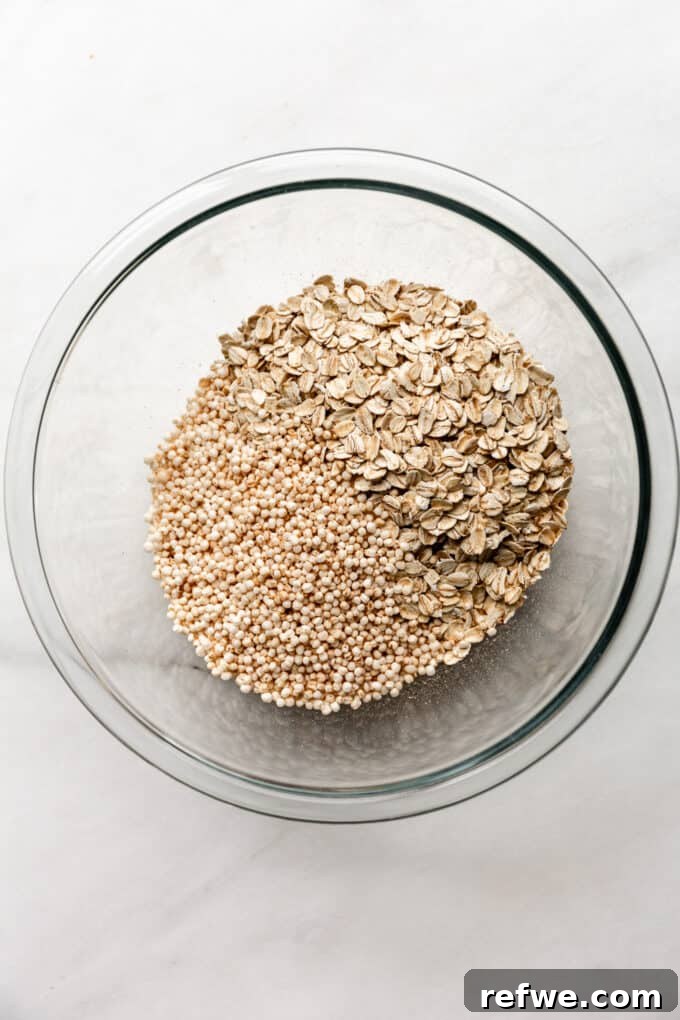
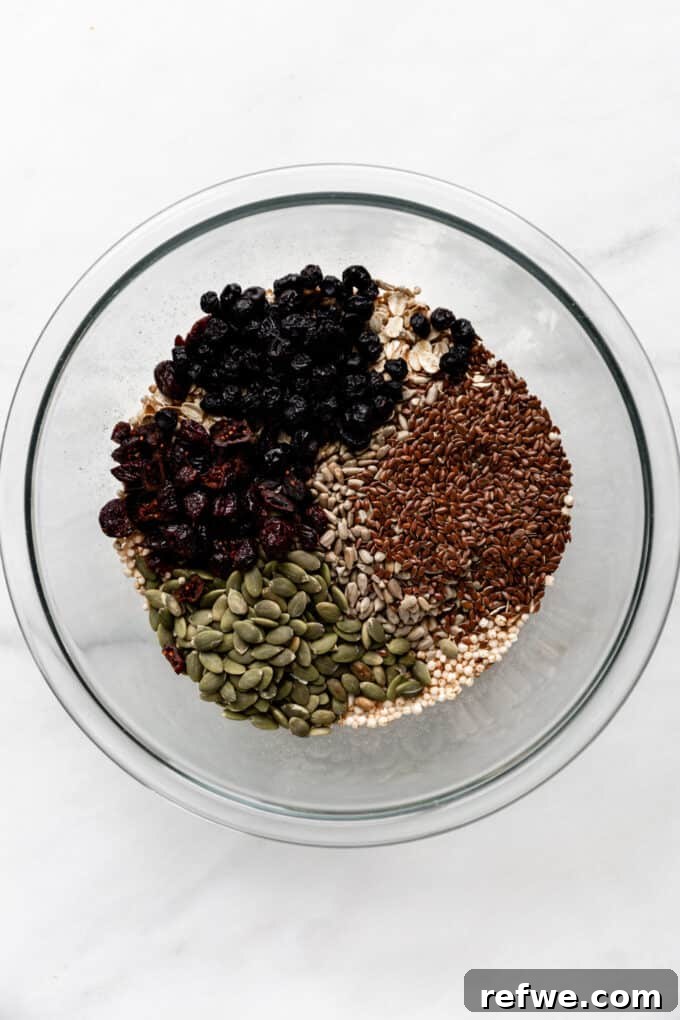
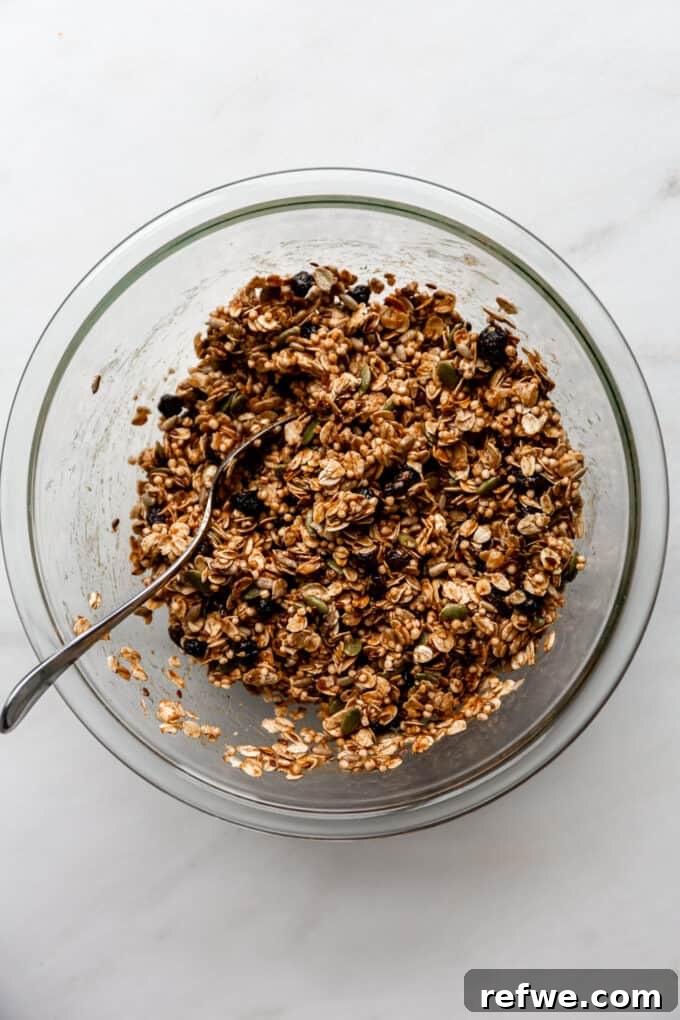
Preheat your oven to 350 degrees F (175 degrees C). While optional, lightly toasting the oats and puffed quinoa significantly enhances their flavor and adds a delightful nutty aroma to your bars. Spread them evenly on a baking sheet lined with parchment paper and bake for 7-10 minutes, or until they are lightly golden and fragrant. Keep a close eye on them to prevent burning. Once toasted (or if skipping the toasting), combine the oats, puffed quinoa, flax seeds, pumpkin seeds, sunflower seeds, dried cranberries, dried blueberries, a pinch of salt, and cinnamon in a large mixing bowl. Toss everything together until well combined.
Step 2: Combine Wet Ingredients
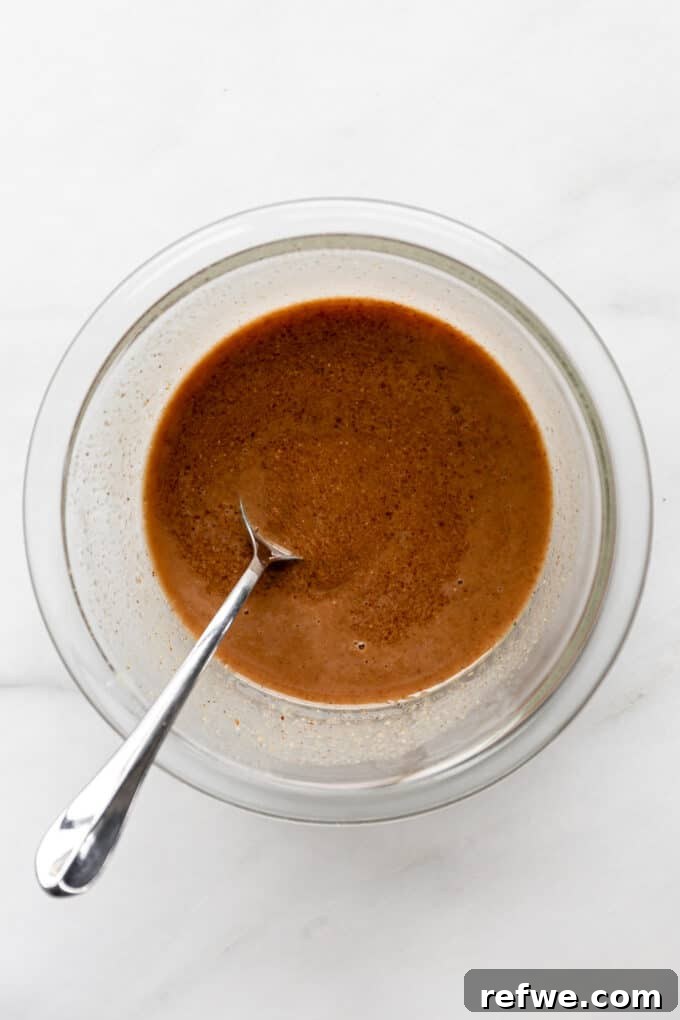
In a separate medium-sized bowl, whisk together the honey (or agave/rice syrup), melted coconut oil, your chosen nut butter, and vanilla extract until smooth and well combined. This mixture will act as the “glue” for your granola bars, providing both sweetness and binding power.
Step 3: Mix and Press into Pan
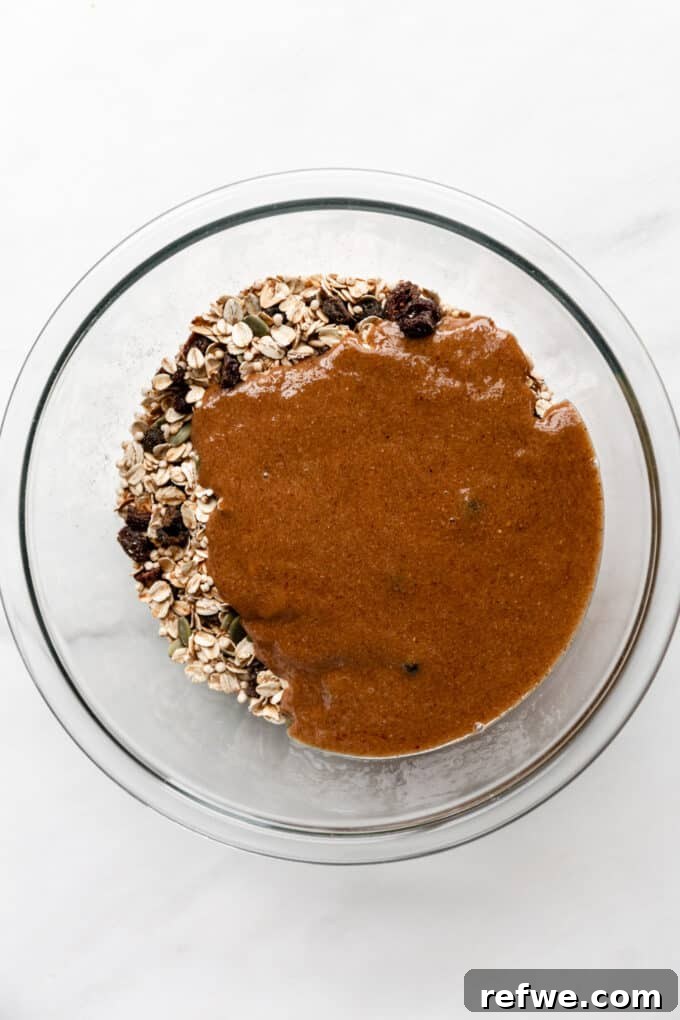
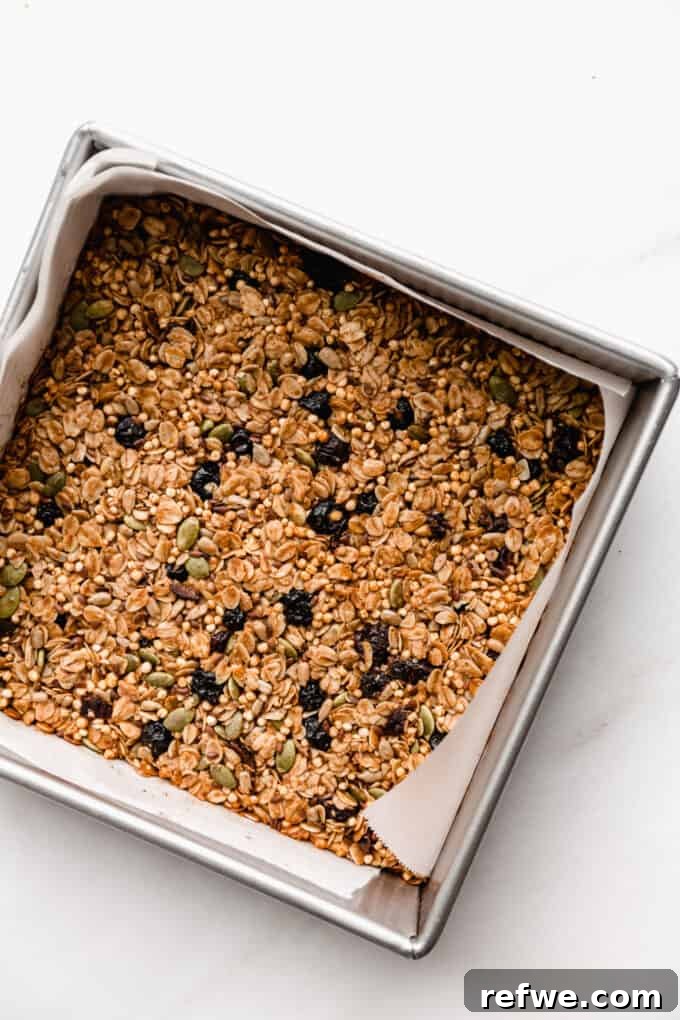
Pour the wet ingredient mixture into the bowl with the dry ingredients. Using a sturdy spatula or your hands, mix everything thoroughly until all the dry components are evenly coated. It’s important to ensure there are no dry pockets left. Next, line an 8×8 inch baking pan with parchment paper, leaving an overhang on the sides—this will make it easy to lift the finished bars out. Transfer the granola mixture into the prepared pan and spread it out evenly. This is a critical step: **press the mixture down very, very firmly** into the pan. The more compressed the mixture, the better your bars will hold together. You can use another smaller baking dish, the bottom of a glass, or even your hands with a piece of parchment paper on top for extra leverage to achieve maximum compression.
Step 4: Bake and Cool Completely
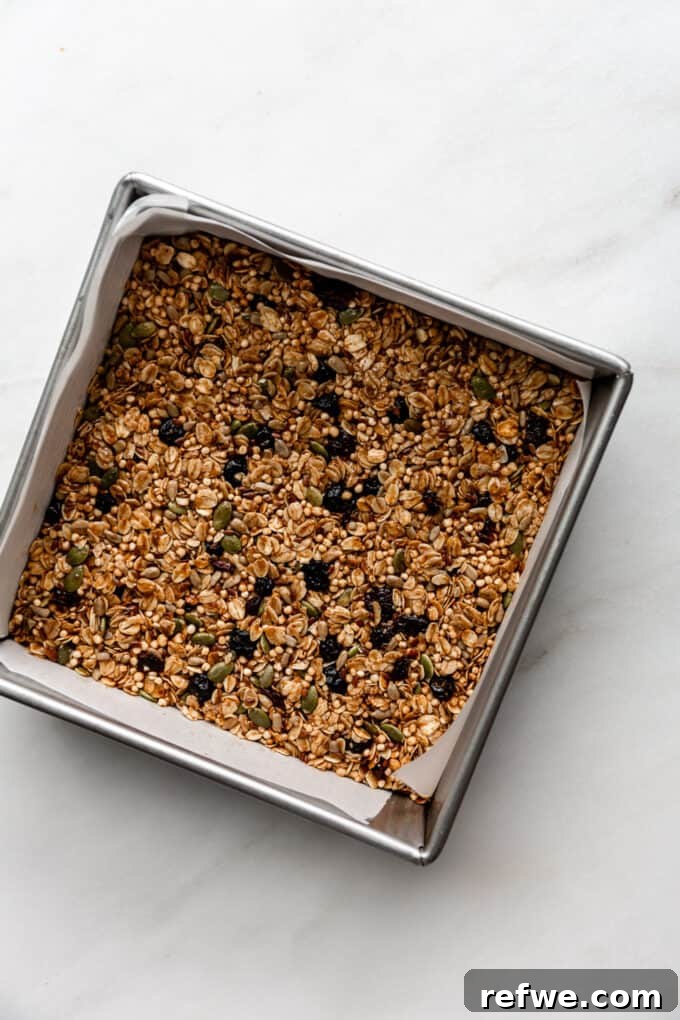
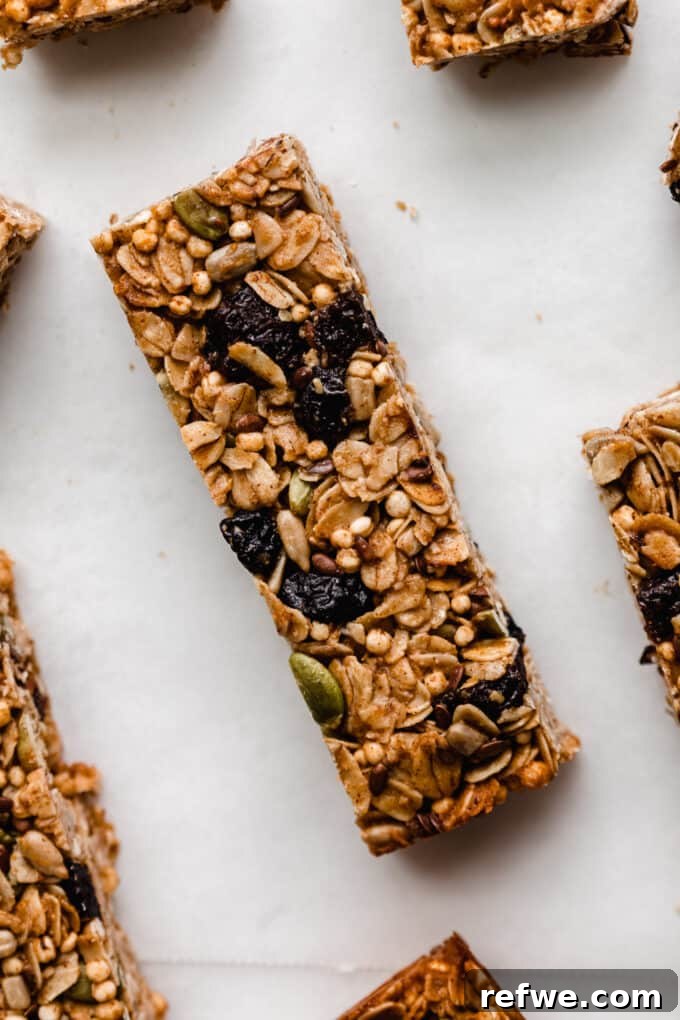
Place the pan in your preheated oven and bake at 350 degrees F (175 degrees C) for 15 minutes. The edges should be lightly golden, and the bars should feel slightly firm to the touch. Once baked, remove the pan from the oven and, here’s another crucial tip: **allow the bars to cool completely in the pan before attempting to cut them.** This cooling period is essential for the bars to set and firm up properly. If you try to cut them too soon, they will crumble. Patience is key! Let them cool for at least an hour, or even longer, before lifting them out of the pan using the parchment paper overhang and slicing them into your desired bar size.
How to Store Homemade Granola Bars for Optimal Freshness
Proper storage ensures your homemade granola bars remain fresh and delicious for longer. Once they have completely cooled, store these healthy granola bars in an airtight container. They will keep well on the counter at room temperature for up to two weeks. While not strictly necessary, you can also store them in the refrigerator, which can extend their shelf life slightly and give them a firmer texture, especially in warmer climates. Just be sure to separate layers with parchment paper if stacking to prevent sticking.
Expert Tips for Making These Granola Bars Unforgettable
- Unleash Your Creativity and Customize These Bars: This recipe is a fantastic starting point, but don’t hesitate to make it your own! Feel free to swap the seeds for any nuts or seeds you adore, experiment with different dried fruits like chopped figs or dates, or even add fun mix-ins like mini chocolate chips (dark chocolate works best for a healthier twist), shredded coconut, or a touch of orange zest for extra flavor. The possibilities are endless, so get creative!
- The Golden Rule: Press the Bars Down FIRMLY into the Pan: This step cannot be emphasized enough. When we say firmly, we mean *really* firmly. This intense compression is absolutely crucial for ensuring your granola bars stick together and don’t crumble when cut. A helpful trick is to use something with a flat, even edge, such as a smaller baking dish or the bottom of a sturdy glass, to apply significant pressure across the entire surface of the mixture in the pan. This technique gives you more leverage and ensures a dense, cohesive bar.
- Patience Pays Off: Let the Bars Cool Completely Before Cutting: This is another non-negotiable step for perfectly structured granola bars. It can be tempting to slice into them as soon as they come out of the oven, but if you try to cut the bars before they have fully cooled and set, they will undoubtedly fall apart. Give them ample time—at least an hour, or even longer, at room temperature—to firm up. The cooling process allows the binders (honey, nut butter, coconut oil) to solidify, creating a stable bar that holds its shape beautifully. If you’re in a hurry, you can speed up the cooling process by placing the pan in the refrigerator for about 30 minutes after it has cooled slightly on the counter.
- Optional: Toasting for Enhanced Flavor: As mentioned in the instructions, toasting your oats and puffed quinoa for a few minutes before mixing can dramatically deepen the flavor profile of your granola bars, adding a wonderful nuttiness. While it’s an extra step, it’s highly recommended for a more gourmet taste.
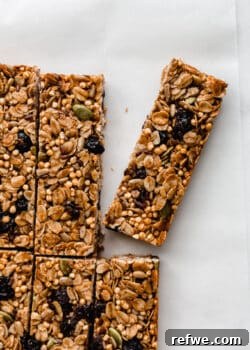
- Achieving Even Slices: For neat, uniform bars, once completely cooled, use a sharp, large chef’s knife. Clean the knife between cuts if the bars are sticky. You can cut them into 10 large bars or 20 smaller, bite-sized squares.
Homemade Granola Bars FAQ
Absolutely! While many store-bought granola bars can be laden with added sugars, unhealthy fats, and artificial ingredients, homemade versions allow you to control every component. By using whole grains, natural sweeteners, and nutrient-dense seeds and fruits, you create a snack that is genuinely good for you. This recipe specifically focuses on wholesome ingredients to deliver energy and essential nutrients without unnecessary additives.
Granola bars falling apart is a common issue, but it’s usually due to one of two reasons. The most common culprit is not pressing the mixture firmly enough into the pan. You need to apply significant pressure to compact the ingredients, ensuring the binding agents (honey, nut butter, coconut oil) can effectively glue everything together. The second reason is cutting the bars before they’ve had sufficient time to cool and set. The binding agents need to solidify at room temperature (or in the fridge) to create a firm, sliceable bar. Always allow them to cool for at least an hour before slicing.
Yes, these granola bars freeze beautifully! To freeze, ensure the bars are completely cooled and sliced. Wrap individual bars tightly in plastic wrap, then place them in a freezer-safe bag or airtight container. They can be stored in the freezer for up to 2 months. To defrost, simply remove a bar from the freezer and let it thaw on the counter for about 15-30 minutes, or enjoy it slightly chilled for a firmer texture.
Yes, this recipe is easily adaptable! To make them gluten-free, simply ensure you use certified gluten-free rolled oats. All other ingredients in this recipe are naturally gluten-free. For a vegan version, substitute the honey with an equal amount of maple syrup, agave syrup, or brown rice syrup. All other ingredients are plant-based, making this a very versatile recipe for various dietary needs.
Any natural, creamy nut butter will work well! Almond butter provides a subtle flavor, while peanut butter offers a more pronounced, classic taste. Cashew butter yields a creamier result, and for a nut-free option, sunflower seed butter (like SunButter) is an excellent choice. Just make sure to use a brand that doesn’t have too much added sugar or oil for the healthiest outcome.
Fuel Your Day with More Healthy Snack Recipes!
If you loved these homemade healthy granola bars, you’re in for a treat! Explore some of our other favorite nutritious snack recipes to keep you energized and satisfied throughout the week:
- Healthy Muesli Bars: Another fantastic option for a quick, wholesome bite.
- No-Bake Chocolate Coconut Bars: Indulge your sweet tooth without the oven.
- Peanut Butter Protein Bars: Power-packed for post-workout or a filling snack.
- Puffed Quinoa Bars: Light, crispy, and naturally sweetened.
If you tried these Homemade Healthy Granola Bars or any other recipe on the blog, we’d love to hear from you! Please let us know how you liked it by leaving a comment and rating below. Your feedback helps us grow and inspires others to try these delicious creations. Be sure to follow along on Pinterest, Instagram, and Facebook for even more delectable recipes and healthy living tips!
Homemade Healthy Granola Bars
- Author: Jessica Hoffman
- Prep Time: 15 minutes
- Cook Time: 15 minutes
- Total Time: 30 minutes
- Yield: 10 large or 20 small bars
- Category: Snack
- Method: Bake
- Cuisine: American
- Diet: Vegan
Description
These homemade healthy granola bars are made with oats, seeds and dried fruits for a delicious and nutritious snack!
Ingredients
Units
- 2 cups oats (gluten-free if needed)
- 1/2 cup puffed quinoa (can sub puffed rice or more oats)
- 1/4 cup pumpkin seeds
- 1/4 cup sunflower seeds
- 2 tbsp flax seeds
- 1/4 cup dried cranberries (no-sugar-added recommended)
- 1/4 cup dried blueberries (no-sugar-added recommended)
- 1/2 tsp cinnamon (optional)
- Pinch of salt
- 1/2 cup honey (can sub agave or rice syrup for vegan)
- 1/4 cup coconut oil, melted
- 1/4 cup nut butter (almond, peanut, cashew, tahini, or sunflower seed butter)
- 1 tsp vanilla extract
Instructions
- Preheat the oven to 350 degrees F (175 degrees C).
- Optionally, spread the oats and puffed quinoa onto a baking sheet lined with parchment paper and bake for 7-10 minutes until lightly toasted. This step enhances flavor.
- In a large bowl, combine the toasted (or untoasted) oats, puffed quinoa, pumpkin seeds, sunflower seeds, flax seeds, dried cranberries, dried blueberries, cinnamon, and salt. Mix well.
- In a separate bowl, mix together the honey, melted coconut oil, nut butter, and vanilla extract until smooth.
- Pour the wet ingredients into the bowl of dry ingredients and mix thoroughly until all dry ingredients are evenly coated.
- Line an 8×8 inch baking pan with parchment paper, leaving an overhang on the sides. Add the granola bar mixture to the pan.
- Press the granola mixture VERY hard into the pan. This is critical for the bars to stick together. Use a smaller baking dish or the bottom of a glass for extra leverage if needed.
- Bake at 350 degrees F (175 degrees C) for 15 minutes. Remove from oven and let the bars cool completely in the pan before lifting out and slicing.
Notes
Ensure you pack down the bars FIRMLY in the pan so they stick together. This is the most important step for non-crumbling bars.
Store finished bars in an airtight container on the counter for up to 2 weeks for optimal freshness.
Nutrition
- Serving Size: 1/10th of recipe
- Calories: 280
- Sugar: 16g
- Fat: 15g
- Carbohydrates: 28g
- Fiber: 5.5g
- Protein: 6.5g
Disclaimer: Nutritional information is an estimate based on ingredients used and may vary.