
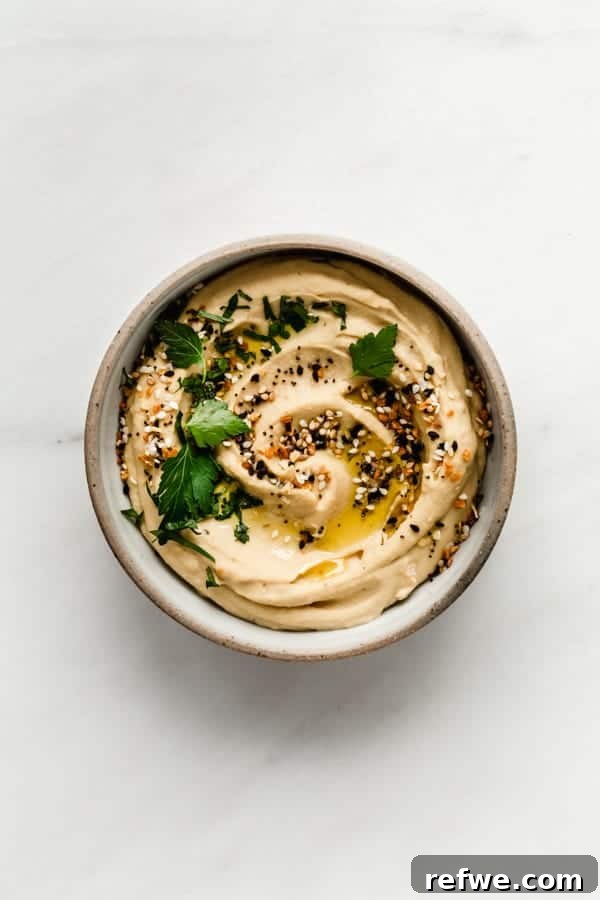
Step into a world of unparalleled flavor and texture with this incredible Everything Bagel Hummus recipe. Imagine the rich, savory notes of your favorite bagel seasoning perfectly blended into a silky-smooth, lusciously creamy hummus. This isn’t just any dip; it’s a culinary experience designed to elevate your snack time, meal prep, or party spread. We’re talking about a hummus so irresistibly delicious, you’ll wonder why you ever settled for store-bought versions. Featuring beautifully roasted garlic, aromatic sesame oil, and a medley of classic everything bagel spices, this homemade hummus promises a depth of flavor that’s truly unforgettable. Get ready to impress your taste buds and your guests with this easy-to-make, naturally vegan and gluten-free masterpiece!
Why Homemade Everything Bagel Hummus is a Must-Try
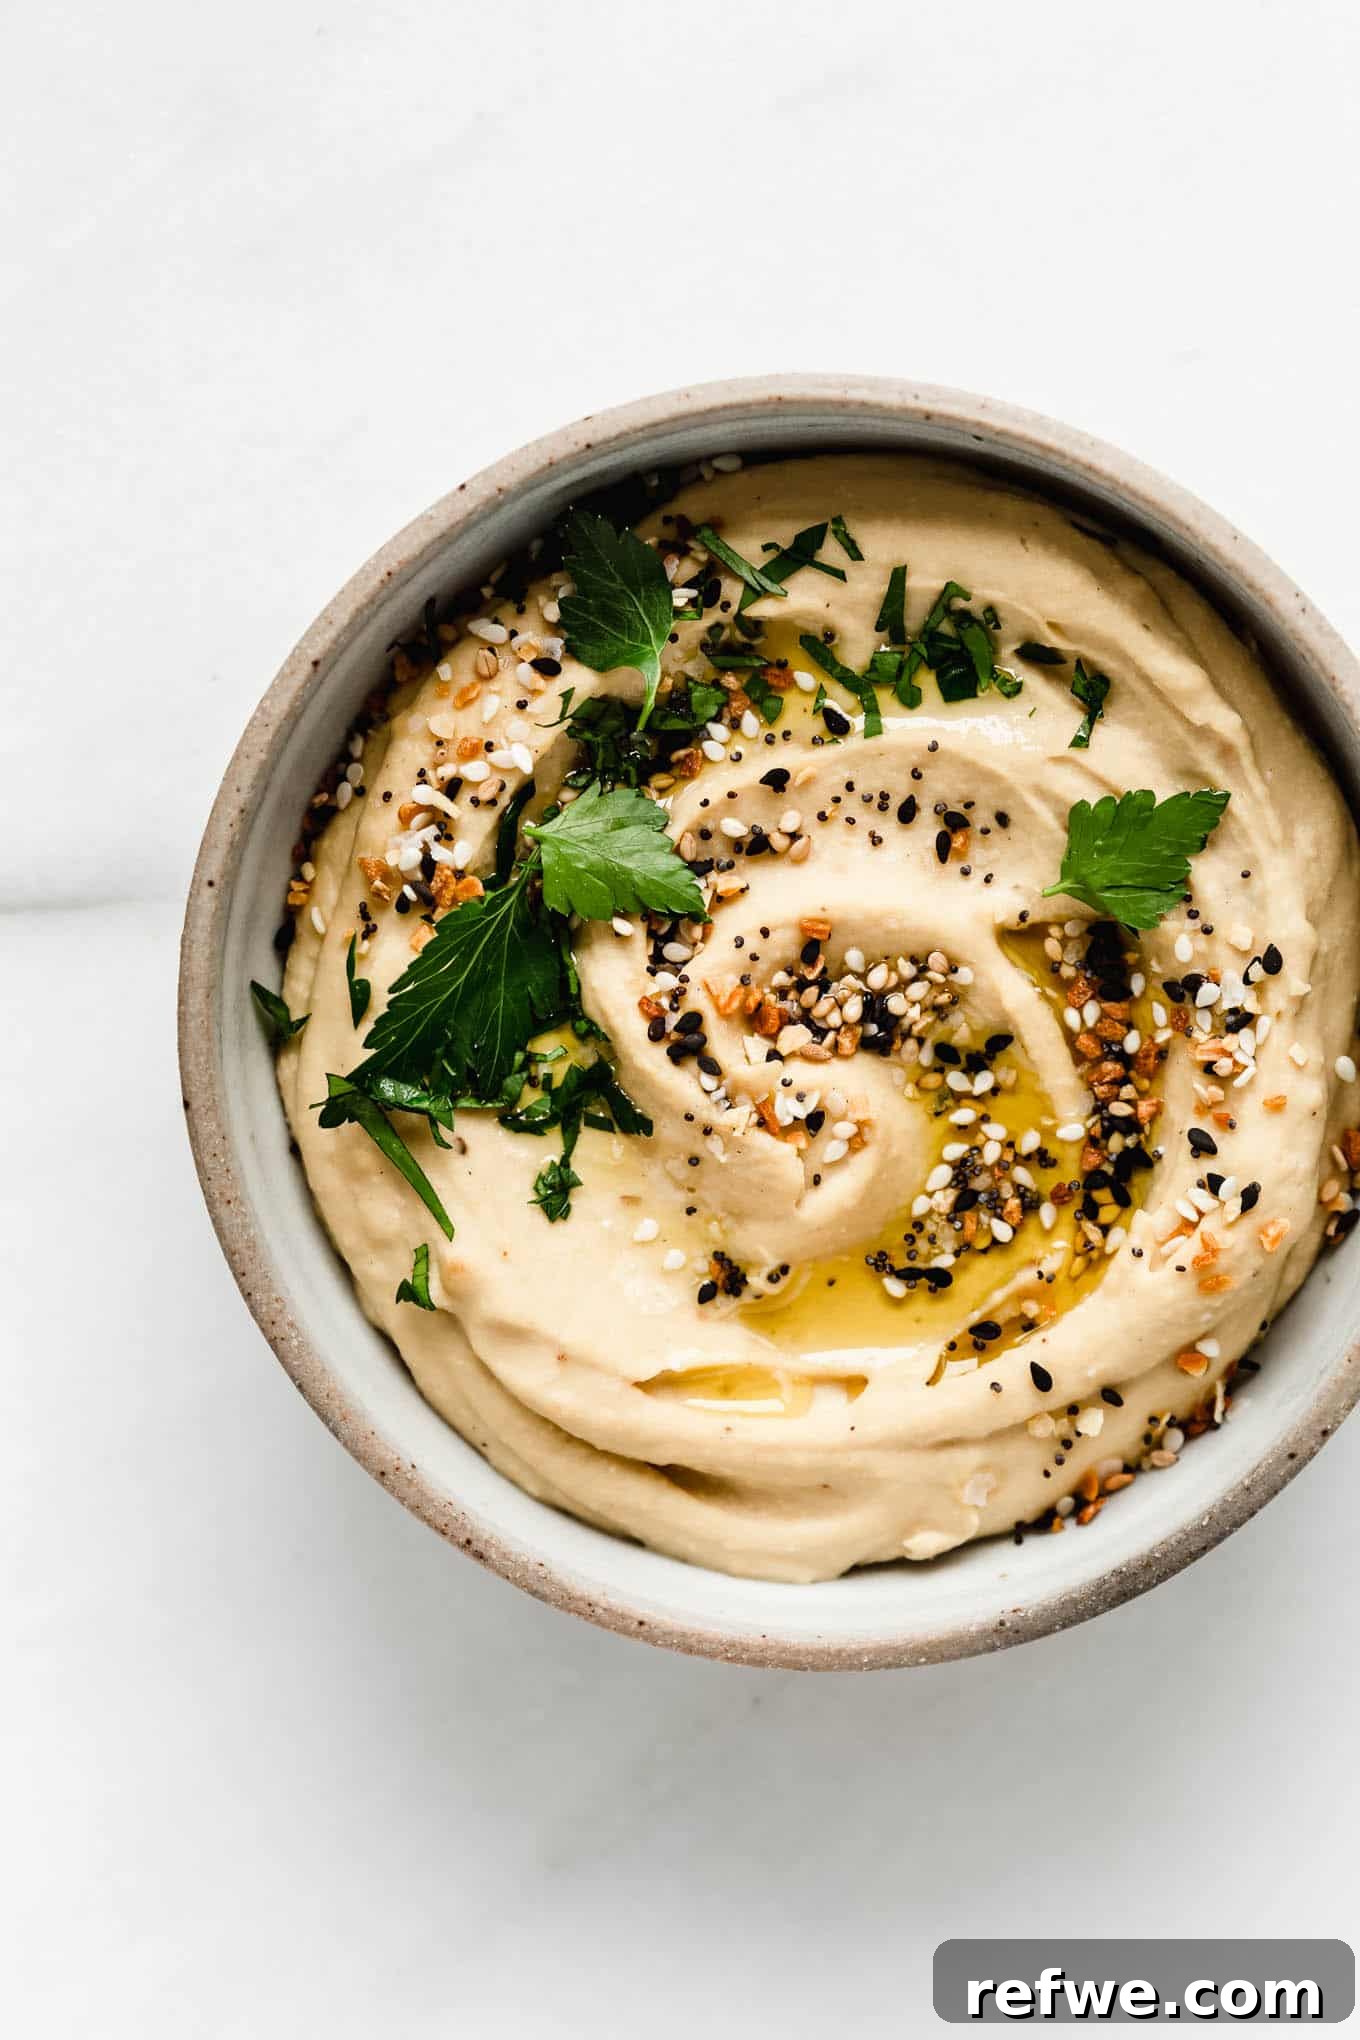
While the convenience of store-bought hummus is undeniable, there’s a distinct magic that comes with crafting your own batch at home. This Everything Bagel Hummus recipe takes that magic to a whole new level. Beyond the sheer satisfaction of creating something from scratch, homemade hummus offers superior freshness, allowing you to control every ingredient for a healthier and more flavorful outcome. You’ll avoid unnecessary preservatives and adjust the seasoning to your precise preference, ensuring a perfect balance every time.
Our recipe stands out by incorporating the distinct savory profile of everything bagel seasoning directly into the hummus itself. This infusion, combined with the sweet, mellow essence of roasted garlic, creates a dip that is both familiar and excitingly new. It’s an ideal choice for those who love hummus but are looking for a creative twist, and it’s naturally vegan and gluten-free, making it a crowd-pleaser for various dietary needs.
Whether you’re serving it alongside Mediterranean dishes like Baked Sweet Potato Falafel, spreading it generously on your favorite toast like Chia Buckwheat Bread, or simply enjoying it as a satisfying snack with fresh vegetables and pita bread, this Everything Bagel Hummus is versatile and utterly delicious. Its rich, creamy texture and profound flavor will make it a staple in your kitchen, proving that making hummus from scratch is truly worth the minimal effort.
Essential Ingredients for Your Everything Bagel Hummus
Creating the perfect Everything Bagel Hummus begins with understanding the role each ingredient plays. This recipe relies on a harmonious blend of simple, wholesome components to achieve its signature taste and unparalleled creaminess. Let’s explore the stars of this dip:
- Chickpeas: The Heart of Hummus
These humble legumes are the foundation of any great hummus. While some traditional recipes call for dried chickpeas, we opt for canned chickpeas in this recipe for convenience and speed without compromising on quality. Using canned chickpeas significantly cuts down on prep time, making this delicious dip accessible even on busy days. We recommend using unsalted canned chickpeas, which gives you complete control over the final seasoning. - Tahini: The Key to Creaminess and Depth
A paste made from ground sesame seeds, tahini is indispensable for authentic, creamy hummus. It imparts a nutty, slightly bitter flavor that balances the other ingredients beautifully and contributes significantly to the hummus’s smooth, luxurious texture. Opt for a good quality tahini for the best results; it should be light in color and have a pourable consistency. - Roasted Garlic: A Sweet and Mellow Revelation
Unlike the sharp, pungent flavor of raw garlic often found in standard hummus, roasting garlic transforms it into a sweet, caramelized, and incredibly mellow component. This process brings out a depth of flavor that is less harsh and more integrated into the hummus, creating a sophisticated and irresistible taste. Roasting garlic is a simple step that makes a profound difference. - Olive Oil & Sesame Oil: For Richness and Aroma
A blend of high-quality olive oil and aromatic sesame oil adds both richness and a distinct flavor dimension. Olive oil helps to emulsify the hummus, contributing to its smooth texture, while sesame oil enhances the overall nutty profile, especially when combined with tahini and the everything bagel seasoning. - Fresh Lemon Juice: The Brightness Booster
Freshly squeezed lemon juice is crucial for balancing the richness of the tahini and oils. Its zesty acidity brightens the entire dip, preventing it from tasting heavy and adding a refreshing tang that is characteristic of excellent hummus. - Everything Bagel Spices: The Signature Flavor
To achieve that beloved “everything bagel” taste, we use a simple yet potent combination of salt, black pepper, and onion powder in the hummus itself. This forms the base, which is then amplified by a generous topping of actual everything bagel spice blend before serving. This dual approach ensures the flavor is deeply integrated while also providing that iconic crunchy topping. - Very Cold Water: The Secret to Fluffy Hummus
This might sound counterintuitive, but adding very cold water during the blending process is one of the most important secrets to achieving a light, airy, and exceptionally creamy hummus. The cold water interacts with the fats in the tahini and olive oil, creating a magical emulsification that whips air into the mixture, resulting in an incredibly fluffy texture.
The Pursuit of Perfection: Secrets to Unbelievably Creamy Hummus
Achieving that coveted silky-smooth, light, and airy hummus texture is simpler than you might think, but it does involve a few crucial steps. These aren’t just suggestions; they are the pillars upon which truly outstanding hummus is built:
- Remove the Skins from Chickpeas: A Game-Changer
This step might seem tedious, but it is arguably the most critical for achieving maximum creaminess. Each chickpea has a thin, fibrous outer skin that, when left on, can make your hummus grainy. By gently rubbing the cooked chickpeas between a clean kitchen towel or squeezing them one by one, these skins will slip off. Discarding them ensures that your food processor can create an incredibly smooth purée, free from any tiny textural interruptions. - Boil Chickpeas with Baking Soda: The Chemical Softener
Even if you’re using canned chickpeas, a quick boil with a touch of baking soda can work wonders. Baking soda is alkaline and helps to break down the cellulose in the chickpea skins and flesh, making them exceptionally soft and tender. This pre-softening ensures the chickpeas are perfectly pliable for blending, contributing significantly to the smooth consistency of the final hummus. Boil them for just 6-8 minutes until they are noticeably softer, then drain thoroughly. - Blend Thoroughly and Scrape Down the Bowl: Patience is Key
Don’t rush the blending process. A high-speed food processor or a powerful blender is your best friend here. Allow the mixture to process for several minutes, much longer than you might think necessary. During this time, the ingredients emulsify and aerate. Regularly stop the machine and scrape down the sides of the bowl to ensure all ingredients are uniformly incorporated and blended to perfection. This allows the blades to continuously work on every bit of the mixture, yielding a smoother result. - Incorporate Very Cold Water: The Emulsification Magic
As mentioned in the ingredients section, adding ice-cold water towards the end of the blending process is a secret known to many hummus aficionados. The sudden introduction of cold liquid to the warmish, friction-heated chickpea and tahini mixture causes the fats to emulsify rapidly, whipping air into the hummus. This chemical reaction creates a lighter, fluffier, and truly luxurious texture that sets homemade hummus apart. Start with a quarter cup and add more slowly until you reach your desired consistency.
Crafting Your Everything Bagel Hummus: A Step-by-Step Guide
Making this incredible Everything Bagel Hummus at home is a straightforward process. Follow these detailed steps to achieve a perfectly creamy, flavorful dip every time:
- Prepare the Chickpeas: Begin by draining and thoroughly rinsing one 15 oz can of unsalted chickpeas. The crucial step for creamy hummus is removing the skins. You can do this by placing the rinsed chickpeas on a clean kitchen towel and gently rubbing them together. The skins will loosen and fall off. Alternatively, you can gently pinch each chickpea between your fingers to pop off the skin. Discard all the removed skins.
- Soft-Boil the Chickpeas: Transfer the skinned chickpeas to a pot of water. Add 1/2 teaspoon of baking soda to the water. Bring the water to a boil and cook the chickpeas for 6-8 minutes. This step helps to further soften the chickpeas, making them easier to blend into a smooth consistency. Once softened, drain them completely and set aside.
- Roast the Garlic: While the chickpeas are cooking, prepare your garlic. Preheat your oven to 400°F (200°C). Take 6-8 garlic cloves, remove their skins, and trim off the tough bottom ends. Toss the peeled garlic cloves with about 1/2 tablespoon of olive oil. Spread them on a small baking sheet or in an aluminum foil pouch and roast in the preheated oven for 15 minutes, or until golden brown and fragrant. The roasted garlic will be sweet and soft.
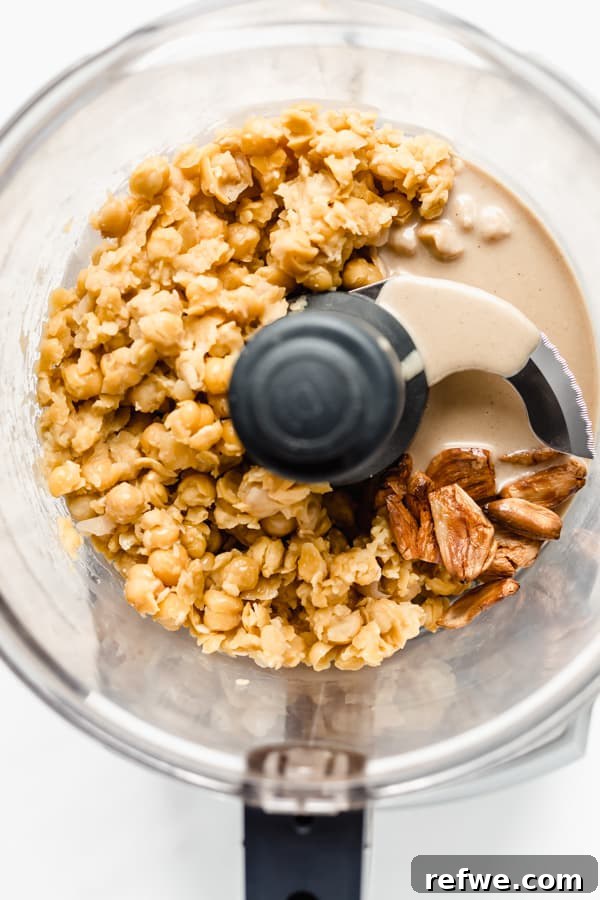
- Initial Blending: Once the chickpeas and roasted garlic are ready, add them to the bowl of a food processor. Then, add the remaining ingredients: 1/3 cup tahini, 2 tablespoons olive oil, 1 tablespoon sesame oil, 2 tablespoons lemon juice, 1/2 teaspoon salt, 1/2 teaspoon onion powder, and 1/4 teaspoon ground pepper. Do NOT add the cold water yet.
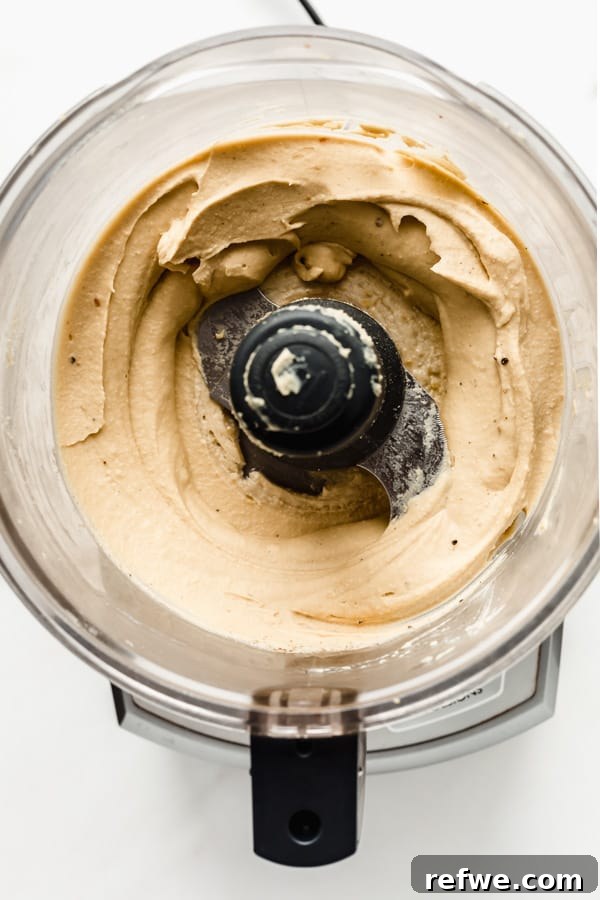
- Achieve Initial Creaminess: Secure the lid on your food processor and blend the mixture for 2-3 minutes. During this time, the ingredients will start to break down and combine. Stop the food processor periodically and use a spatula to scrape down the sides of the bowl. This ensures that all the ingredients are evenly processed and no chunks are left behind. Continue blending until the mixture reaches a thick, relatively smooth paste.
- Add Cold Water for Fluffiness: With the food processor still running (or in pulses), gradually pour in 1/4 cup to 1/3 cup of very cold water through the feed tube. The exact amount will depend on your desired consistency; add less for a thicker hummus, more for a lighter, fluffier one. Continue to puree for another 2-3 minutes after adding the water. You will notice the hummus transforming into a wonderfully light, airy, and creamy texture.
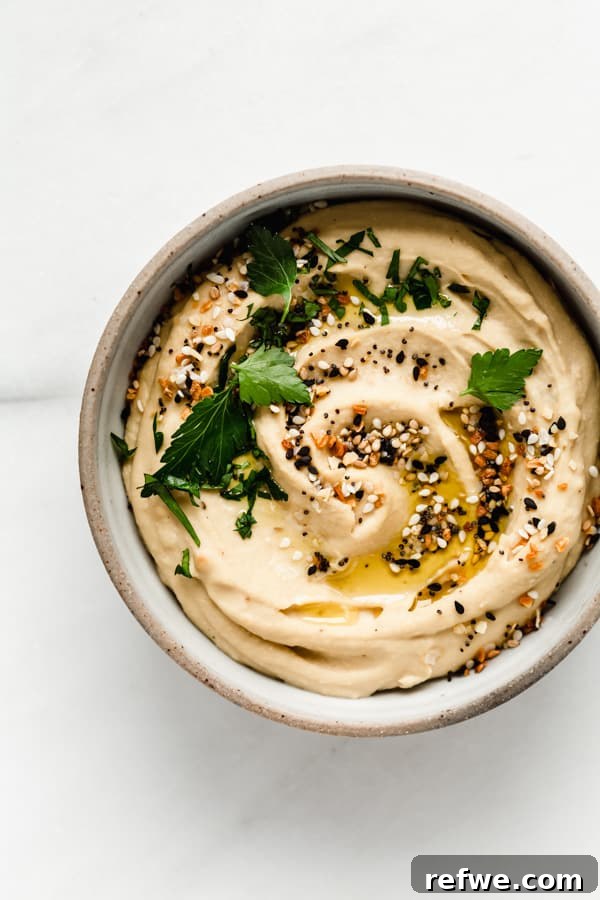
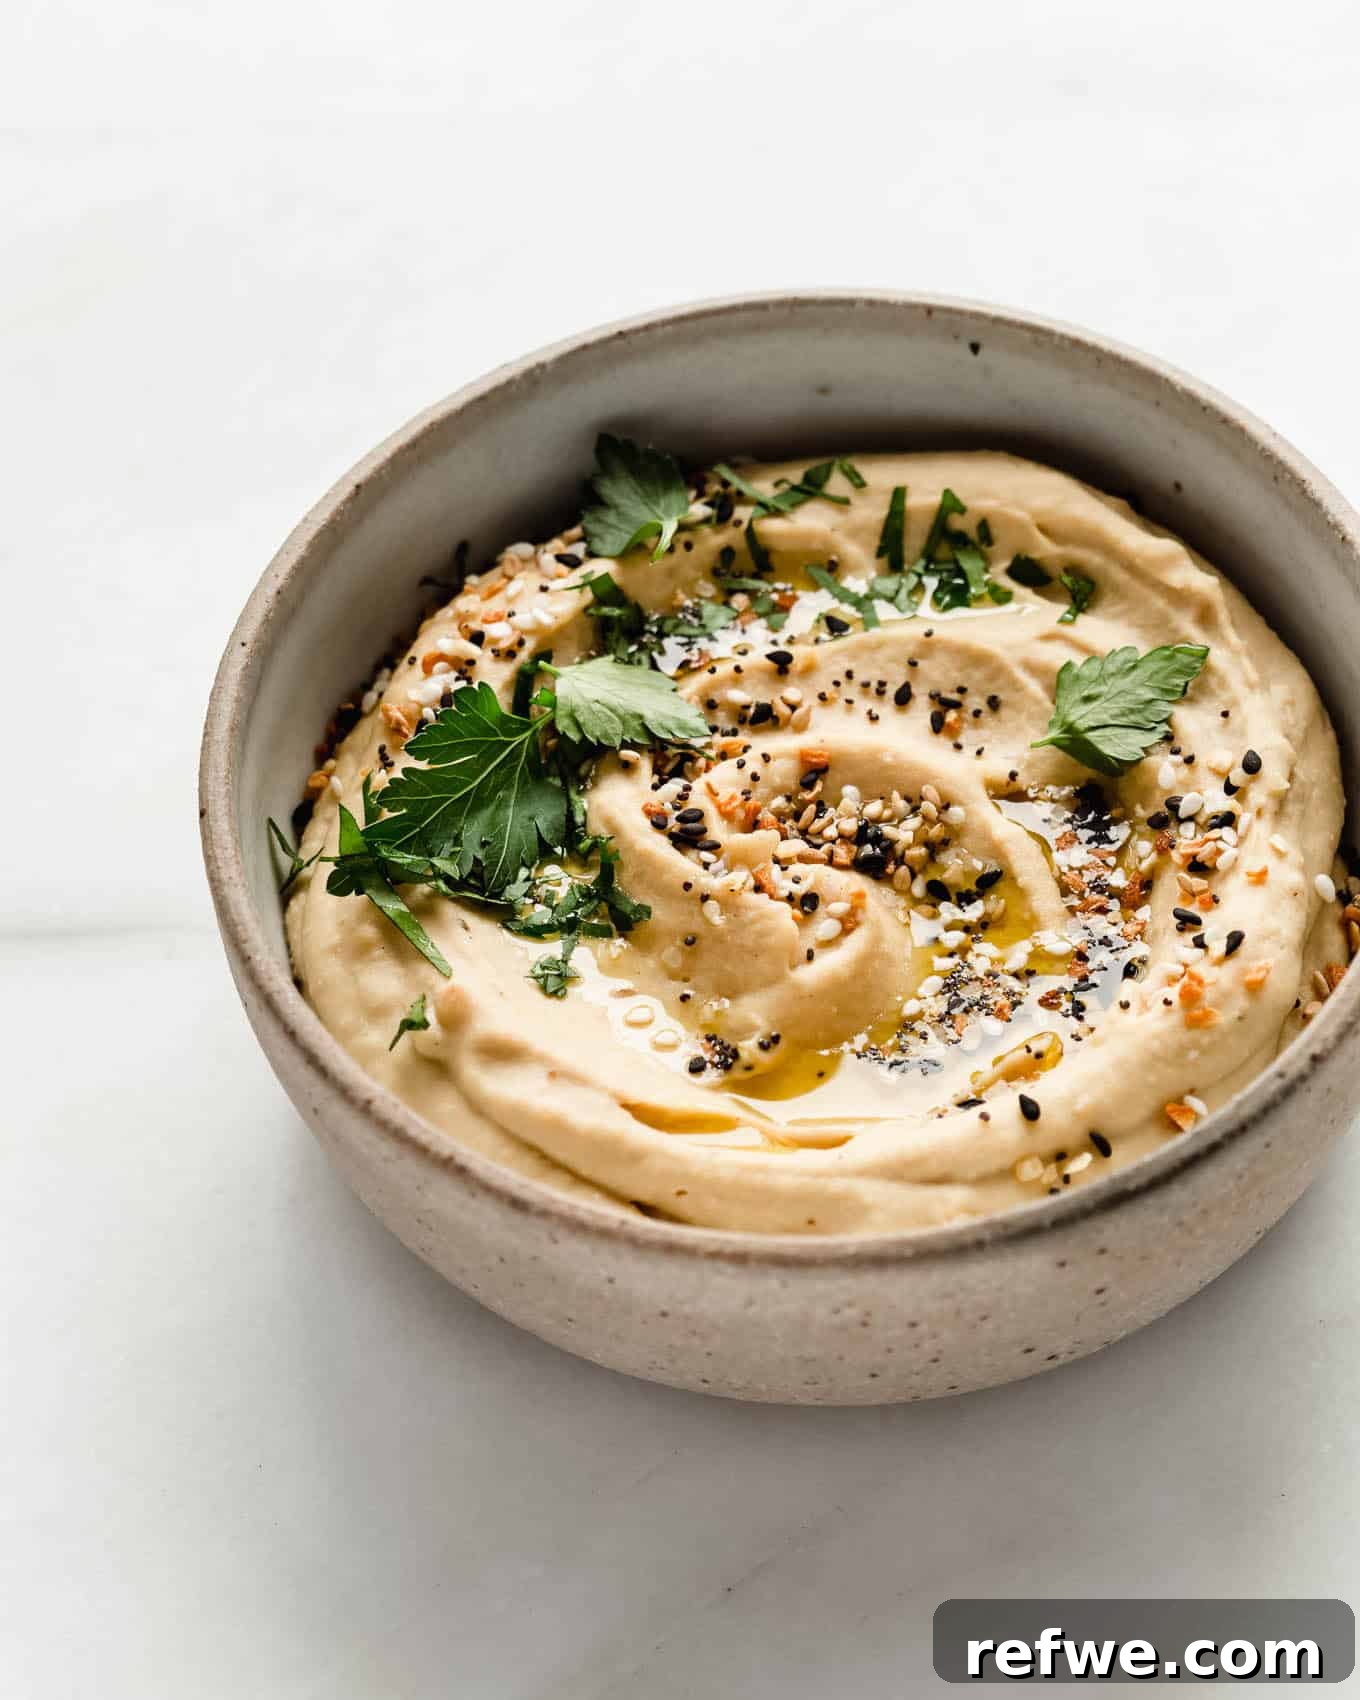
- Serve and Garnish: Transfer your homemade Everything Bagel Hummus to a serving bowl. Drizzle with a little extra virgin olive oil for presentation and added flavor. Finally, generously sprinkle everything bagel spice over the top for that iconic crunchy texture and burst of savory goodness. Serve immediately with your favorite dippers, or store for later.
Tips for Hummus Mastery: Making This Recipe Perfectly Every Time
To ensure your Everything Bagel Hummus turns out flawlessly every time, keep these expert tips in mind. They address common pitfalls and guide you toward achieving the best possible flavor and texture:
- Do Not Skip Removing Chickpea Skins: This cannot be stressed enough. While it may seem like an extra step, taking the time to remove the skins from the chickpeas is the ultimate secret to achieving an incredibly smooth and creamy hummus. Skins create a grainy texture that no amount of blending can fully overcome.
- Opt for Unsalted Chickpeas: Always choose unsalted canned chickpeas. This allows you complete control over the seasoning of your hummus. Different brands of salted chickpeas vary greatly in sodium content, which can make it challenging to adjust the overall saltiness to your taste. Starting with unsalted gives you a clean slate.
- Adjust Garlic Intensity: This recipe uses roasted garlic, which is naturally milder and sweeter than raw garlic. If you prefer a more pungent, traditional garlic flavor and wish to use raw garlic instead of roasted, be very cautious with the amount. Start with just one small clove of raw garlic, as its flavor is significantly stronger and can easily overpower the other ingredients. You can always add a little more if needed, but you can’t take it away.
- Store Properly for Freshness: Store any leftover hummus in an airtight container in the refrigerator for up to a week. For extra freshness and to prevent a skin from forming on top, you can drizzle a thin layer of olive oil over the surface before sealing the container.
- Experiment with Consistency: The amount of cold water you add directly impacts the final consistency of your hummus. If you prefer a thicker, more spreadable dip, start with 1/4 cup of cold water. For a lighter, airier, and more scoopable texture, gradually add up to 1/3 cup or even slightly more, pureeing between additions until it reaches your desired creaminess.
- Quality of Tahini Matters: The quality of your tahini can significantly affect the flavor and texture of your hummus. Look for tahini that is light in color and has a relatively runny, smooth consistency. Thicker, darker tahini can sometimes make your hummus bitter or pasty.
More Hummus Recipes to Explore
Once you’ve mastered this Everything Bagel Hummus, you might find yourself eager to experiment with other homemade hummus variations. The world of hummus is vast and exciting, offering endless possibilities for flavor combinations. Here are a few other fantastic hummus recipes to inspire your culinary adventures:
- Edamame Hummus: A vibrant, protein-packed alternative to traditional chickpea hummus, offering a fresh and slightly sweet flavor profile.
- The Best Healthy Hummus: A classic, go-to recipe for perfect, healthy hummus that highlights the pure, unadulterated flavor of chickpeas and tahini.
- Roasted Beet Hummus: A stunningly beautiful and earthy hummus, elevated by the sweetness of roasted beets and a flavorful pistachio dukkah topping.
We hope you enjoy creating and savoring this delightful Everything Bagel Hummus as much as we do. It’s a versatile, flavorful, and incredibly satisfying dip that’s sure to become a new favorite. If you tried this Everything Bagel Hummus or any other recipe on the blog, please let us know how you liked it by leaving a comment or rating below! We love hearing from you. Be sure to follow along on Pinterest, Instagram, and Facebook for even more delicious and healthy recipe inspiration!
Everything Bagel Hummus
- Author: Jessica Hoffman
- Prep Time: 15 minutes
- Cook Time: 15 minutes
- Total Time: 30 minutes
- Yield: 12 servings
- Category: Appetizer
- Method: Puree
- Cuisine: Middle Eastern
Description
This homemade everything bagel hummus will be your new favorite dip or spread. It’s healthy, vegan, gluten-free, and tastes like an everything bagel in creamy dip form!
Ingredients
- 1 15 oz can unsalted chickpeas
- 1/2 tsp baking soda
- 6–8 garlic cloves, skins removed
- 1/2 tbsp olive oil (for roasting garlic)
- 1/3 cup tahini
- 2 tbsp olive oil
- 1 tbsp sesame oil
- 2 tbsp lemon juice
- 1/2 tsp salt
- 1/2 tsp onion powder
- 1/4 tsp ground pepper
- 1/4 cup-1/3 cup very cold water (depending on desired thickness)
- Everything bagel spice to top
Instructions
- Drain and rinse the can of chickpeas. To remove the skins, roll the chickpeas vigorously in a clean kitchen towel or gently squeeze each chickpea with your fingers. Discard the skins.
- Place the skinned chickpeas in a pot of boiling water with 1/2 tsp baking soda and cook for 6-8 minutes until the chickpeas are very soft, then drain thoroughly.
- Preheat the oven to 400 degrees F (200°C). Remove the skins and cut off the bottom of the garlic cloves. Toss them with 1/2 tbsp olive oil then roast in the oven for 15 minutes, until soft and fragrant.
- Add the cooked chickpeas, roasted garlic, tahini, 2 tbsp olive oil, sesame oil, lemon juice, salt, onion powder, and ground pepper to a food processor. Puree for 2-3 minutes, scraping down the sides of the bowl as needed, until creamy.
- With the food processor running, gradually pour in the 1/4 cup – 1/3 cup of very cold water and continue to puree for another 2-3 minutes until the hummus is light, fluffy, and incredibly smooth.
- Serve the hummus immediately, topped with a drizzle of olive oil and a generous sprinkle of everything bagel spice.
Notes
Don’t skip removing the skins from the chickpeas. This is essential to getting really smooth and creamy hummus, as the skins can make the texture grainy.
Use unsalted chickpeas so you can fully control the saltiness of your hummus. If you only have salted chickpeas, reduce the added salt in the recipe to taste.
If you prefer using raw garlic instead of roasted garlic, use only one small clove. Raw garlic has a much stronger and sharper taste than roasted garlic, which is sweeter and mellower.
For longer storage, transfer the hummus to an airtight container and refrigerate for up to 7 days. You can drizzle a thin layer of olive oil on top before sealing to keep it fresh and prevent drying.
Nutrition
- Serving Size: 1/12th recipe
- Calories: 100
- Fat: 7g
- Carbohydrates: 9g
- Fiber: 3g
- Protein: 3g