
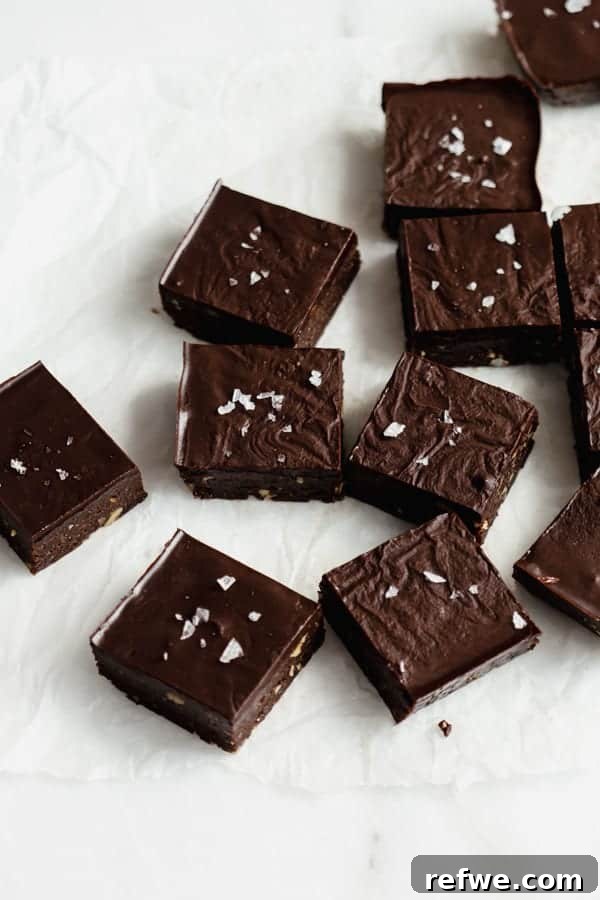
No-Bake Raw Chocolate Brownies: Your Go-To Healthy & Fudgy Treat
Craving a rich, decadent dessert that’s also incredibly good for you? These No-Bake Raw Chocolate Brownies are the answer! Crafted from a blend of wholesome ingredients, they deliver an intensely fudgy texture and deep chocolate flavor without the need for an oven. Perfect for quick cravings or elegant healthy entertaining, this recipe comes together in under 30 minutes. Plus, they are naturally vegan, gluten-free, and completely refined sugar-free, making them a delicious indulgence for nearly everyone!
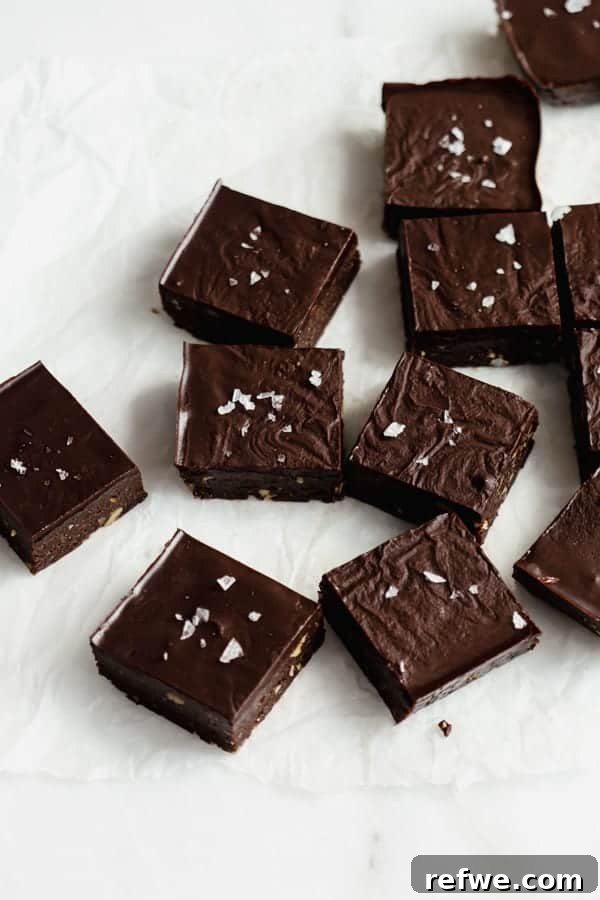
Table of Contents
- Why You’ll Adore These Brownies
- Essential Wholesome Ingredients
- Creative Brownie Variations
- Simple Steps to Make No-Bake Chocolate Brownies
- Storage Tips for Longevity
- Expert Tips for Perfect Raw Brownies
- Frequently Asked Questions
- Explore More No-Bake Delights
- Raw Chocolate Brownies Full Recipe
If you’re like me, a day feels incomplete without a touch of chocolate. Whether it’s a refreshing Chocolate Banana Smoothie, a creamy Vegan Chocolate Pudding, or these incredibly satisfying Raw Chocolate Brownies, chocolate has a magical way of brightening any moment. This recipe brings that joy without the usual guilt, offering a genuinely healthy way to indulge your sweet tooth.
These raw brownies are a true culinary marvel. They are naturally sweetened by nutrient-dense Medjool dates, packed with beneficial fats and antioxidants from walnuts, and boast a rich, intensely fudgy texture that will make you forget they’re even healthy. Whether you’re adhering to a raw vegan lifestyle, seeking a healthier dessert alternative, or simply love exceptional chocolate, these raw brownies are destined to become a cherished staple in your kitchen. Their simplicity and incredible flavor profile make them an irresistible choice for any occasion.
Why You’ll Adore These Healthy No-Bake Brownies
- Effortless Preparation – No Oven Needed: Say goodbye to hot kitchens and lengthy baking times! This no-bake recipe is a dream come true for convenience. All you need is a food processor, and you’ll have these decadent treats ready in less than 30 minutes, making them perfect for busy schedules or warm weather.
- Packed with Wholesome Nutrients: Unlike traditional brownies laden with refined sugars and unhealthy fats, these raw beauties are crafted from natural, unprocessed ingredients. Dates provide natural sweetness and fiber, walnuts offer healthy fats and protein, and pure cocoa powder delivers powerful antioxidants. Enjoy a guilt-free indulgence that nourishes your body.
- Infinitely Customizable to Your Taste: This versatile recipe serves as a fantastic base for your creativity. Easily adapt it with your favorite mix-ins like chopped nuts, shredded coconut, or a hint of mint extract. Experiment with different toppings to create unique flavor combinations that truly reflect your personal preferences.
- Luxuriously Rich and Fudgy Texture: Prepare for a truly satisfying chocolate experience. These brownies deliver an unparalleled rich, dense, and fudgy texture that melts in your mouth. They effectively satisfy even the most intense chocolate cravings while providing a healthier alternative you can feel good about.
- Diet-Friendly for Many Lifestyles: Naturally vegan, gluten-free, and refined sugar-free, these brownies cater to a wide range of dietary needs and preferences. They’re an inclusive dessert option that everyone can enjoy without compromise.
Essential Wholesome Ingredients for Your Raw Brownies
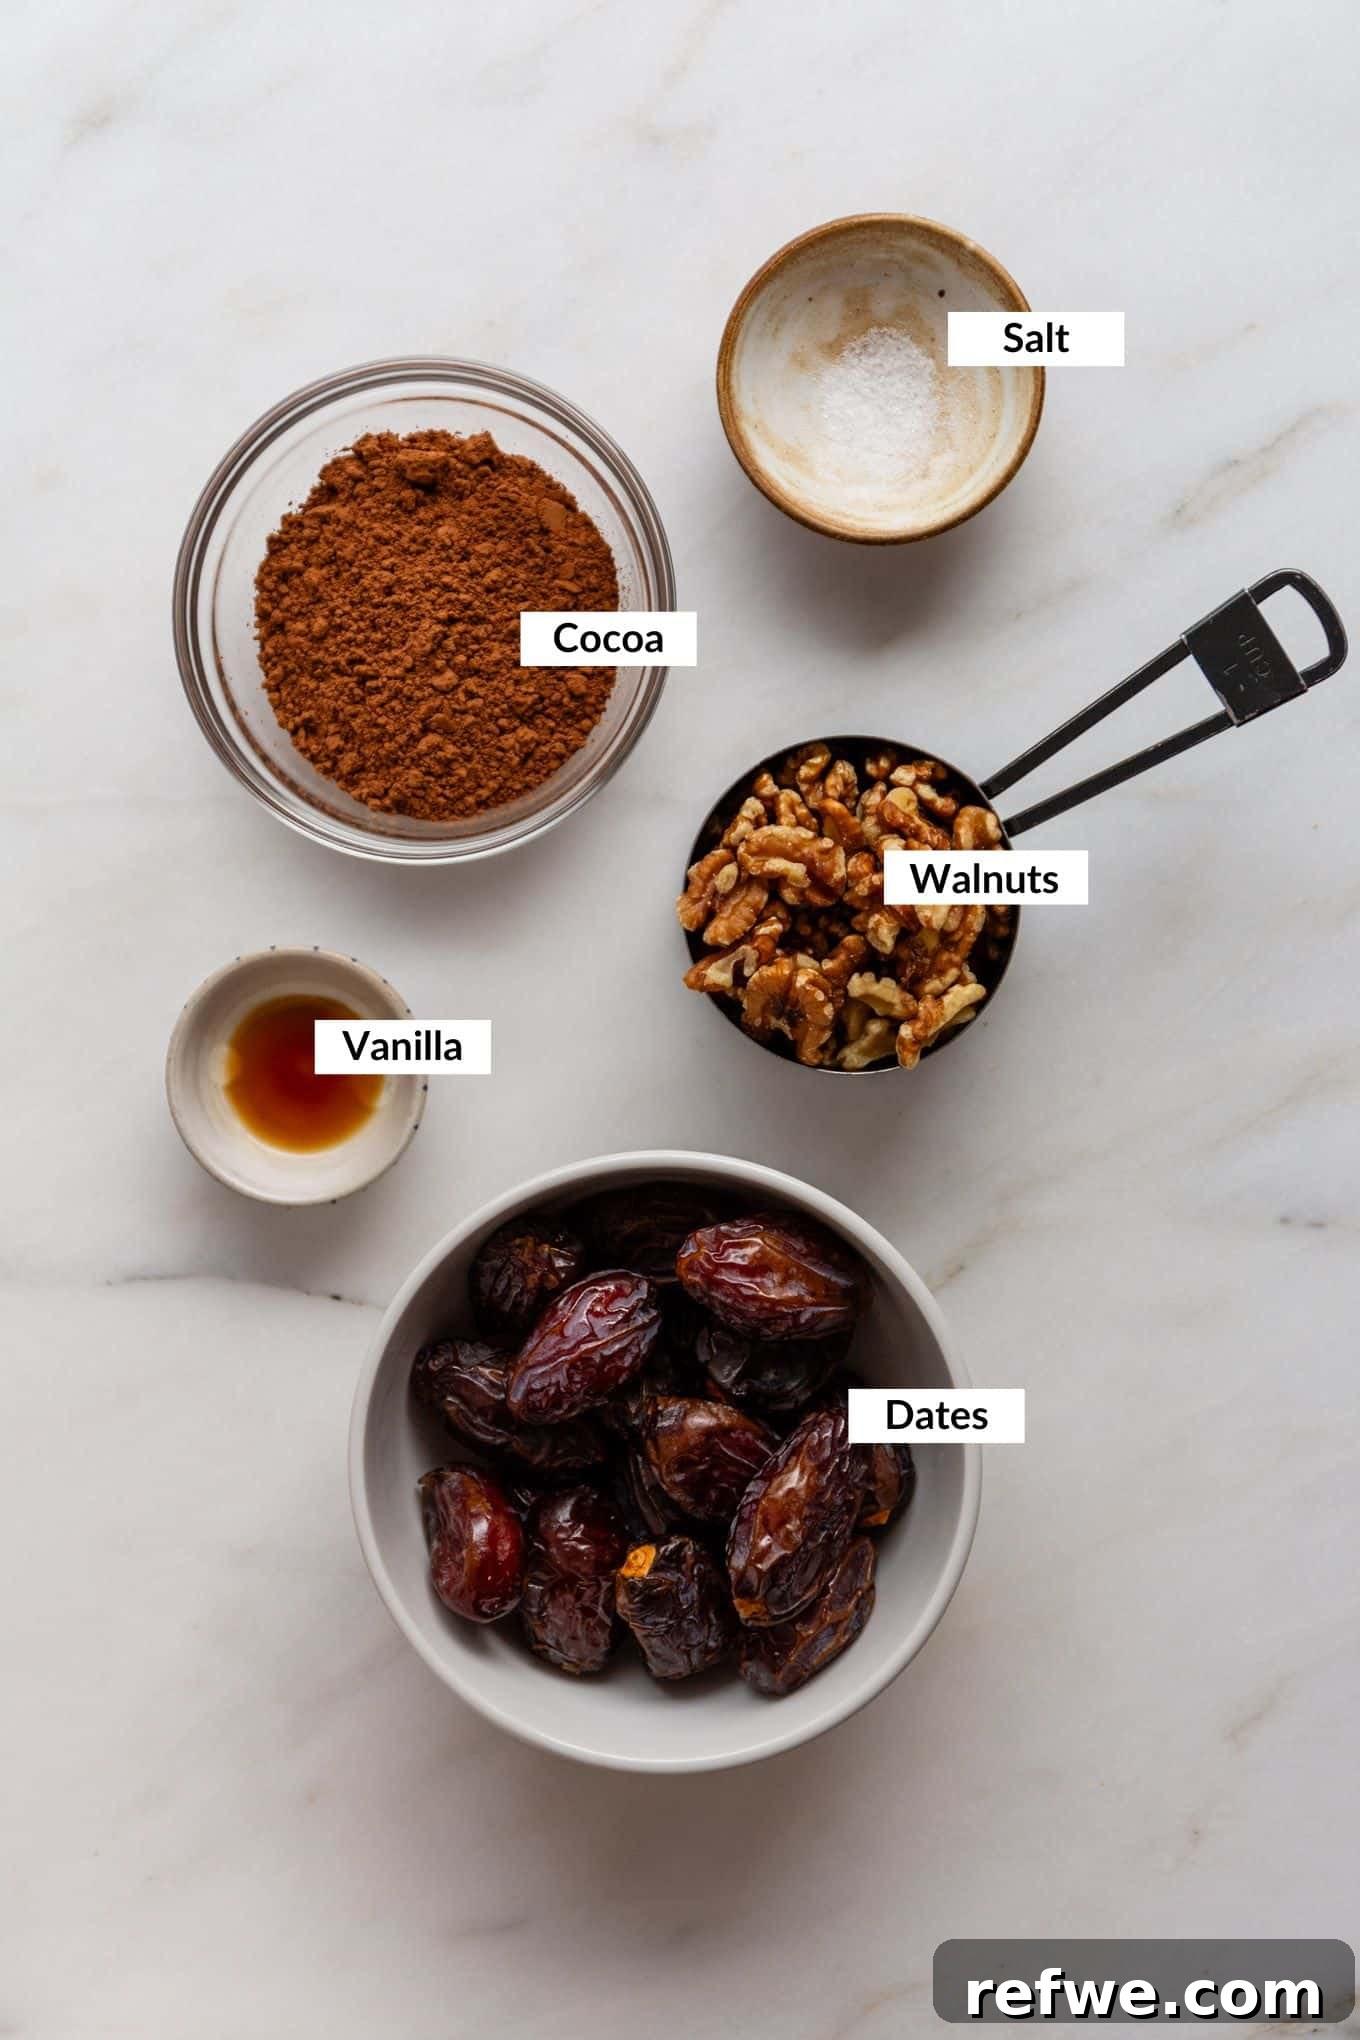
- Medjool Dates: These are the star of the show! Fresh, soft Medjool dates are crucial for this recipe. Their naturally caramel-like sweetness and incredibly sticky texture act as the perfect binder, holding the brownies together while providing a rich, natural sweetness. Dates are also an excellent source of fiber, potassium, and antioxidants. If your dates feel a bit dry, a quick soak in warm water will rehydrate them beautifully.
- Walnuts: Walnuts contribute significantly to the creamy texture and delightful nutty flavor of these brownies. They are also packed with omega-3 fatty acids, protein, and healthy fats, making them a nutritional powerhouse. For alternative nut options, you can experiment with pecans, cashews, or almonds – each will lend a slightly different flavor profile and texture.
- Unsweetened Cocoa Powder: The quality of your cocoa powder directly impacts the depth of flavor in your brownies. Opt for a high-quality unsweetened cocoa powder or cacao powder for the best, most intense chocolate experience. Brands like Ghirardelli and Rodelle are excellent choices. Using cacao powder will enhance the antioxidant content even further.
- Vanilla Extract: A touch of vanilla extract is essential for rounding out the chocolate flavor, adding a subtle warmth and complexity that elevates the overall taste of the brownies.
- Pinch of Salt: Don’t underestimate the power of a tiny pinch of salt! It beautifully balances the sweetness of the dates and enhances the rich chocolate notes, making every bite more impactful.
- Optional Chocolate Topping: For an extra layer of decadence, a simple topping made from melted dark chocolate and a touch of coconut oil creates a firm, glossy shell that adds to the fudgy experience. You can also use additional cocoa powder and maple syrup for a pure raw chocolate ganache.
*This is a comprehensive overview of the ingredients. You’ll find the complete ingredient list with precise measurements and detailed instructions in the full recipe card below.
Creative & Delicious Brownie Variations
These raw chocolate brownies are fantastic on their own, but they’re also a blank canvas for endless creativity! Here are some fun ways to customize them:
- Two-Bite Brownies: Transform this recipe into adorable, portion-controlled treats! Press the mixture into a silicone mini muffin tin to create perfectly bite-sized brownies. Top each one with a spoonful of melted chocolate or a sprinkle of sea salt for an elegant finish. This is a fantastic option for parties or mindful snacking.
- Nostalgic Cosmic Brownies: For a delightful trip down memory lane, after pressing the brownie mixture into your pan, spread a layer of melted chocolate over the top. While the chocolate is still wet, liberally sprinkle with rainbow sprinkles or rainbow chocolate chips. Chill until set, then slice for a vibrant, fun, and healthy twist on a classic childhood treat!
- Boost with Flavorful Add-ins: Get creative with what you mix into your brownie batter!
- Extra Nuts: Fold in chopped pecans, almonds, pistachios, or hazelnuts for added crunch and flavor.
- Shredded Coconut: Adds a tropical note and chewy texture.
- Cacao Nibs: For an intense chocolate crunch and additional antioxidant benefits.
- Seeds: Incorporate chia seeds (an amazing source of omega-3s and fiber – learn how to use chia seeds in all your favorite recipes!), hemp seeds, or flax seeds for an extra nutritional boost.
- Dried Fruits: Chopped dried cranberries, cherries, or even finely diced apricots can add a lovely tartness and chewiness.
- Extracts: A few drops of peppermint extract for mint chocolate brownies, almond extract for a subtle nutty flavor, or orange extract for a chocolate-orange delight.
- Nut Butter Swirl: Swirl in a tablespoon or two of almond butter, peanut butter, or cashew butter for an even creamier texture and delightful flavor contrast.
Simple Steps to Make No-Bake Chocolate Brownies
Creating these fudgy, healthy brownies is incredibly straightforward. Just follow these easy steps:
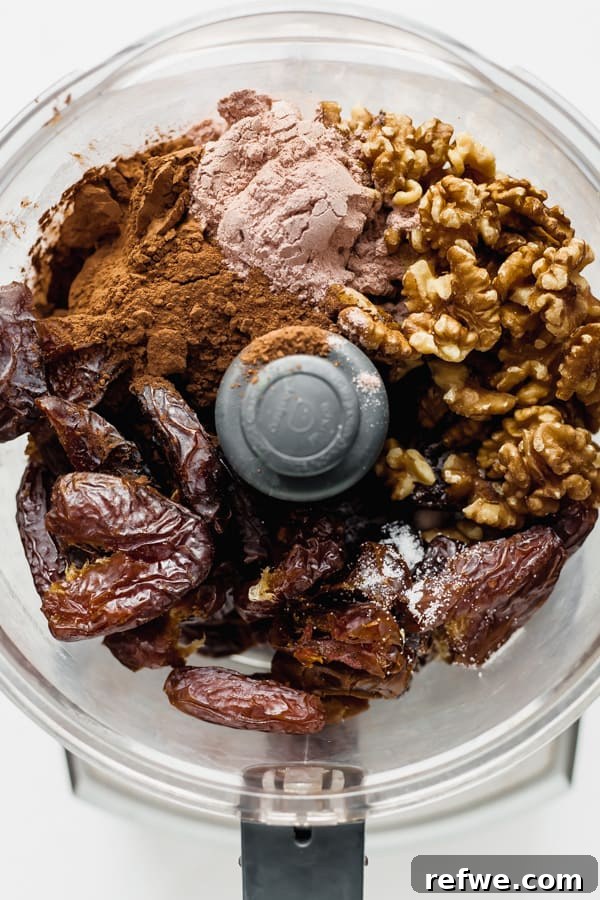
Step 1: Gather Your Ingredients. Place the pitted Medjool dates, raw walnuts, high-quality cocoa powder, a pinch of salt, and vanilla extract into the bowl of a powerful food processor. Ensure all ingredients are ready for blending.
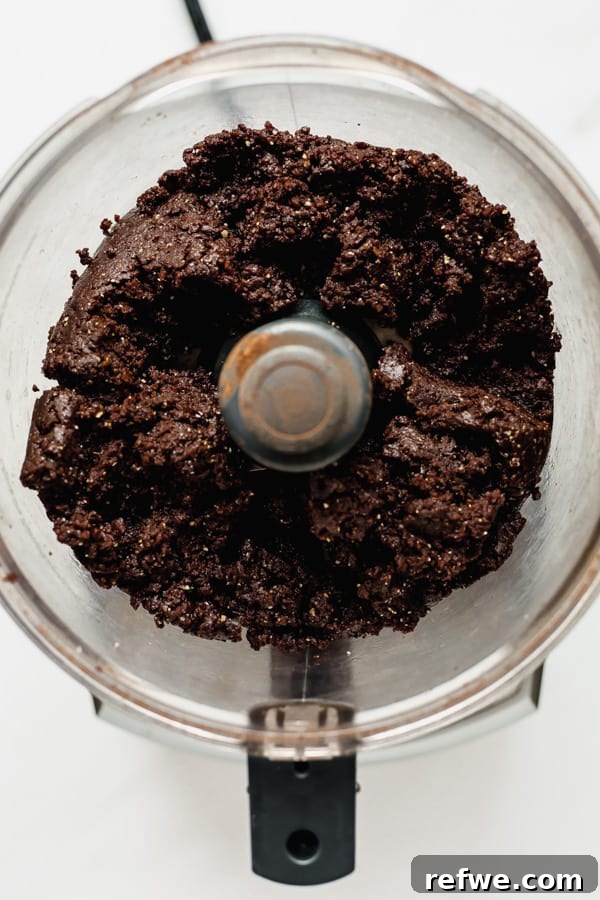
Step 2: Blend to Perfection. Process the mixture until it transforms into a sticky, cohesive dough. You may need to stop and scrape down the sides of the food processor bowl a few times to ensure everything is evenly combined. The mixture should hold together when pressed between your fingers.
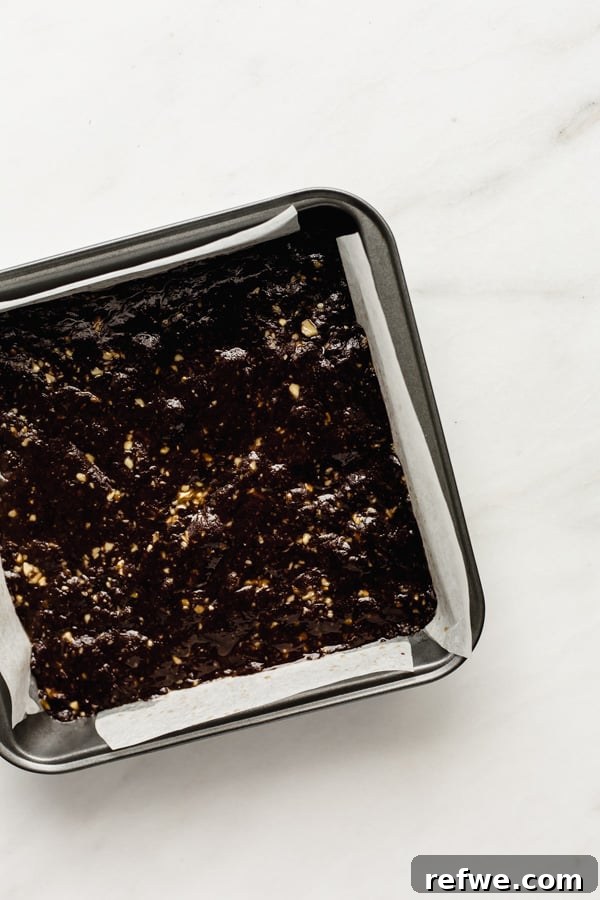
Step 3: Press into Pan. Line an 8×8 inch pan with parchment paper, leaving an overhang on the sides to easily lift the brownies out later. Transfer the sticky brownie mixture into the prepared pan and press it down very firmly and evenly using your hands or the back of a spatula. This compaction is key for well-structured brownies.
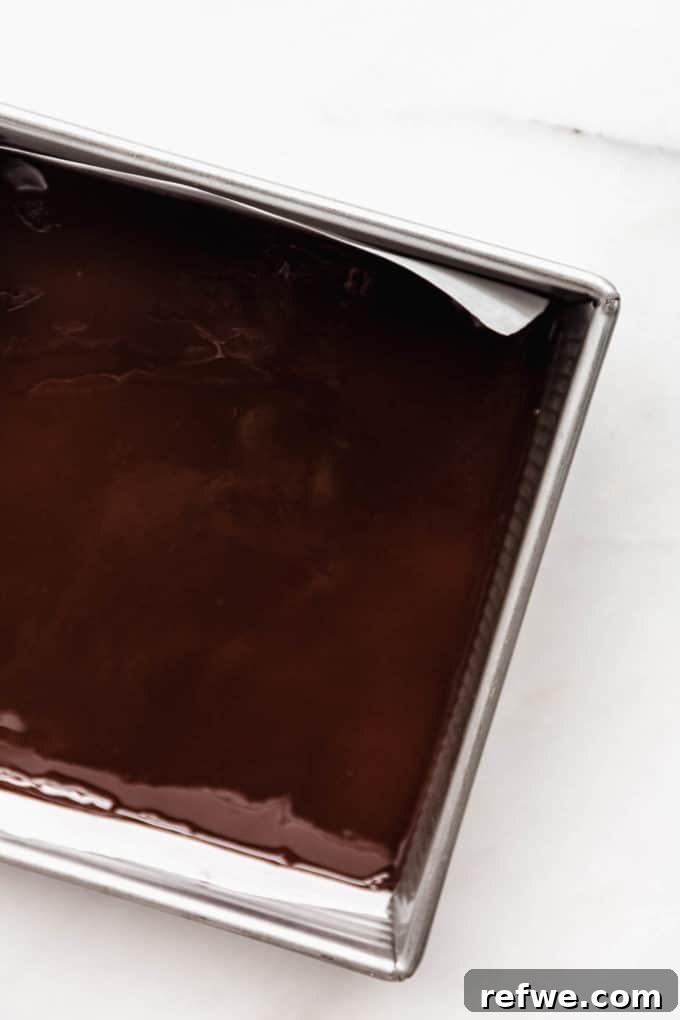
Step 4: Add the Chocolate Topping (Optional, but Recommended!). If you’re adding a topping, gently melt your dark chocolate with a bit of coconut oil until smooth and glossy. Pour this luscious melted chocolate over the pressed brownie base and spread it evenly to create a beautiful, rich layer. This not only enhances the flavor but also provides a satisfying “snap” when chilled.
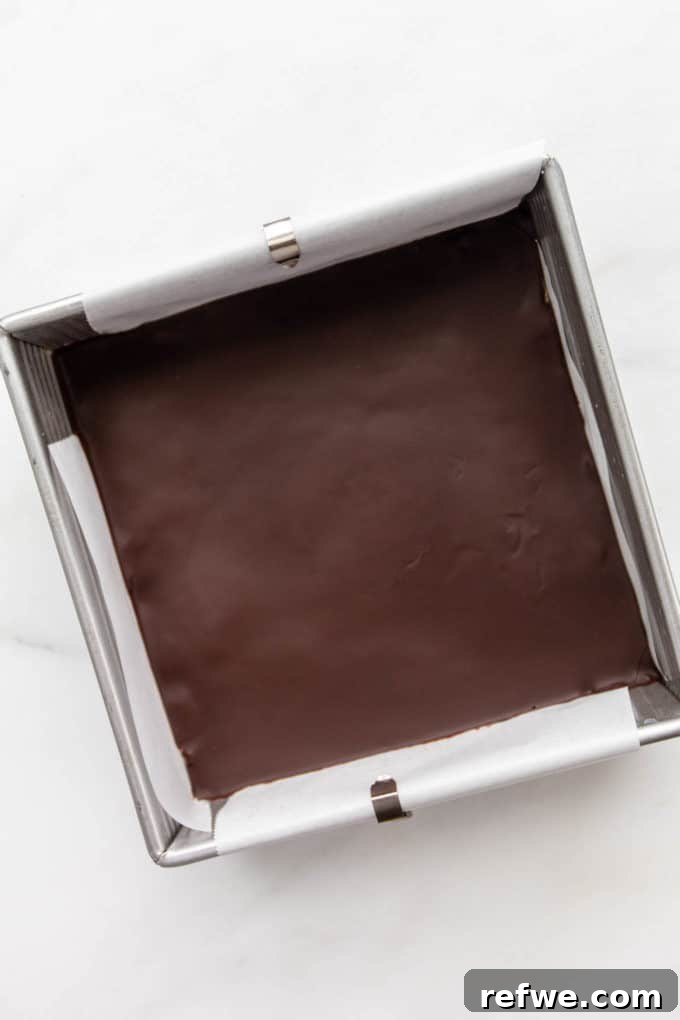
Step 5: Chill to Set. Once the chocolate topping is spread (or if you’re making them plain), place the pan into the refrigerator or freezer for at least one hour. This chilling time is essential for the brownies to firm up properly, allowing for clean, neat slices.
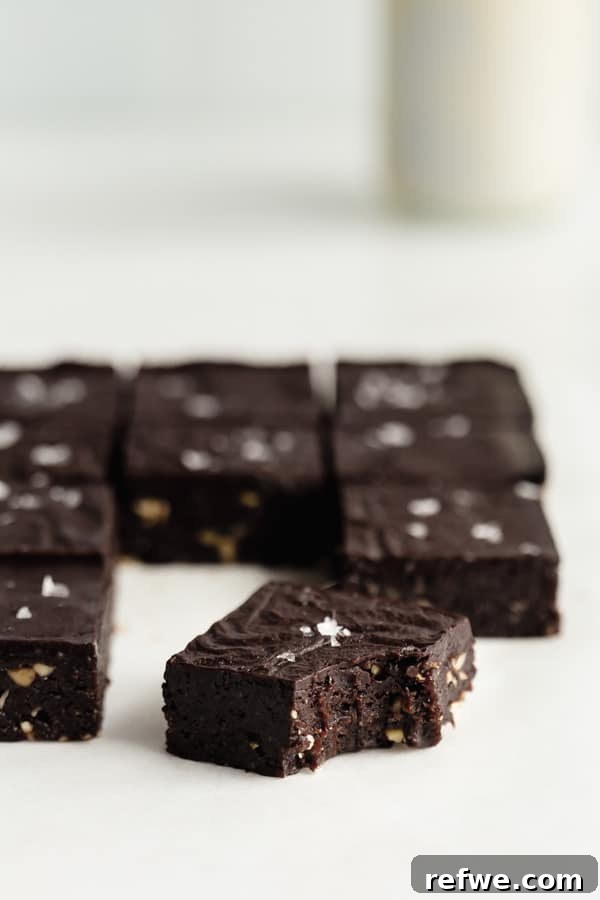
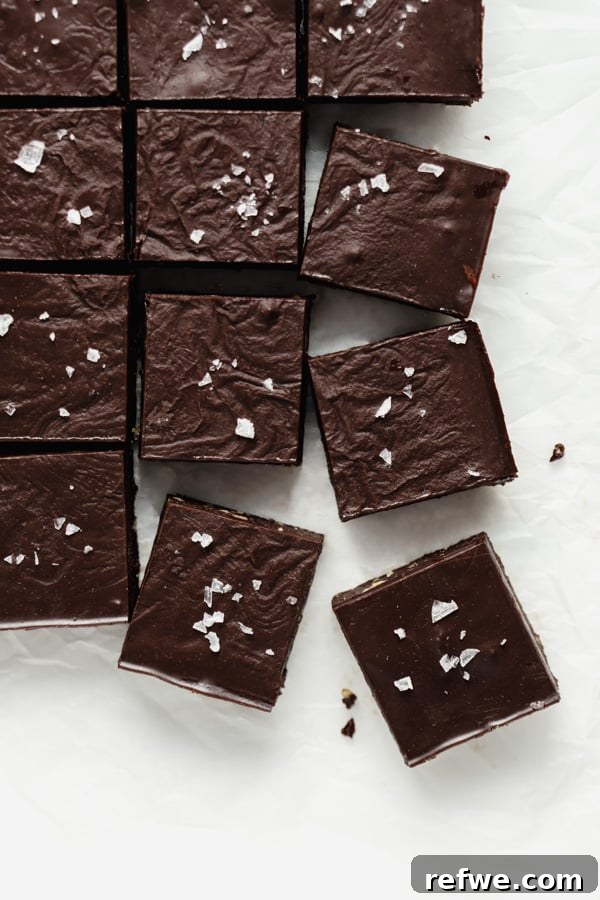
Step 6: Slice and Serve. After chilling, remove the brownies from the fridge or freezer. Carefully lift them out of the pan using the parchment paper overhang. Slice them into your desired square size using a sharp knife. For even cleaner cuts, you can warm your knife under hot water and wipe it clean between slices. Enjoy your perfectly fudgy, healthy raw chocolate brownies!
How to Store Your No-Bake Brownies for Lasting Freshness
These no-bake vegan brownies are incredibly easy to store, ensuring you can enjoy them for days or even months:
- Refrigeration: Store your finished brownies in an airtight container in the fridge for up to 1 week. This keeps them firm, fudgy, and deliciously fresh.
- Freezing: For longer enjoyment, these brownies freeze beautifully! Slice them into individual portions, then transfer them to a freezer-safe airtight container or a resealable freezer bag. They will stay fresh in the freezer for up to 3 months.
- Thawing: When you’re ready to enjoy a frozen brownie, simply remove it from the freezer and let it thaw at room temperature for 5-10 minutes, or in the fridge for about 30 minutes, until it reaches your preferred texture. They are delightful slightly chilled or at room temperature.
Expert Tips for the Best Raw Chocolate Brownies
Achieve raw brownie perfection with these helpful insights:
- Always Choose Soft Medjool Dates: For optimal results, fresh and pliable Medjool dates are paramount. Their natural stickiness is key to binding the brownie mixture without additional fats or binders. If your dates feel dry, soak them in warm water for 5-10 minutes, then drain thoroughly before adding to the food processor. This will rehydrate them and ensure a smooth, sticky dough. You can use any leftover dates to make a batch of Date Snickers.
- Thorough Blending is Essential: Use a high-powered food processor to achieve a smooth, uniform, and consistently sticky mixture. Pulse first, then blend continuously, stopping to scrape down the sides of the bowl as needed. The goal is a dough that holds together when pinched, indicating the dates and nuts are fully incorporated.
- Press Down Firmly for Structure: When transferring the mixture to your prepared pan, use strong, even pressure to compact it. This ensures the brownies hold their shape beautifully and don’t crumble when sliced. The firmer you press, the denser and fudgier the final texture will be.
- Chill Adequately Before Slicing: Patience is a virtue here! Allow the brownies to chill in the fridge for at least one hour (or freezer for 30 minutes) before attempting to cut them. This crucial step ensures the chocolate topping sets completely and the brownie base firms up, resulting in clean, sharp edges and a perfect fudgy consistency.
- Customize with Quality Ingredients: Experiment with different types of cocoa powder (Dutch-processed for a milder flavor, natural for a stronger, fruitier note) and add-ins like specific types of nuts or seeds to personalize your brownies. High-quality ingredients make a noticeable difference in flavor.
- Make Them into Two-Bite Delights: For perfectly portioned treats, use a mini silicone muffin pan. Press a spoonful of the brownie batter into each well and top with a drop of melted chocolate for individual brownie bites. These are excellent for entertaining or controlling serving sizes.
Frequently Asked Questions About Raw Chocolate Brownies
Yes, absolutely. Since these brownies are not baked and are made with perishable ingredients like fresh dates, they must be stored in the refrigerator. This ensures their freshness, maintains their fudgy texture, and prevents spoilage. They’re best enjoyed chilled, as it also helps them hold their shape.
Yes, they can! Raw brownies freeze exceptionally well. To freeze, slice them into individual portions, then place them in a single layer on a parchment-lined baking sheet to freeze for about an hour. Once firm, transfer them to a freezer-safe airtight container or bag. They can be stored in the freezer for up to 3 months. Thaw them in the fridge for a few hours or at room temperature for 10-15 minutes before serving for the best texture.
Compared to traditional baked brownies, raw brownies are generally considered a healthier alternative. They are made with whole-food ingredients such as fiber-rich dates, healthy-fat-laden walnuts, and antioxidant-packed cacao or cocoa powder. They are naturally free from refined sugars, dairy, and gluten. While they are calorie-dense, these calories come from nutrient-dense sources, offering sustained energy and various health benefits.
A food processor is highly recommended for this recipe because it efficiently handles the sticky, thick mixture of dates and nuts, ensuring a uniform dough. While a high-powered blender *might* work, it often requires more liquid and can struggle with the thick consistency, potentially leading to a less ideal texture. If you only have a blender, you may need to add a tablespoon or two of water or plant-based milk to help it blend, but be careful not to make the mixture too wet.
If your mixture is too dry and crumbly, it usually means your dates were not moist enough. Add 1-2 teaspoons of warm water or plant-based milk at a time and re-process until it reaches a sticky, dough-like consistency. If it’s too wet and difficult to handle, you can add a tablespoon or two of additional cocoa powder or finely ground nuts (like almond flour) to absorb some moisture.
Explore More Delicious No-Bake Treats!
No-bake
Healthy No-Bake Cookie Dough Bars
Bars & Bites
No-Bake Chocolate Coconut Bars
Bars & Bites
No-Bake Chocolate Protein Bars
Desserts
No-Bake Chocolate Macaroons
We hope you love these delightful Raw Chocolate Brownies! If you tried this recipe or any other on the blog, please let us know how you liked it by leaving a comment and rating below. Your feedback means the world to us! Be sure to follow along on Pinterest, Instagram, and Facebook for even more delicious and healthy recipe inspiration!
Print Recipe
Raw Chocolate Brownies
- Author: Jessica Hoffman
- Prep Time: 20 minutes
- Cook Time: 0 minutes
- Total Time: 20 minutes
- Yield: 15 brownies
- Category: Dessert
- Method: Blend
- Cuisine: American
- Diet: Vegan
Description
These raw chocolate brownies are a delightful, no-bake indulgence, packed with whole-food ingredients for a naturally sweet and fudgy treat!
Ingredients
For the Brownies:
For the Chocolate Topping (optional):
Instructions
- Prepare an 8×8-inch pan by lining it with parchment paper, allowing some overhang on the sides for easy removal. This is a crucial step for preventing sticking. (For small, individual brownies, you can alternatively use a mini silicone muffin pan).
- In a powerful food processor, combine the 2 cups of walnuts, pitted Medjool dates, cocoa powder, vanilla extract, and salt. Pulse initially, then blend continuously until the mixture comes together to form a very sticky, cohesive dough. You may need to stop and scrape down the sides of the bowl a few times to ensure all ingredients are thoroughly incorporated. If you’re adding the optional 1/3 cup of walnuts for chunks, add them now and pulse just a few times until they are roughly chopped and distributed throughout the mixture.
- Transfer the brownie mixture into the prepared pan. Using your hands or the back of a spatula, press the mixture down very firmly and evenly across the bottom of the pan. The firmer you press, the more dense and fudgy your brownies will be. If using a mini muffin pan, press a spoonful of the mixture into each well and flatten the tops.
- For the optional chocolate topping, melt the dark chocolate with coconut oil either in the microwave in 30-second intervals, stirring between each, or over a double boiler until completely smooth and glossy. Pour the melted chocolate evenly over the brownie base and gently spread it to the edges.
- Place the pan into the refrigerator (or freezer) for at least 1 hour to allow the brownies to set completely. This chilling time is essential for the structure and clean slicing.
- Once fully chilled and firm, remove the brownies from the fridge/freezer. Use the parchment paper overhang to carefully lift the entire slab out of the pan. Using a sharp knife, slice into your desired square sizes. For mini brownies, simply pop them out of the muffin pan. Store any leftover brownies in an airtight container in the fridge for up to 1 week, or in the freezer for up to 3 months.
Notes
- Medjool Dates are Key: Always use soft, fresh Medjool dates as they are naturally sticky and provide the best binding for the brownies.
- Rehydrate Dry Dates: If your dates seem dry, soak them in warm water for about 5 minutes, then drain thoroughly before adding them to the food processor.
- Blend Until Uniform: Ensure your mixture is thoroughly blended in the food processor until it forms a sticky, pliable “dough.” This prevents crumbling.
- Press Firmly: When transferring to the pan, press down very firmly to ensure the brownies hold their shape and have a dense, fudgy texture.
- Optional Real Chocolate Topping: For an extra rich topping, you can melt 1 cup of high-quality dark chocolate (vegan if preferred) with 1 tablespoon of coconut oil and pour it over the brownies.
- Chill for Clean Cuts: Refrigerate or freeze the brownies for at least 30-60 minutes before slicing. This helps achieve clean, sharp edges.
- Two-Bite Option: For perfectly portioned treats, use a silicone mini muffin pan instead of an 8×8 inch pan to create individual brownie bites.
Nutrition Information (per serving)
- Serving Size: 1 brownie
- Calories: 200
- Sugar: 17g
- Sodium: 40mg
- Fat: 13g
- Saturated Fat: 4g
- Carbohydrates: 22g
- Fiber: 4g
- Protein: 4g
(Please note: Nutritional information is an estimate and may vary based on specific ingredients and preparation methods.)