
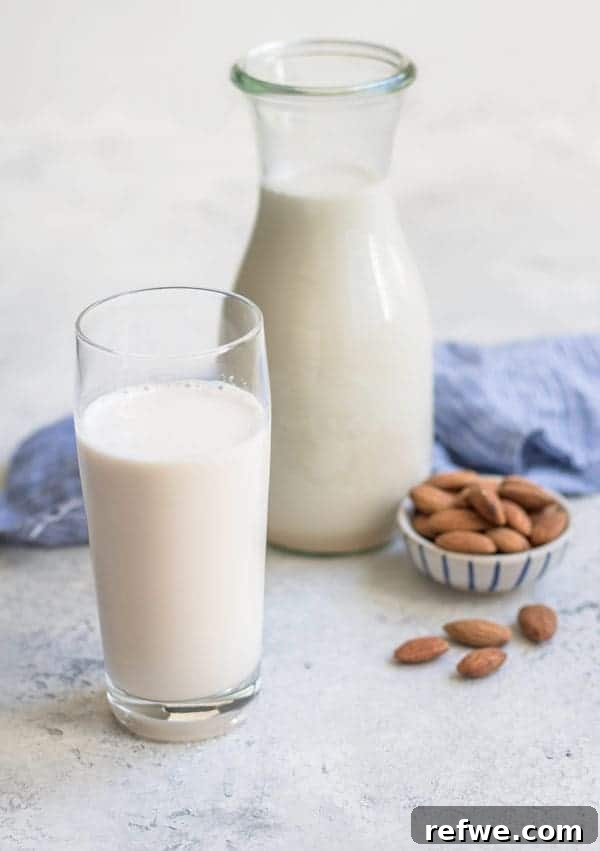
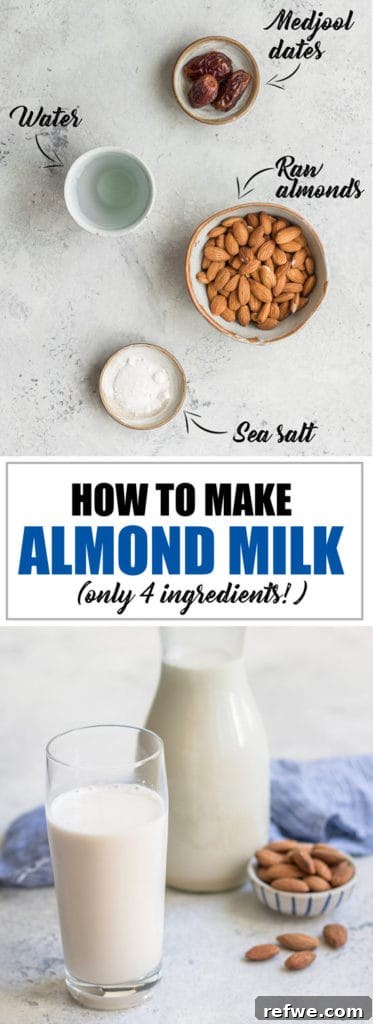
Ever wondered how to make almond milk at home? Prepare to be amazed by how incredibly simple and satisfying it is! All you need are 4 basic ingredients, a good blender, and a few minutes of your time to create a truly superior plant-based milk.
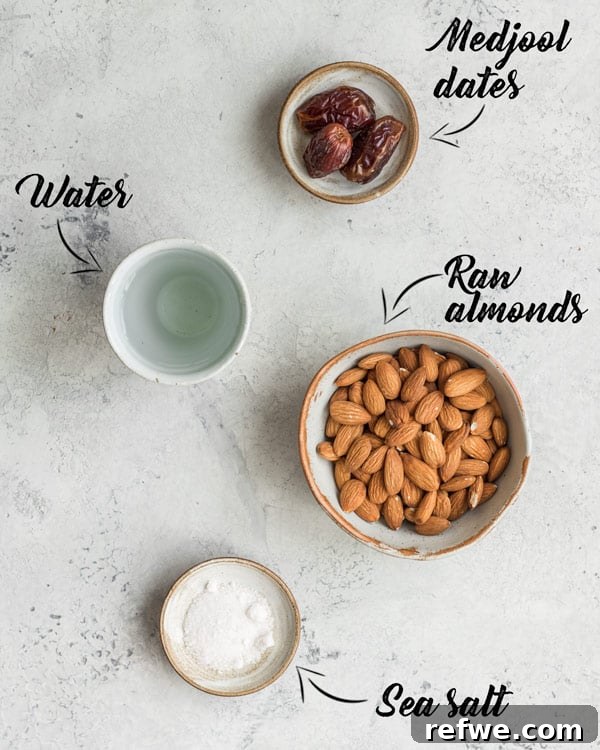
Unlock the Secret to Creamy, Delicious Homemade Almond Milk
For a long time, like many, I embraced the convenience of store-bought almond milk. It was a constant in my refrigerator, always ready for my morning coffee, a quick smoothie, or a bowl of cereal. Yet, a persistent thought lingered in my mind: “What if I could make it myself?” This idea, however, was often overshadowed by common hesitations such as “It must be too complicated” or “I don’t even own a nut milk bag to strain it.” (Funnily enough, acquiring a nut milk bag was as simple as a quick online order, and it arrived at my doorstep the very next day, dissolving that particular excuse instantly!)
It wasn’t until this past summer that I had my true “aha!” moment. I decided to try some homemade almond milk from a local seller, and that first taste was an absolute revelation. The difference between that fresh, artisanal batch and the carton varieties I was accustomed to was simply incomparable. While there’s absolutely nothing wrong with buying almond milk from the grocery store (and yes, I still do sometimes when time is short), the unparalleled taste and freshness of homemade almond milk are in a league of their own.
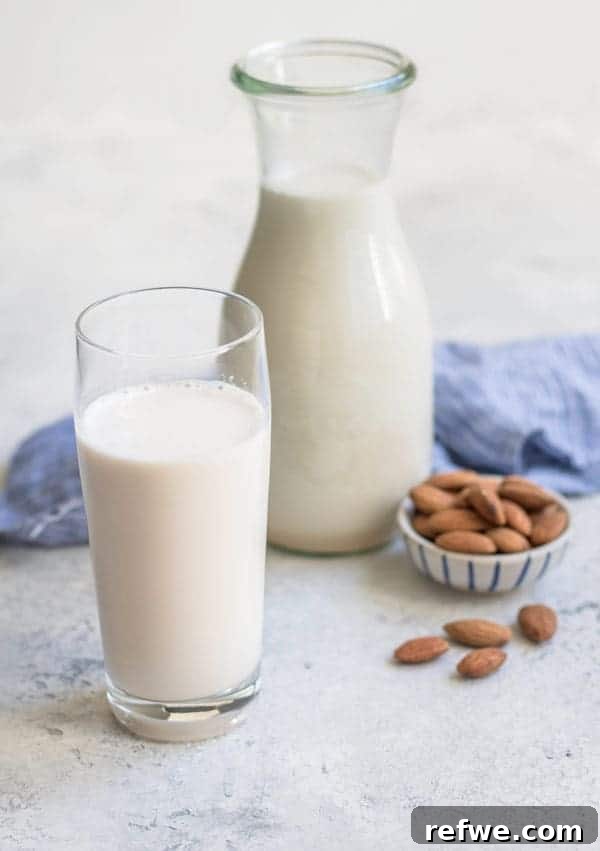
Why Choose Homemade Almond Milk? The Unbeatable Benefits
Once you experience the rich, creamy texture and vibrant, nutty flavor of DIY almond milk, it’s truly difficult to go back to store-bought versions. But beyond the delicious taste, there are several compelling reasons to make the switch to homemade:
1. Superior Taste and Texture
Commercial almond milk often possesses a thin consistency and a somewhat muted flavor, often due to high water content and limited almond-to-water ratios. Homemade almond milk, on the other hand, is luxuriously richer, wonderfully creamier, and boasts a much more pronounced, authentic nutty taste. It transforms your daily coffee, morning cereal, or favorite smoothie into an indulgent experience.
2. Complete Control Over Ingredients
One of the most significant advantages of making your own nut milk is knowing precisely what goes into it. Store-bought brands frequently contain a long list of additives: emulsifiers (to prevent separation), stabilizers (like carrageenan, gellan gum, or locust bean gum for texture), thickeners, added sugars, and various preservatives. When you craft it at home, you’re using just four simple, wholesome ingredients, ensuring a clean, pure, and truly natural product for your family.
3. Free from Unwanted Fillers and Preservatives
Say goodbye to concerns about artificial ingredients, unnecessary chemicals, or ingredients that might cause digestive discomfort. Your homemade almond milk will be completely free from anything you don’t want in your diet, making it a healthier and safer choice for those with food sensitivities or a strong preference for natural, whole foods.
4. Tailored to Your Preference
Do you prefer your milk sweeter? Less sweet? Or perhaps with a subtle hint of vanilla or cinnamon? Making almond milk at home allows you to fully customize the flavor profile to match your exact preferences. Adjust the amount of dates (or choose other natural sweeteners), and feel free to experiment with extracts or spices to create your perfect blend. The possibilities are endless!
5. Cost-Effective in the Long Run
While the initial purchase of raw almonds might seem like a bigger investment than a single carton of milk, making almond milk yourself can often prove to be more economical over time, especially if you consume it regularly. Furthermore, you’re investing in a consistently higher-quality product, free from cheap fillers.
6. Environmentally Friendly Choice
Reducing packaging waste is another excellent perk of going homemade. By using reusable glass bottles or jars for storage, you’ll significantly cut down on the number of cartons ending up in landfills, contributing to a more sustainable and eco-conscious kitchen.
Convinced by the undeniable benefits? Excellent! Let’s get to the heart of the matter: how to make almond milk at home!
Print Recipe
How to Make Almond Milk at Home
Author: Jess
Prep Time: 5 mins
Cook Time: 0 mins
Total Time: 5 mins (plus soaking time)
Yield: 6-8 servings (approx. 6-7 cups)
Category: Drink
Method: Blend
Cuisine: American
Description
This simple and quick recipe guides you through making your own incredibly delicious, fresh, and additive-free almond milk right at home. It’s perfect for anyone looking to upgrade their plant-based milk experience with minimal effort and maximum flavor.
Ingredients
- 2 cups raw almonds, ideally organic (for best flavor and creaminess)
- 6-7 cups filtered water (*adjust amount depending on your preferred creaminess)
- pinch of sea salt (enhances the natural sweetness and nutty flavor)
- 3 Medjool dates, pitted (for natural sweetness; omit for unsweetened)
- *1 nut milk bag or a double layer of clean cheesecloth (essential for straining)
Instructions
- Soak the Almonds: Begin by placing your raw almonds in a large bowl. Cover them completely with fresh, filtered water. Allow them to soak overnight, or for a minimum of 8 hours, and up to 24 hours. Soaking is a crucial step as it softens the almonds, making them significantly easier to blend into a smooth, creamy milk. It also aids in digestion by breaking down phytic acid. You will notice the almonds plump up and become noticeably softer.
- Rinse and Combine: Once adequately soaked, drain the almonds thoroughly and rinse them well under cold, running water. Transfer the rinsed almonds to a high-speed blender. Add 6-7 cups of fresh filtered water (you can start with 6 cups and add more if you prefer a thinner consistency), the pinch of sea salt, and the pitted Medjool dates for sweetness.
- Blend to Perfection: Secure the lid on your blender and blend the mixture on high speed for 1 to 2 minutes. The goal is a completely smooth and creamy liquid, free of any visible almond pieces. The longer you blend, the creamier and more emulsified your almond milk will be.
- Strain the Milk: Carefully place a large nut milk bag (or a double layer of clean cheesecloth) over a spacious bowl. Slowly pour the blended almond mixture into the bag. Gently squeeze the bag to extract all the liquid into the bowl. Be gentle and avoid squeezing too vigorously, as this can force small pulp particles through the bag, resulting in a gritty texture. Continue squeezing until all the desired milk has been extracted.
- Store and Enjoy: Pour the freshly strained almond milk into a clean, airtight jar or container. Store it promptly in the refrigerator. Homemade almond milk typically stays fresh for 5-7 days. It’s perfectly normal for the milk to separate into layers upon standing; simply give your jar a good shake before each use to reincorporate the ingredients.
Nutrition Information (per 1/8 recipe serving, estimated)
- Serving Size: 1/8 recipe (approx. 1 cup)
- Calories: 147
- Sugar: 3g
- Fat: 12g
- Saturated Fat: 1g
- Carbohydrates: 8g
- Fiber: 3g
- Protein: 5g
Please note: Nutritional information is an estimate based on standard ingredient values and may vary depending on exact brands, processing, and specific preparation methods.
Expert Tips & Creative Suggestions for Your Homemade Almond Milk
Making almond milk at home is an incredibly flexible process, allowing for endless customization. Here are some pointers to help you perfect your batch and explore delicious variations:
- No Nut Milk Bag? No Problem! If you don’t have a dedicated nut milk bag, don’t let that deter you. A double layer of good quality cheesecloth works just as effectively for straining the almond pulp. Simply gather the corners securely and squeeze gently to extract the milk.
- Adjusting Sweetness to Your Liking: If you prefer unsweetened almond milk, simply omit the Medjool dates from the recipe. For alternative sweeteners, you can experiment with a tablespoon of maple syrup, agave nectar, or a few drops of liquid stevia, added after straining to taste. This allows for precise control over the sugar content.
- Flavor Enhancements & Exciting Variations:
- Vanilla Almond Milk: Add 1 teaspoon of pure vanilla extract to the blender along with the other ingredients for a delightfully aromatic vanilla flavor.
- Chocolate Almond Milk: For a rich, healthy chocolate milk, blend in 1-2 tablespoons of unsweetened cocoa powder and an additional date or a splash of maple syrup to taste.
- Spiced Almond Milk: A pinch of warm spices like cinnamon, nutmeg, or cardamom can add a comforting twist, especially wonderful for coffee, lattes, or chai.
- Experiment with Other Nuts and Seeds: Once you’ve mastered almond milk, feel free to try replacing almonds with other nuts or even seeds. Cashews often produce an even creamier milk and sometimes don’t require straining. Pecans, hazelnuts, or even a mix of nuts can create unique flavor profiles. You can also explore making oat milk or rice milk!
- Make the Most of Almond Pulp: Don’t discard the leftover almond pulp! It’s still packed with valuable fiber and nutrients. You can repurpose it into delicious almond pulp crackers, add it to smoothies for an extra fiber boost, mix it into baked goods like muffins or energy balls, or simply add it to your compost. It’s a fantastic ingredient for reducing food waste.
- Versatile Serving Suggestions: Homemade almond milk is incredibly versatile and can be enjoyed in countless ways:
- Poured over your favorite cereal, oatmeal, or granola.
- As the perfect base for refreshing smoothie recipes, providing a creamy texture and nutty depth.
- In your morning coffee or tea for a dairy-free latte or a creamy cuppa.
- As a liquid in various baking recipes where dairy milk would typically be used.
- Simply chilled in a glass for a refreshing, nutritious, and naturally delicious drink on its own.
- Storage Best Practices for Freshness: Always store your homemade almond milk in a clean, airtight container or jar in the refrigerator. Natural separation is completely normal due to the absence of emulsifiers, so simply give it a good shake before each pour. For optimal freshness and safety, it’s best to consume your homemade almond milk within 5-7 days.
Common Questions About Making Almond Milk at Home
How long do I need to soak the almonds for homemade almond milk?
Ideally, raw almonds should be soaked overnight, which typically means 8-12 hours. You can safely extend this up to 24 hours. Soaking is beneficial because it softens the almonds, making them significantly easier to blend into a smooth, creamy milk. Additionally, it helps to reduce phytic acid, an antinutrient that can inhibit the absorption of certain minerals, thus potentially improving nutrient bioavailability.
Is it absolutely necessary to strain the almond milk?
Yes, straining is a crucial step if you desire that characteristic silky-smooth, pulp-free texture associated with almond milk. Without proper straining, your homemade beverage will have a thicker, somewhat grainy or pulpy consistency, which might not be what you’re looking for. A good quality nut milk bag or a tightly woven cheesecloth is essential for achieving the best results.
What can I do with the leftover almond pulp after making milk?
The leftover almond pulp is far from waste! It’s a wonderful byproduct, rich in fiber and beneficial nutrients. There are many creative ways to use it: you can dehydrate it and grind it into a fine flour for gluten-free baking, use it to make savory almond pulp crackers, incorporate it into oatmeal or smoothies for an added fiber boost, or even mix it into energy bite recipes. It’s a great ingredient for reducing food waste in your kitchen!
Why does my homemade almond milk separate in the fridge?
Natural separation is a perfectly normal occurrence for homemade nut milks. This happens because, unlike commercial almond milks, your homemade version lacks the artificial emulsifiers and stabilizers (such as gellan gum or carrageenan) that are used to keep ingredients uniformly suspended. Simply give your jar a good shake before each use to easily reincorporate the ingredients and restore its creamy consistency.
Can I use roasted almonds instead of raw almonds for milk?
While technically possible to use roasted almonds, the flavor of your milk will be significantly different – often more pronounced, toasted, and less “fresh.” For the classic, mild, and creamy almond milk taste that is most versatile, raw almonds are highly recommended. Roasted almonds might also yield a slightly darker colored milk.
Is making almond milk at home more economical than buying it?
Generally, yes, especially if you purchase raw almonds in bulk. The cost per serving of homemade almond milk often proves to be less expensive than many premium store-bought brands. This is particularly true when you consider the superior quality, fresher ingredients, and the absence of cheap additives found in commercial versions.
Ready to Enjoy Your Freshly Made Almond Milk?
Making your own almond milk at home is a simple yet incredibly rewarding process that consistently yields a product far superior in taste, freshness, and purity to anything you can find on store shelves. With just a few basic ingredients and a blender, you can effortlessly create a fresh, creamy, and fully customizable plant-based milk that is completely free from any unnecessary additives.
Embrace the freshness, savor the authentic natural flavor, and delight in the peace of mind that comes from knowing exactly what you’re consuming. Nourish your body with this wholesome, homemade beverage. Give this easy recipe a try today – your taste buds, your health, and your wallet will undoubtedly thank you!