
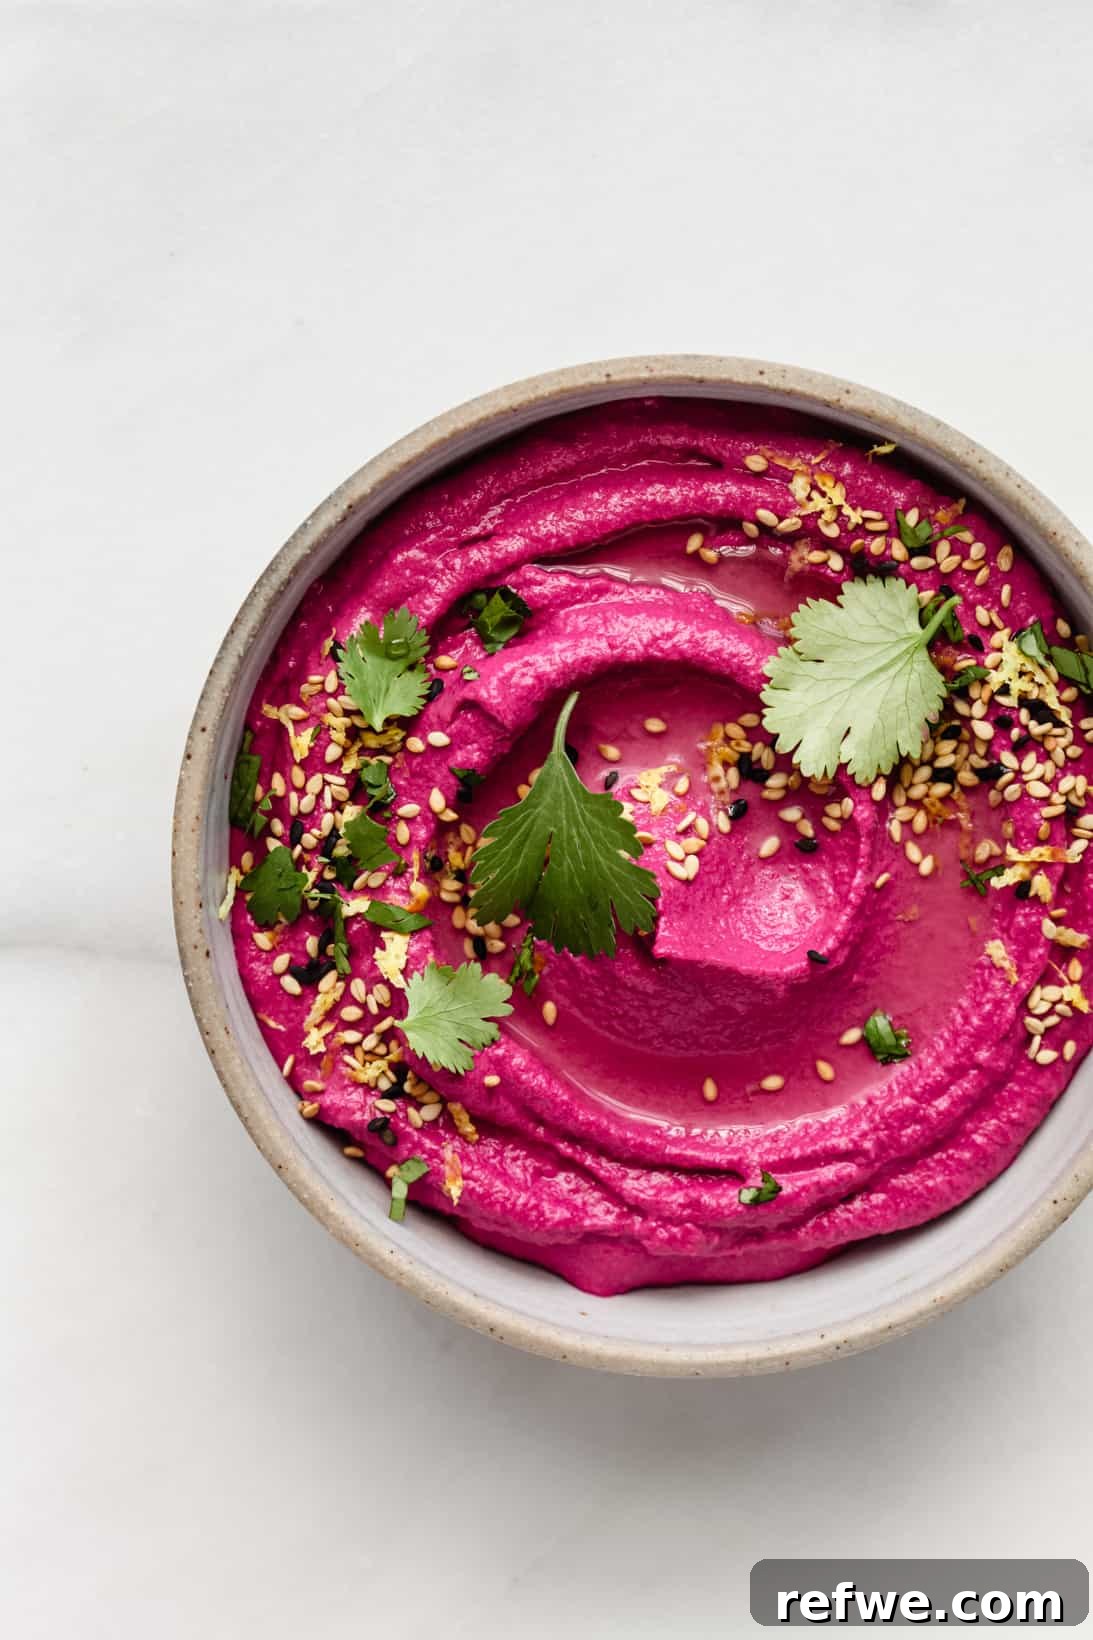
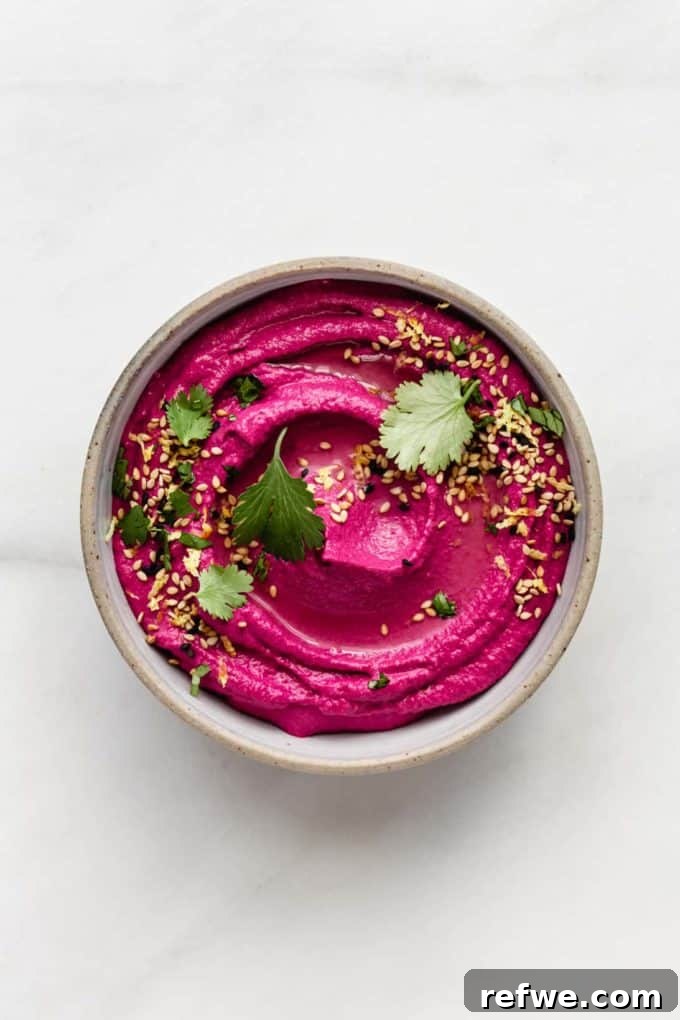
Get ready to elevate your snack game with this incredible Roasted Beet Hummus! This isn’t just any dip; it’s a flavor powerhouse bursting with the earthy sweetness of roasted beets, the nutty richness of tahini, and a zesty garlic kick. Perfectly smooth and vibrantly colored, this homemade hummus is an absolute showstopper. It’s wonderfully versatile, making it the ideal accompaniment for crunchy crackers, fresh veggies, or a flavorful spread for sandwiches and wraps. Prepare to impress your taste buds and your guests with this stunning and surprisingly simple recipe.
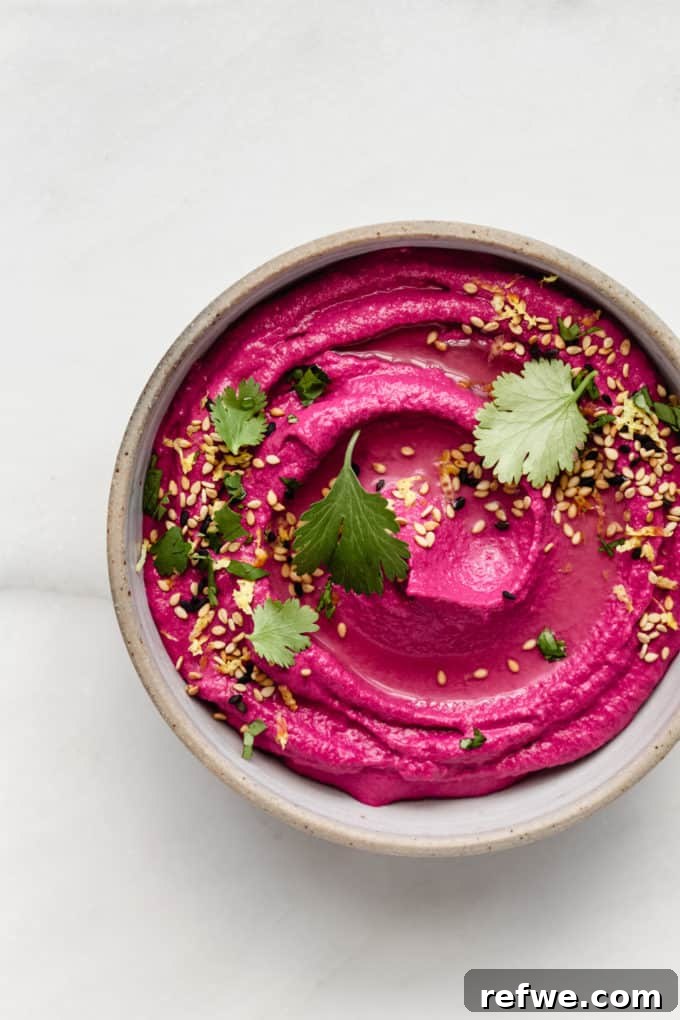
The Ultimate Roasted Beet Hummus: A Recipe for Vibrant Flavor
Creating this delicious Roasted Beet Hummus is an exceptionally straightforward process, a true “dump and blend” recipe where minimal effort yields maximum reward. Forget complicated steps or lengthy preparations; with just a few key ingredients and your food processor, you’ll have a gourmet-quality dip ready in no time. Its ease of preparation makes it perfect for busy weeknights, last-minute gatherings, or simply when you’re craving something wholesome and delicious.
The star ingredient, roasted beets, infuse this hummus with a subtly earthy and naturally sweet flavor that is both unique and incredibly appealing. Roasting the beets is crucial here; this process intensifies their natural sugars and deepens their complex flavor profile, adding a richness that boiled beets simply cannot achieve. The result is a hummus that is wonderfully balanced, where the beets enhance rather than overpower the classic hummus taste.
And let’s not overlook the absolutely breathtaking color! The vibrant magenta hue of this hummus is pure artistry. It instantly catches the eye and promises a delightful culinary experience. Just like our popular Heart Beet Ravioli, this hummus boasts a visual appeal that is truly inspiring, turning a simple dip into a captivating centerpiece for any table.
Essential Ingredients for Perfect Beet Hummus
Crafting the perfect roasted beet hummus begins with selecting high-quality ingredients. Each component plays a vital role in achieving the desired texture, flavor, and vibrant color:
- Beets: Always opt for fresh, firm beets. The roasting process is essential for developing their sweet, earthy notes and achieving that stunning deep pink color. Avoid pre-cooked or pre-packaged beets, as they often lack the vibrant color and intense flavor fresh roasting provides.
- Chickpeas: The backbone of any good hummus. You can use canned chickpeas for convenience (just drain and rinse thoroughly) or dried chickpeas cooked from scratch. If using dried, ensure they are cooked until very tender to achieve the smoothest possible texture.
- Tahini: This sesame paste is critical for authentic hummus flavor and creaminess. Look for a high-quality, runny tahini made from 100% hulled sesame seeds. A good tahini will blend seamlessly and impart a rich, nutty depth.
- Olive Oil: A drizzle of good quality extra virgin olive oil not only adds a silky texture but also contributes a nuanced, peppery flavor that complements the other ingredients beautifully. It helps in achieving that luxurious, creamy consistency.
- Lemon Juice: Freshly squeezed lemon juice brightens the hummus, adding a essential tangy acidity that balances the sweetness of the beets and the richness of the tahini. Do not substitute with bottled lemon juice for the best flavor.
- Garlic: Fresh garlic cloves are non-negotiable. They provide a pungent, aromatic kick that is characteristic of traditional hummus. Avoid garlic powder; fresh is key for depth of flavor.
- Cumin: Ground cumin powder adds a warm, earthy spice that is classic in Middle Eastern cuisine and pairs wonderfully with both chickpeas and beets. It brings an aromatic depth that ties all the flavors together.
- Salt: Essential for seasoning and enhancing all the other flavors. Adjust to your personal preference, keeping in mind that canned chickpeas might already contain some salt.
- Water: Crucial for achieving the desired creamy, light, and fluffy texture. Adding cold water slowly while blending helps emulsify the hummus, creating that perfect consistency.
Step-by-Step Guide: How to Make This Luscious Hummus
Making this gorgeous roasted beet hummus is a delightful culinary journey, broken down into three incredibly simple and manageable steps. Follow these instructions carefully to ensure a perfect batch every time.
- Roast the Beets to Perfection: Begin by preheating your oven to 400°F (200°C). Thoroughly rinse and scrub two medium fresh beets. Trim off the root end and any tough parts of the stem. Loosely wrap each beet individually in aluminum foil. Place the foil-wrapped beets directly on a baking sheet and roast them in the preheated oven for 30-45 minutes, or until they are fork-tender. The roasting time can vary depending on the size of your beets. Once tender, remove them from the oven and let them cool completely. Once cool enough to handle, the skins should slip off easily.
- Prepare the Chickpeas for Ultimate Creaminess: This step is key to achieving that wonderfully smooth, restaurant-quality hummus texture. If using canned chickpeas, drain and rinse them well under cold water. The most important tip for creamy hummus is to remove the skins from the chickpeas. You can do this by gently rolling the chickpeas between two clean kitchen towels or rubbing them between your palms under running water. The skins will loosen and come off naturally. Discard the skins. Next, place the skinned chickpeas in a pot of water with 1/2 teaspoon of baking soda. Bring to a boil and cook for about 5 minutes until the chickpeas are incredibly soft, almost mushy. This baking soda trick helps to break down the chickpea outer layer even further. Remove from heat, drain thoroughly, and let them cool down to room temperature.
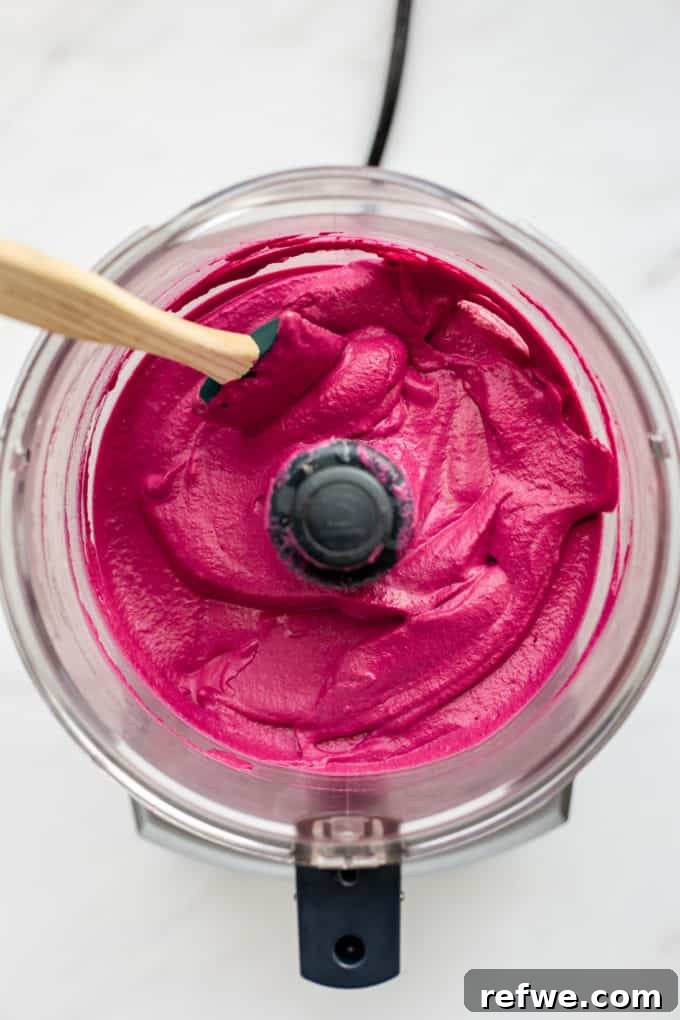
- Blend Everything into Silky Smoothness: Now for the magic! In the bowl of your food processor, combine the cooled, peeled roasted beets, the softened and skinned chickpeas, tahini, olive oil, fresh lemon juice, garlic clove, ground cumin, and salt. Process all the ingredients for at least 1-2 minutes continuously. Stop the food processor periodically to scrape down the sides with a spatula, ensuring everything is thoroughly incorporated. Continue blending until the mixture is as smooth as possible.
- Achieve Your Desired Consistency: With the food processor running, slowly drizzle in cold water, starting with 1/4 cup. Continue to blend, and add more cold water a tablespoon at a time if needed, until you reach your desired creamy consistency. For a lighter, airier hummus, you might add closer to 1/2 cup of water. For a thicker, denser dip, use less. The cold water is crucial here as it helps to whip air into the hummus, making it light and fluffy. Taste and adjust the seasoning one last time. You may want a bit more salt, cumin, or lemon juice depending on your preference and the natural saltiness of your chickpeas.
Secrets to Making Beet Hummus Consistently Creamy
Achieving that perfectly smooth, light, and creamy hummus texture can sometimes be a challenge when making it at home. While store-bought versions often boast an incredibly velvety consistency, with a few simple tricks, you can replicate (or even surpass) that creamy perfection right in your own kitchen. Here’s how to ensure your beet hummus is luxuriously smooth, every single time:
- The Golden Rule: Remove Chickpea Skins: This is by far the most critical step for attaining truly creamy hummus. The thin outer skins of chickpeas, while edible, are fibrous and prevent the hummus from becoming perfectly smooth. Taking a few extra minutes to remove them (as described in the instructions above) will make an enormous difference in the final texture.
- Boil Chickpeas with Baking Soda: Even after removing the skins, boiling your chickpeas in water with a small amount of baking soda works wonders. Baking soda helps to further break down the chickpea cell walls, making them incredibly soft and pliable. This ensures they blend into a super-fine, silky paste, leaving no grainy residue.
- Use Cold Water for Whipping: As you’re blending your hummus in the food processor, slowly incorporating cold water is a game-changer. The cold temperature, combined with the continuous blending, helps to whip air into the mixture. This aeration process lightens the hummus, making it exceptionally fluffy and creamy, rather than dense or pasty. Start with a smaller amount and add gradually until you reach your ideal consistency.
Expert Tips for a Flawless Beet Hummus Experience
To ensure your roasted beet hummus turns out absolutely perfect, keep these expert tips in mind:
- Prioritize Roasting Your Beets: It cannot be stressed enough – do not substitute fresh roasted beets with pre-packaged boiled beets. Boiled beets lose much of their vibrant color and nuanced flavor during processing. Using them will result in a disappointingly dull pink hummus with a less complex taste. The roasting process is fundamental for both the visual appeal and the deep, sweet-earthy flavor profile.
- Blend, Blend, and Blend Some More!: Patience is a virtue when it comes to achieving that silky-smooth hummus texture. Don’t rush the blending process. Your hummus needs a good couple of minutes in the food processor for all the ingredients to fully emulsify and achieve that luxurious creaminess. Stop occasionally to scrape down the sides, ensuring no bits are left unblended.
- Always Taste and Adjust Seasoning: Personal preference is key in cooking. Once your hummus reaches its desired consistency, take a moment to taste it. Depending on whether your chickpeas were pre-salted and your individual palate, you might find it needs a touch more salt, a hint more cumin for warmth, or an extra squeeze of lemon juice for brightness. Adjust gradually until it’s just right for you.
- Embrace the Freshness: For the best flavor, use fresh ingredients, especially lemon juice and garlic. The vibrant notes from fresh produce truly elevate the hummus.
- Storage Recommendations: Store your homemade roasted beet hummus in an airtight container in the refrigerator for up to 5-7 days. For longer storage, you can freeze it in a freezer-safe container for up to 2-3 months. Thaw in the refrigerator overnight before serving, and you might need to give it a quick stir or re-blend with a touch of water to restore its creamy texture.
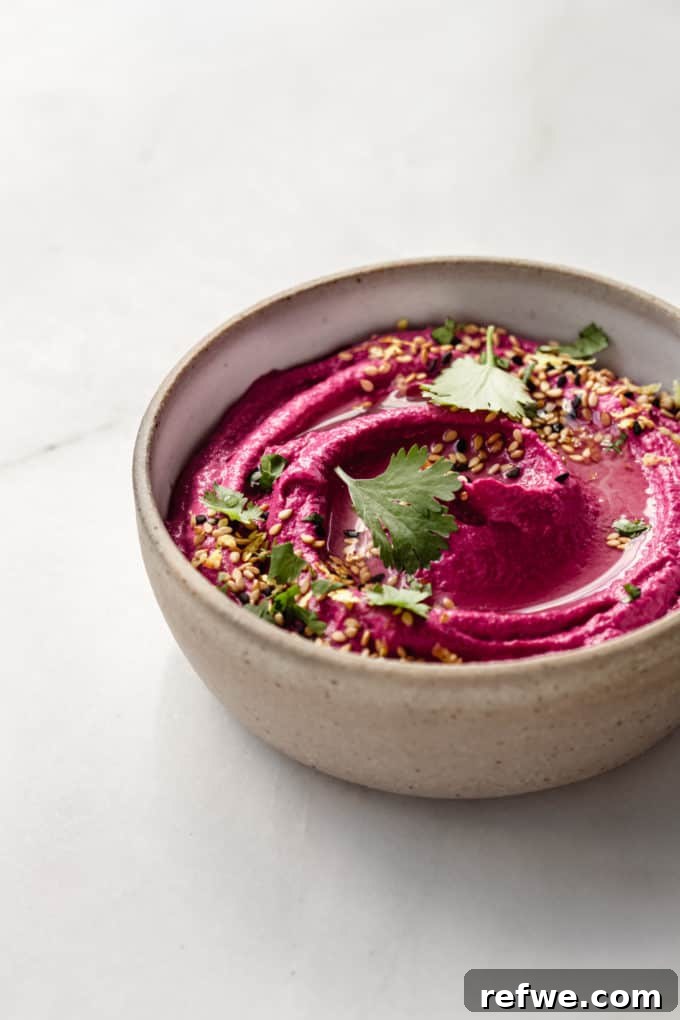
- Serving Suggestions: This versatile dip pairs beautifully with so many things! Serve it traditionally with pita bread or fresh vegetable sticks (carrots, cucumbers, bell peppers). It’s also fantastic as a spread in sandwiches, wraps, or even on toast. For an extra touch, drizzle with a little more olive oil and sprinkle with fresh herbs like parsley or cilantro, or a pinch of sesame seeds before serving.
More Irresistible Dip Recipes to Explore
If you loved this roasted beet hummus, you’ll surely enjoy these other fantastic dip recipes:
- Everything Bagel Hummus
- Edamame Hummus
- Original Healthy Hummus
We hope you thoroughly enjoy making and sharing this delightful Roasted Beet Hummus! If you tried this recipe or any other on our blog, we’d love to hear from you. Please let us know how you liked it by leaving a comment and rating below! Don’t forget to follow along on Pinterest, Instagram, and Facebook for even more delicious and inspiring recipes!
Print
Roasted Beet Hummus
- Author: Jessica Hoffman
- Prep Time: 1 hour
- Cook Time: 0 minutes
- Total Time: 1 hour
- Yield: 8-10 servings
- Category: Snack, Dip
- Method: Blend
- Cuisine: Middle Eastern
- Diet: Gluten Free, Vegan
Description
This vibrant pink hummus is as delicious as it looks and packed with the naturally sweet and earthy flavor of roasted beets. It’s an easy, healthy, and visually stunning dip perfect for any occasion.
Ingredients
For the Roasted Beetroot Hummus:
- 2 medium beets, fresh
- 15oz can chickpeas, drained, rinsed, and skins removed
- 1/2 tsp baking soda (for boiling chickpeas)
- 1/3 cup runny tahini
- 3 tbsp extra virgin olive oil
- 3 tbsp fresh lemon juice
- 1 large garlic clove, minced
- 1/2 tsp ground cumin
- 1/2 tsp salt (or to taste)
- 1/3–1/2 cup cold water
Instructions
- Preheat your oven to 400 degrees F (200°C).
- Rinse and scrub the medium beets thoroughly. Trim off the root and stem ends, then loosely wrap each beet in aluminum foil. Place the wrapped beets on a baking sheet and roast in the preheated oven for 30-45 minutes, or until they are tender when pierced with a fork. Remove from the oven and allow them to cool completely. Once cool, the skins should easily peel off.
- Drain and rinse the canned chickpeas under cold water. To ensure the creamiest hummus, remove the skins from the chickpeas by gently rolling them in a clean kitchen towel or rubbing them between your fingers. The skins will come off easily. Discard the skins.
- Place the skinned chickpeas in a pot of boiling water along with 1/2 teaspoon of baking soda. Boil for 5 minutes until the chickpeas are incredibly soft. This step, combined with skin removal, is crucial for an ultra-creamy texture. Remove from heat, drain well, and let them cool to room temperature.
- In a high-powered food processor, combine the cooled roasted beets, the softened and skinned chickpeas, tahini, olive oil, lemon juice, minced garlic, ground cumin, and salt. Blend for at least 1-2 minutes continuously, stopping to scrape down the sides of the bowl as needed to ensure all ingredients are thoroughly incorporated. For best results, consider a powerful processor like this specific model.
- With the food processor still running, slowly drizzle in the cold water, starting with 1/4 cup. Continue blending until the hummus reaches your desired smooth and creamy consistency. Add more water, a tablespoon at a time, if you prefer a thinner, lighter texture, or less for a thicker dip. The cold water helps to whip the hummus, making it airy and fluffy.
- Taste the finished hummus and adjust seasonings as needed. You might want to add a bit more salt, cumin, or lemon juice to suit your palate.
- Transfer the roasted beet hummus to a serving bowl. Drizzle with a little extra olive oil and garnish with fresh herbs like cilantro or parsley, or a sprinkle of sesame seeds, if desired. Serve immediately with your favorite crackers, fresh vegetables, or as a spread. Enjoy!
Notes
For the best flavor and color, always roast fresh beets. Pre-packaged or boiled beets will not deliver the same vibrant hue or depth of flavor, resulting in a duller pink hummus. The roasting process caramelizes the natural sugars in the beets, intensifying their sweetness and earthiness.
Don’t be shy with your food processor! Hummus truly benefits from extended blending. Allow it to run for several minutes, stopping periodically to scrape down the sides, until the mixture is incredibly smooth and light. This ensures a uniform texture and fully incorporates all the flavors.
Always taste your hummus before serving. The optimal balance of salt, cumin, and lemon juice can vary based on the natural sweetness of your beets, the seasoning of your chickpeas, and your personal preference. Adjust these ingredients gradually until the hummus sings to your palate.
Store leftover Roasted Beet Hummus in an airtight container in the refrigerator for up to 5-7 days. It’s a great make-ahead option for healthy snacks throughout the week!
Nutrition
- Serving Size: 1 serving
- Calories: 145
- Sugar: 3g
- Fat: 4g
- Saturated Fat: 1g
- Carbohydrates: 8g
- Fiber: 2g
- Protein: 3g