
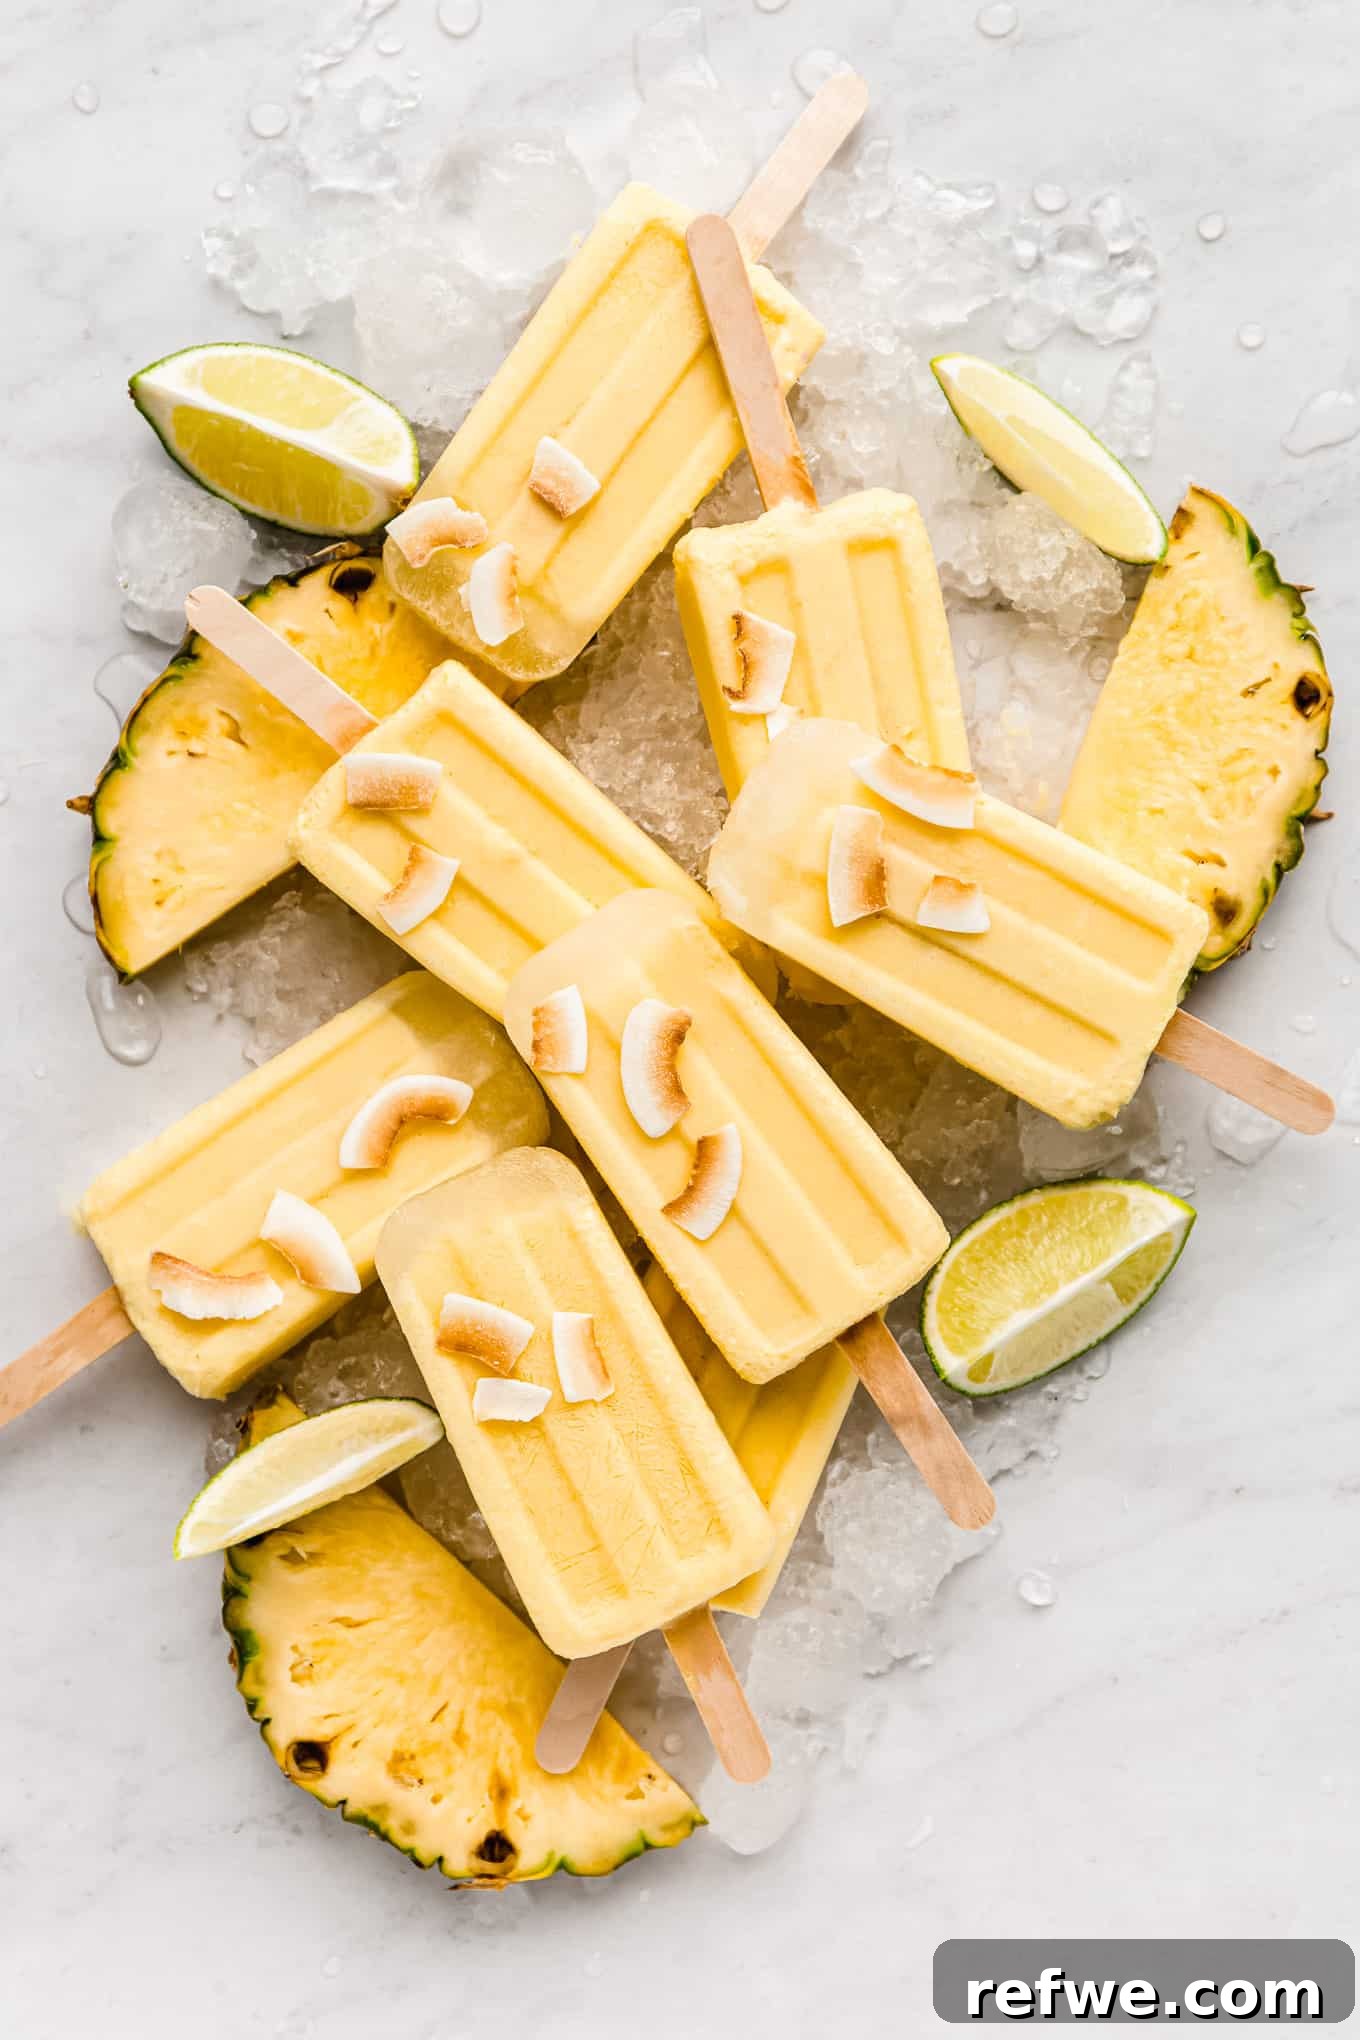
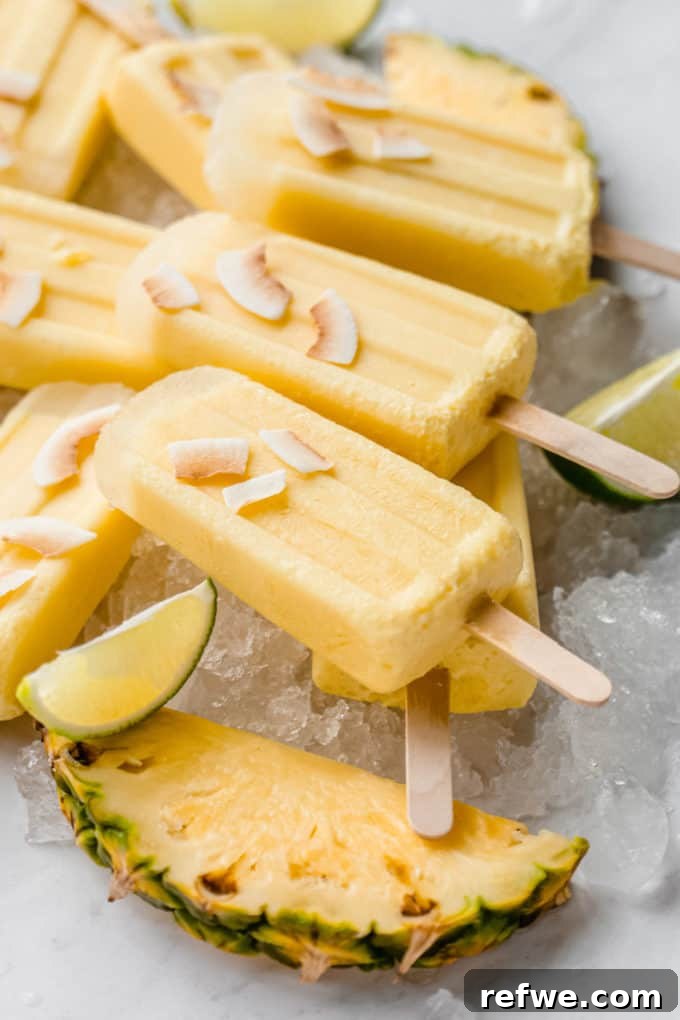
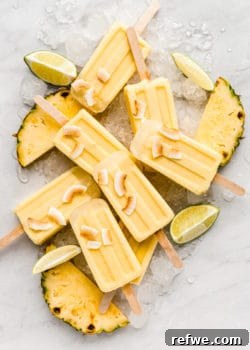
Transport yourself to a sun-drenched beach with every bite of these incredibly easy-to-make Pina Colada Popsicles! Crafted with just a handful of wholesome ingredients, these delightful frozen treats are not only healthy but also entirely vegan and gluten-free. Say goodbye to artificial flavors and refined sugars, and hello to a pure, tropical escape that will keep you cool all summer long.
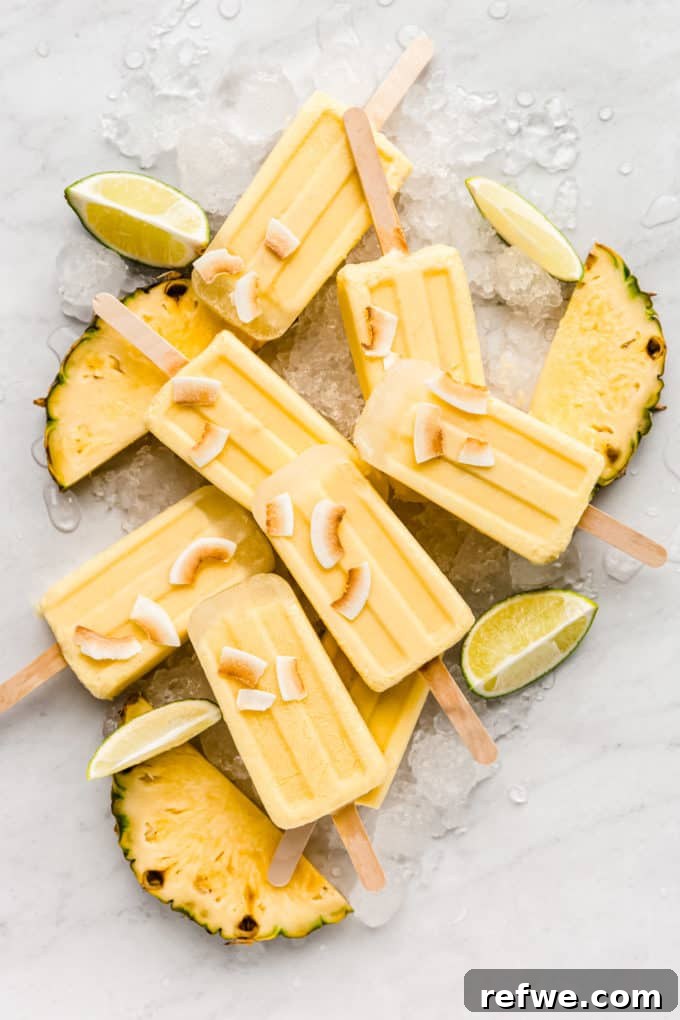
Experience the Tropics: Pineapple Coconut Popsicles
As the days grow longer and the temperatures rise, summer officially signals the return of popsicle season! There’s nothing quite like the refreshing chill of a homemade frozen treat to beat the heat, and these Pina Colada Popsicles are a prime example. They capture the essence of the classic tropical drink in a convenient, handheld form, making them an instant favorite for all ages.
Our recipe blends simple, fresh ingredients to create a creamy, sweet, and tangy delight that will make you feel like you’re on vacation. Whether you’re a long-time fan of the iconic Pina Colada cocktail (you’ll also love this Pina Colada Smoothie!) or simply seeking a delicious and healthy way to cool down, these popsicles are an absolute must-try. The best part? They can be easily stored in your freezer for weeks, ensuring you always have a taste of the tropics within reach for impromptu summer cravings.
Beyond the classic pineapple and coconut combination, this recipe offers incredible versatility. Feel free to experiment with other tropical fruits you adore! Imagine the vibrant twist of adding ripe mango or the exotic tang of passionfruit. Simply blend them in with the other ingredients for an extra burst of flavor and a personalized tropical creation. The possibilities are endless, allowing you to tailor these popsicles to your unique taste preferences.
Why You’ll Adore These Healthy Pina Colada Popsicles
These aren’t just any popsicles; they’re a thoughtfully crafted treat designed to deliver maximum flavor with minimal effort and guilt-free indulgence. Here are just a few reasons why this Pina Colada popsicle recipe will become a staple in your summer repertoire:
- A Burst of Tropical Flavor: Each glorious bite is an explosion of vibrant pineapple sweetness perfectly balanced with the luxurious creaminess of coconut. It’s like a mini-vacation for your taste buds, transporting you to an island paradise with every lick.
- Naturally Sweetened Perfection: Unlike many store-bought popsicles laden with refined sugars and artificial additives, ours are sweetened naturally with a touch of maple syrup. This not only makes them a healthier choice but also adds a subtle, complex caramel note that enhances the overall flavor profile without being overly sweet.
- Dairy-Free Delight for Everyone: Crafted with rich coconut milk, these popsicles are a dream come true for those avoiding dairy. They offer a wonderfully creamy texture and satisfying richness without any dairy products, making them suitable for vegan diets, lactose intolerance, or anyone seeking a lighter alternative.
- Effortless and Quick Preparation: With just a handful of easily accessible ingredients and minimal prep time, you’ll be amazed at how quickly you can create this refreshing treat. No complicated steps or fancy equipment needed – just blend, pour, and freeze!
- Healthy & Wholesome Indulgence: Packed with natural fruit and healthy fats from coconut, these popsicles offer a guilt-free way to satisfy your sweet tooth. They’re a nutritious snack or dessert that supports a balanced lifestyle.
- Versatile & Customizable: As mentioned, feel free to get creative with other tropical fruits. You can also adjust the sweetness to your liking, making this recipe incredibly adaptable to different preferences.
- Make-Ahead Convenience: Prepare a big batch and store them in the freezer for months. This means you’ll always have a healthy, refreshing treat ready to go, perfect for unexpected guests, busy afternoons, or a spontaneous craving.
Choosing the Best Popsicle Mold for Your Treats
The right popsicle mold can make all the difference in achieving perfectly shaped and easily released frozen treats. There’s a wide variety of popsicle molds available, and you can find many excellent options online or at your local kitchenware store. Consider the material, ease of use, and whether you prefer reusable sticks.
For those who prefer not to invest in a dedicated popsicle mold, or if you simply want to make adorable “mini popsicles,” an ice cube tray can be a fantastic substitute. Simply pour the blended mixture into the compartments of an ice cube tray, cover the tray with aluminum foil, and then insert popsicle sticks into each cube through the foil. This method provides stability for the sticks as the popsicles freeze.
Here are a few popular types of popsicle molds you might consider:
- Silicone Popsicle Molds: These are incredibly flexible, making it very easy to remove frozen pops without much effort. They often come in fun shapes and are durable for long-term use.
- Popsicle Molds with Reusable Sticks: A sustainable option that includes plastic or silicone sticks that snap into place, reducing waste and ensuring you always have enough sticks on hand.
- Oval Silicone Ice Pop Molds: These offer a unique, sleek shape that can be a refreshing change from traditional rectangular pops.
- Classic Plastic Popsicle Molds: Often more affordable, these are a reliable choice. A quick dip in warm water helps release the pops easily.
Essential Ingredients for Your Tropical Popsicles
Creating these heavenly Pina Colada Popsicles requires just a few straightforward ingredients, each playing a crucial role in delivering that authentic tropical flavor and creamy texture. The beauty of this recipe lies in its simplicity and the quality of its components.
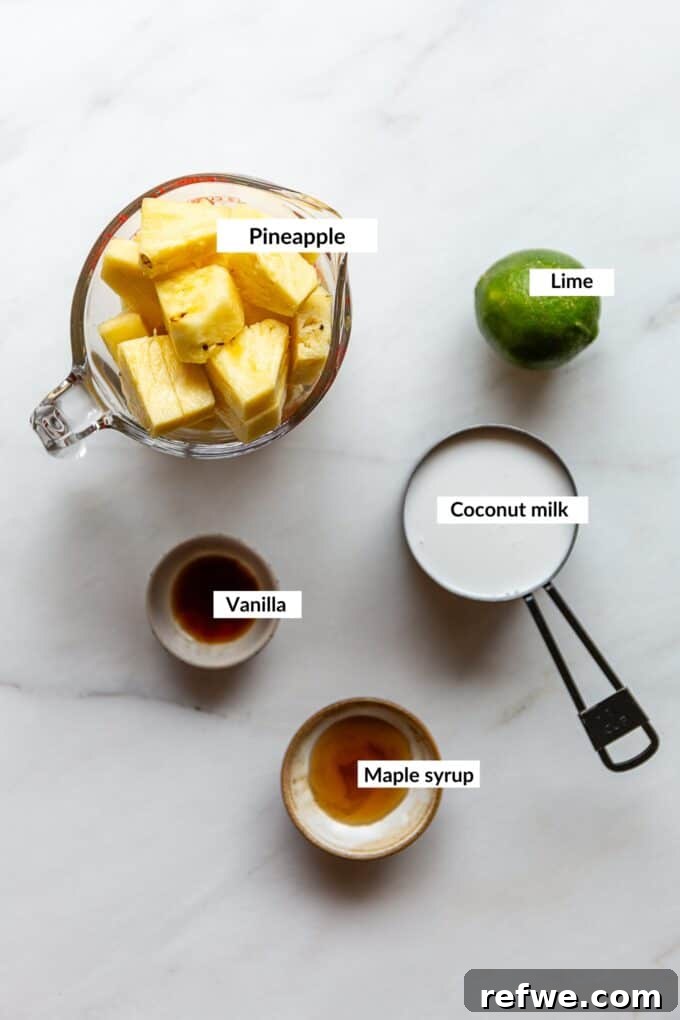
- Pineapple: The star of our show! You can use fresh, frozen, or even canned pineapple for this recipe. Fresh, ripe pineapple will yield the most vibrant and juicy sweetness, offering a burst of natural tropical flavor. If using frozen, make sure to thaw it slightly for easier blending. If opting for canned, choose pineapple packed in its own juice, not heavy syrup, and drain it thoroughly before use to avoid excess liquid.
- Coconut Milk: This is what gives our popsicles their signature creamy, luxurious texture and rich coconut flavor. For the creamiest, most decadent popsicles, we highly recommend using full-fat canned coconut milk. The higher fat content contributes to a smoother, less icy popsicle. Light coconut milk can be used for a lower-calorie option, but the texture might be slightly less rich.
- Lime Juice: A splash of fresh lime juice is essential to cut through the sweetness and richness, adding a bright, zesty tang that elevates the entire flavor profile. It provides a delightful counterpoint to the tropical fruit and coconut, making the popsicles incredibly refreshing. Freshly squeezed lime juice is always best for optimal flavor.
- Vanilla Extract: A small amount of vanilla extract works wonders in enhancing and rounding out the overall flavors. It adds a hint of warm, aromatic sweetness that beautifully complements the pineapple and coconut, creating a more complex and satisfying taste experience.
- Maple Syrup: Our natural sweetener of choice, maple syrup provides a lovely caramel-like depth without the need for refined sugars. Its natural richness pairs wonderfully with the other tropical flavors. You can adjust the amount of maple syrup to your personal preference, depending on the sweetness of your pineapple and how sweet you like your treats. For an even healthier option, if your pineapple is exceptionally sweet, you might even consider reducing or omitting the maple syrup entirely.
*This overview is just a guide. The precise measurements and full step-by-step instructions for these easy Pina Colada popsicles can be found in the detailed recipe card below.
How to Make Delicious Pina Colada Popsicles: A Simple Guide
Making these tropical popsicles is incredibly straightforward. With just two main steps, you’ll be on your way to enjoying a refreshing, homemade treat in no time!
Step 1: Blend Your Tropical Base
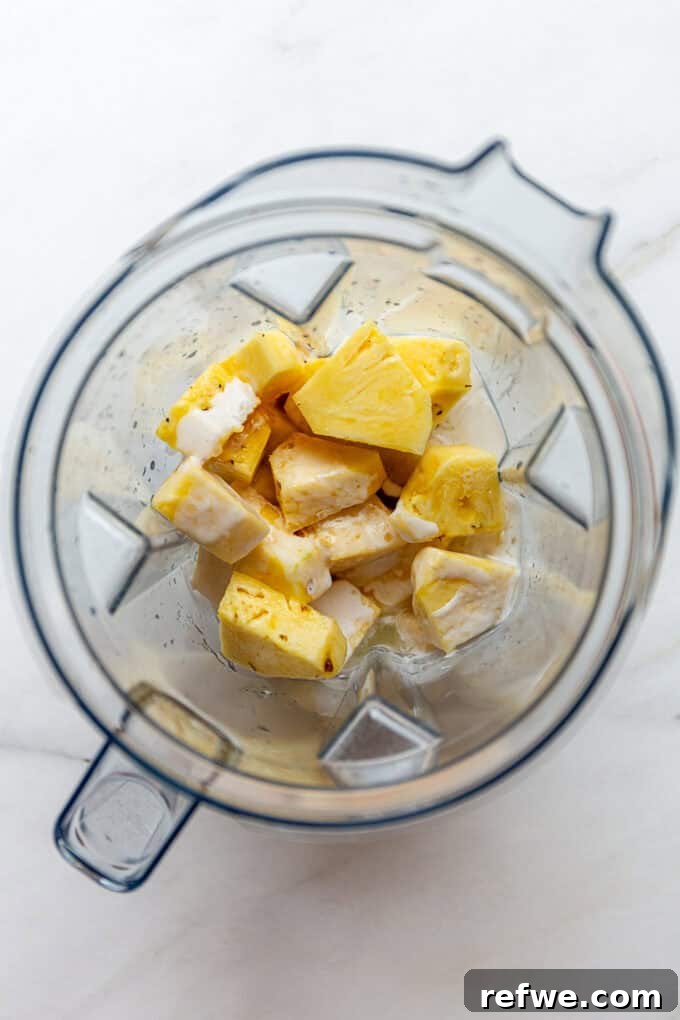
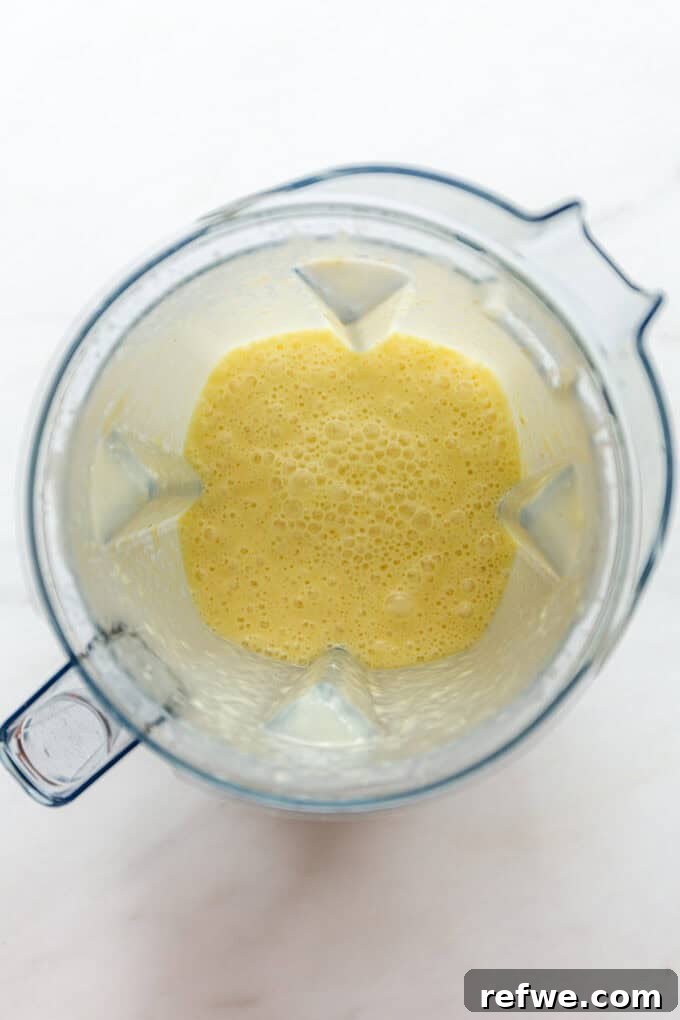
Gather all your delightful ingredients: the chopped pineapple, creamy coconut milk, zesty lime juice, fragrant vanilla extract, and sweet maple syrup. Add all of these into a high-speed blender. Secure the lid and blend until the mixture is completely smooth and creamy. There should be no visible chunks of pineapple, and the texture should be uniform and luscious. This ensures a perfectly smooth popsicle texture without any icy bits.
-

Combine all ingredients in your blender. -
Blend until perfectly smooth and creamy.
Step 2: Pour, Freeze, and Enjoy!
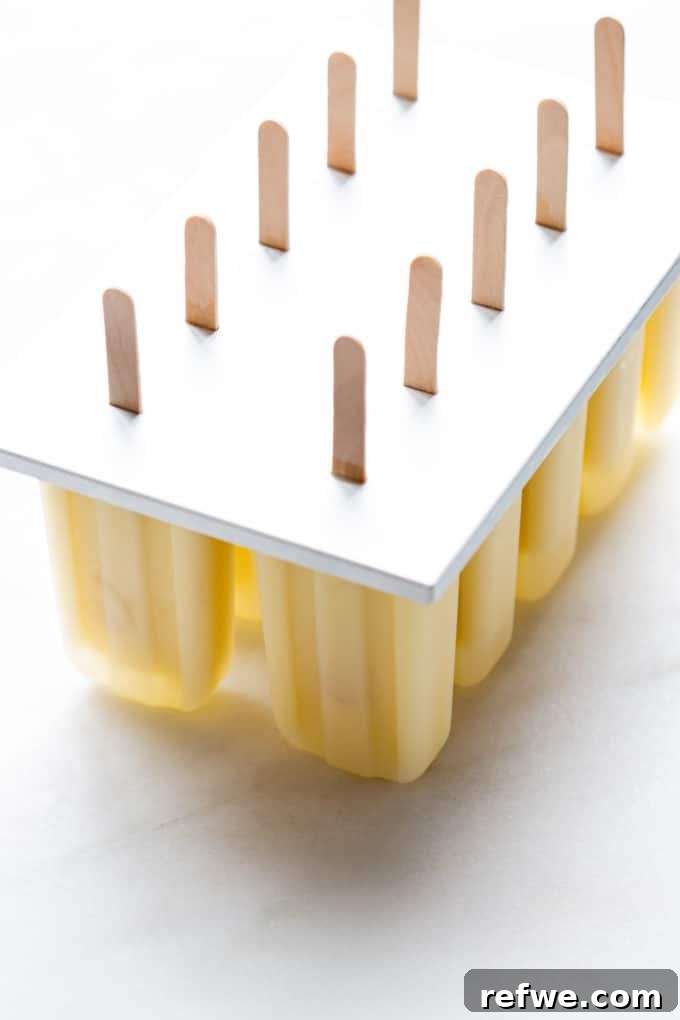
Once your Pina Colada mixture is perfectly smooth, carefully pour it into your chosen popsicle molds. Fill each mold, leaving a little space at the top as the liquid will expand slightly when frozen. Gently insert popsicle sticks into the center of each filled mold. Ensure the sticks are standing upright. Transfer the molds to the freezer and allow them to freeze completely, ideally overnight (or for at least 4-6 hours), to ensure they are solid and firm. Once fully frozen, remove them from the mold (a quick run under warm water helps with easy release!) and savor your homemade tropical treat!
-
Fill your molds and insert popsicle sticks. -
Freeze overnight for best results, then enjoy!
Storing Your Tropical Popsicles for Long-Lasting Freshness
One of the many benefits of making your own popsicles is the ability to prepare them in advance and enjoy them whenever a craving strikes. Once your Pina Colada popsicles are thoroughly frozen and firm, carefully remove them from their molds. To maintain their fresh taste and prevent freezer burn, it’s crucial to store them properly.
Place the individual popsicles in an airtight container or a heavy-duty freezer bag. This prevents ice crystals from forming on the surface and helps them retain their creamy texture. When stored correctly, these delicious treats will keep well in the freezer for up to one month. While you can technically store them for longer, I’ve found that they tend to develop a slightly icier texture and lose some of their initial creaminess after about a month. For the best taste and texture, aim to enjoy them within that timeframe.
No Popsicle Mold? No Problem! Creative Alternatives
Don’t have a specialized popsicle mold? No need to fret! You can still whip up these delightful Pina Colada popsicles using common items you likely already have in your kitchen. Here’s how to get creative:
- Small Paper or Plastic Cups: These make excellent impromptu molds. Pour your blended mixture into small paper or plastic cups (like Dixie cups or small party cups), filling them almost to the top.
- Foil and Popsicle Sticks: Once filled, cover the top of each cup tightly with a small piece of aluminum foil. This foil will serve as a stabilizer for your popsicle sticks. Carefully insert a popsicle stick through the center of the foil into the mixture below. The foil will help hold the stick upright as the popsicle freezes.
- Freeze Until Solid: Place the cups in the freezer and let them freeze completely, typically overnight. Once the popsicles are thoroughly frozen, simply tear or peel away the paper or plastic cup to reveal your homemade treat. Enjoy immediately!
Pro Tips for Making Perfectly Creamy Pineapple Coconut Popsicles
Achieving the ideal texture and flavor in your homemade popsicles is easier than you think, especially with a few expert tips. Follow these suggestions to ensure your Pina Colada popsicles are nothing short of spectacular:
- Always Use Ripe Pineapple: The quality of your fruit directly impacts the taste of your popsicles. For the most delicious and naturally sweet outcome, always opt for a very ripe pineapple. A ripe pineapple will be fragrant at the base, have vibrant green leaves, and yield slightly when squeezed. If your pineapple isn’t ripe enough, the popsicles might taste bland or overly tart, requiring more added sweetener.
- Adjust Sweetness to Your Liking: Pineapples vary significantly in sweetness. After blending your mixture, taste it! Depending on how naturally sweet your pineapple is, you might find that you desire a bit more sweetness. If this is the case, simply add an additional 1-2 tablespoons of maple syrup (or your preferred natural sweetener) to the blender and pulse again until combined.
- Blend Until Absolutely Smooth: For a truly uniform and creamy texture, ensure you blend the ingredients thoroughly. Any small chunks of fruit can lead to an icy or inconsistent popsicle. Aim for a velvety smooth liquid before pouring into your molds. A high-speed blender will achieve this best.
- The Quick Release Trick: To easily remove your frozen popsicles from their molds, especially if they’re sticking, run the molds (or paper cups, if using) under warm water for just a few seconds. This gentle warmth will slightly loosen the outer layer of the popsicle, allowing you to gently pull the stick and release it without a struggle.
- Consider Full-Fat Coconut Milk: As mentioned earlier, full-fat canned coconut milk is key for that incredibly rich and creamy texture. The higher fat content prevents excessive ice crystal formation, resulting in a smoother, more palatable popsicle.
- Garnish for an Extra Touch: For a professional and appealing presentation, consider garnishing your popsicles before freezing. You can add a sprinkle of toasted coconut flakes or a small pineapple chunk to the top of the mixture in each mold before inserting the stick. This adds both visual appeal and a delightful textural contrast.
Frequently Asked Questions About Pina Colada Popsicles
Yes, absolutely! Canned pineapple works wonderfully for these popsicles. Just be sure to drain it very well before adding it to your blender. Opt for pineapple packed in juice rather than syrup for a healthier option.
These Pina Colada popsicles usually take about 4-6 hours to freeze completely and become firm enough to enjoy. However, for the very best results and a solid, consistent texture, we recommend leaving them in the freezer overnight.
Certainly! You have several options for sweeteners. Agave nectar or even a touch of honey (if not strictly vegan) would work well. If your pineapple is exceptionally sweet, you might find that you can reduce the amount of sweetener or even omit it entirely for a naturally sweet treat.
Definitely! This recipe is incredibly adaptable. Mango or even a ripe banana would make delicious additions, enhancing the tropical flavor and creaminess. Simply blend them in with the other ingredients in Step 1. You could also try a touch of peach or kiwi for a different twist!
Yes, for an adult-only treat, you can add a splash (1-2 tablespoons) of white rum or coconut rum to the mixture before blending. Be careful not to add too much alcohol, as it can prevent the popsicles from freezing solid due to alcohol’s lower freezing point. A little goes a long way to infuse that classic cocktail spirit!
Icy popsicles can result from too much water content or not enough fat/sugar. Ensure you’re using full-fat coconut milk for optimal creaminess. Also, blending thoroughly helps prevent larger ice crystals. If using fresh pineapple, make sure it’s ripe, as unripe fruit can be more watery.
Continue Your Frozen Adventure: Try These Other Popsicle Recipes!
If you’ve fallen in love with the simplicity and deliciousness of these Pina Colada popsicles, get ready to expand your repertoire of frozen delights! Here are some other fantastic homemade popsicle recipes from the blog that you’re sure to enjoy, offering a range of flavors and textures:
- Strawberry Watermelon Popsicles: A truly refreshing and hydrating blend of two summer favorites.
- Tropical Coconut Chia Pops: Packed with superfood chia seeds and exotic flavors for a healthy boost.
- Blueberry Greek Yogurt Popsicles: Creamy, tangy, and bursting with antioxidant-rich blueberries.
- Mango Lassi Popsicles: A delightful plant-based take on the popular Indian yogurt drink, perfectly sweet and fragrant.
- Grapefruit Thyme Popsicles: An unexpectedly sophisticated combination of zesty citrus and aromatic herbs.
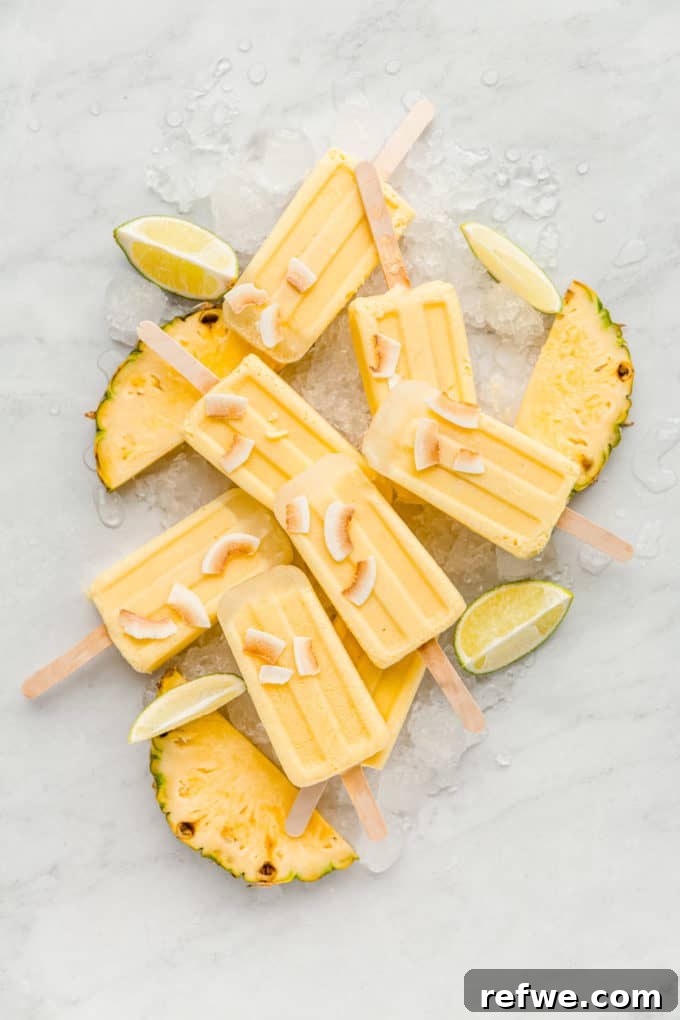
If you’ve tried these amazing Pina Colada Popsicles or any other recipe from the blog, we’d love to hear from you! Please let us know how you liked them by leaving a comment and rating below. Your feedback helps our community of home cooks! Be sure to follow along on Pinterest, Instagram, and Facebook for even more delicious and healthy recipe inspiration!
Print Recipe
Pina Colada Popsicles
- Author: Jessica Hoffman
- Prep Time: 10 minutes
- Cook Time: 0 minutes
- Total Time: 10 minutes (plus freezing time)
- Yield: 10 popsicles
- Category: Dessert, Snack
- Method: Freeze, Blend
- Cuisine: American, Tropical
- Diet: Vegan, Gluten-Free, Dairy-Free
Description
These creamy Pina Colada popsicles are made with simple, wholesome ingredients and will instantly transport your taste buds straight to the tropics. They’re a healthy, vegan, and gluten-free way to enjoy a classic summer flavor!
Ingredients
- 2 cups chopped fresh pineapple (or frozen/canned, drained)
- 1 cup full-fat coconut milk (canned, for best creaminess)
- Juice of 1 fresh lime
- 1 tsp vanilla extract
- 1 tbsp maple syrup (adjust to taste, optional)
Instructions
- Add the chopped pineapple, coconut milk, fresh lime juice, vanilla extract, and maple syrup to a high-speed blender. Blend until the mixture is completely smooth and creamy, with no pineapple chunks remaining.
- Carefully pour the blended mixture into your chosen popsicle molds. Insert popsicle sticks into the center of each filled mold, ensuring they stand upright.
- Place the filled popsicle molds in the freezer. Freeze overnight, or for a minimum of 4-6 hours, until the popsicles are completely solid.
- To remove the popsicles from the molds, run the molds under warm water for about 15-30 seconds. Gently tug on the popsicle sticks to release your frozen treats. Enjoy immediately!
Notes
- For the most vibrant flavor and natural sweetness, always use a very ripe and juicy pineapple.
- Store the finished popsicles in an airtight container or freezer bag in the freezer for up to one month for best taste and texture.
- If you prefer an even sweeter popsicle, feel free to add an extra tablespoon of maple syrup to the blender before freezing.
- Consider adding a small piece of fresh pineapple or a sprinkle of toasted coconut flakes to the top of the liquid in the molds before freezing for an extra garnish.
Nutrition
(Approximate values per serving, based on 10 popsicles)
- Serving Size: 1 popsicle
- Calories: 73
- Sugar: 4g
- Fat: 5.5g
- Carbohydrates: 5.7g
- Fiber: 1g
- Protein: 1g