
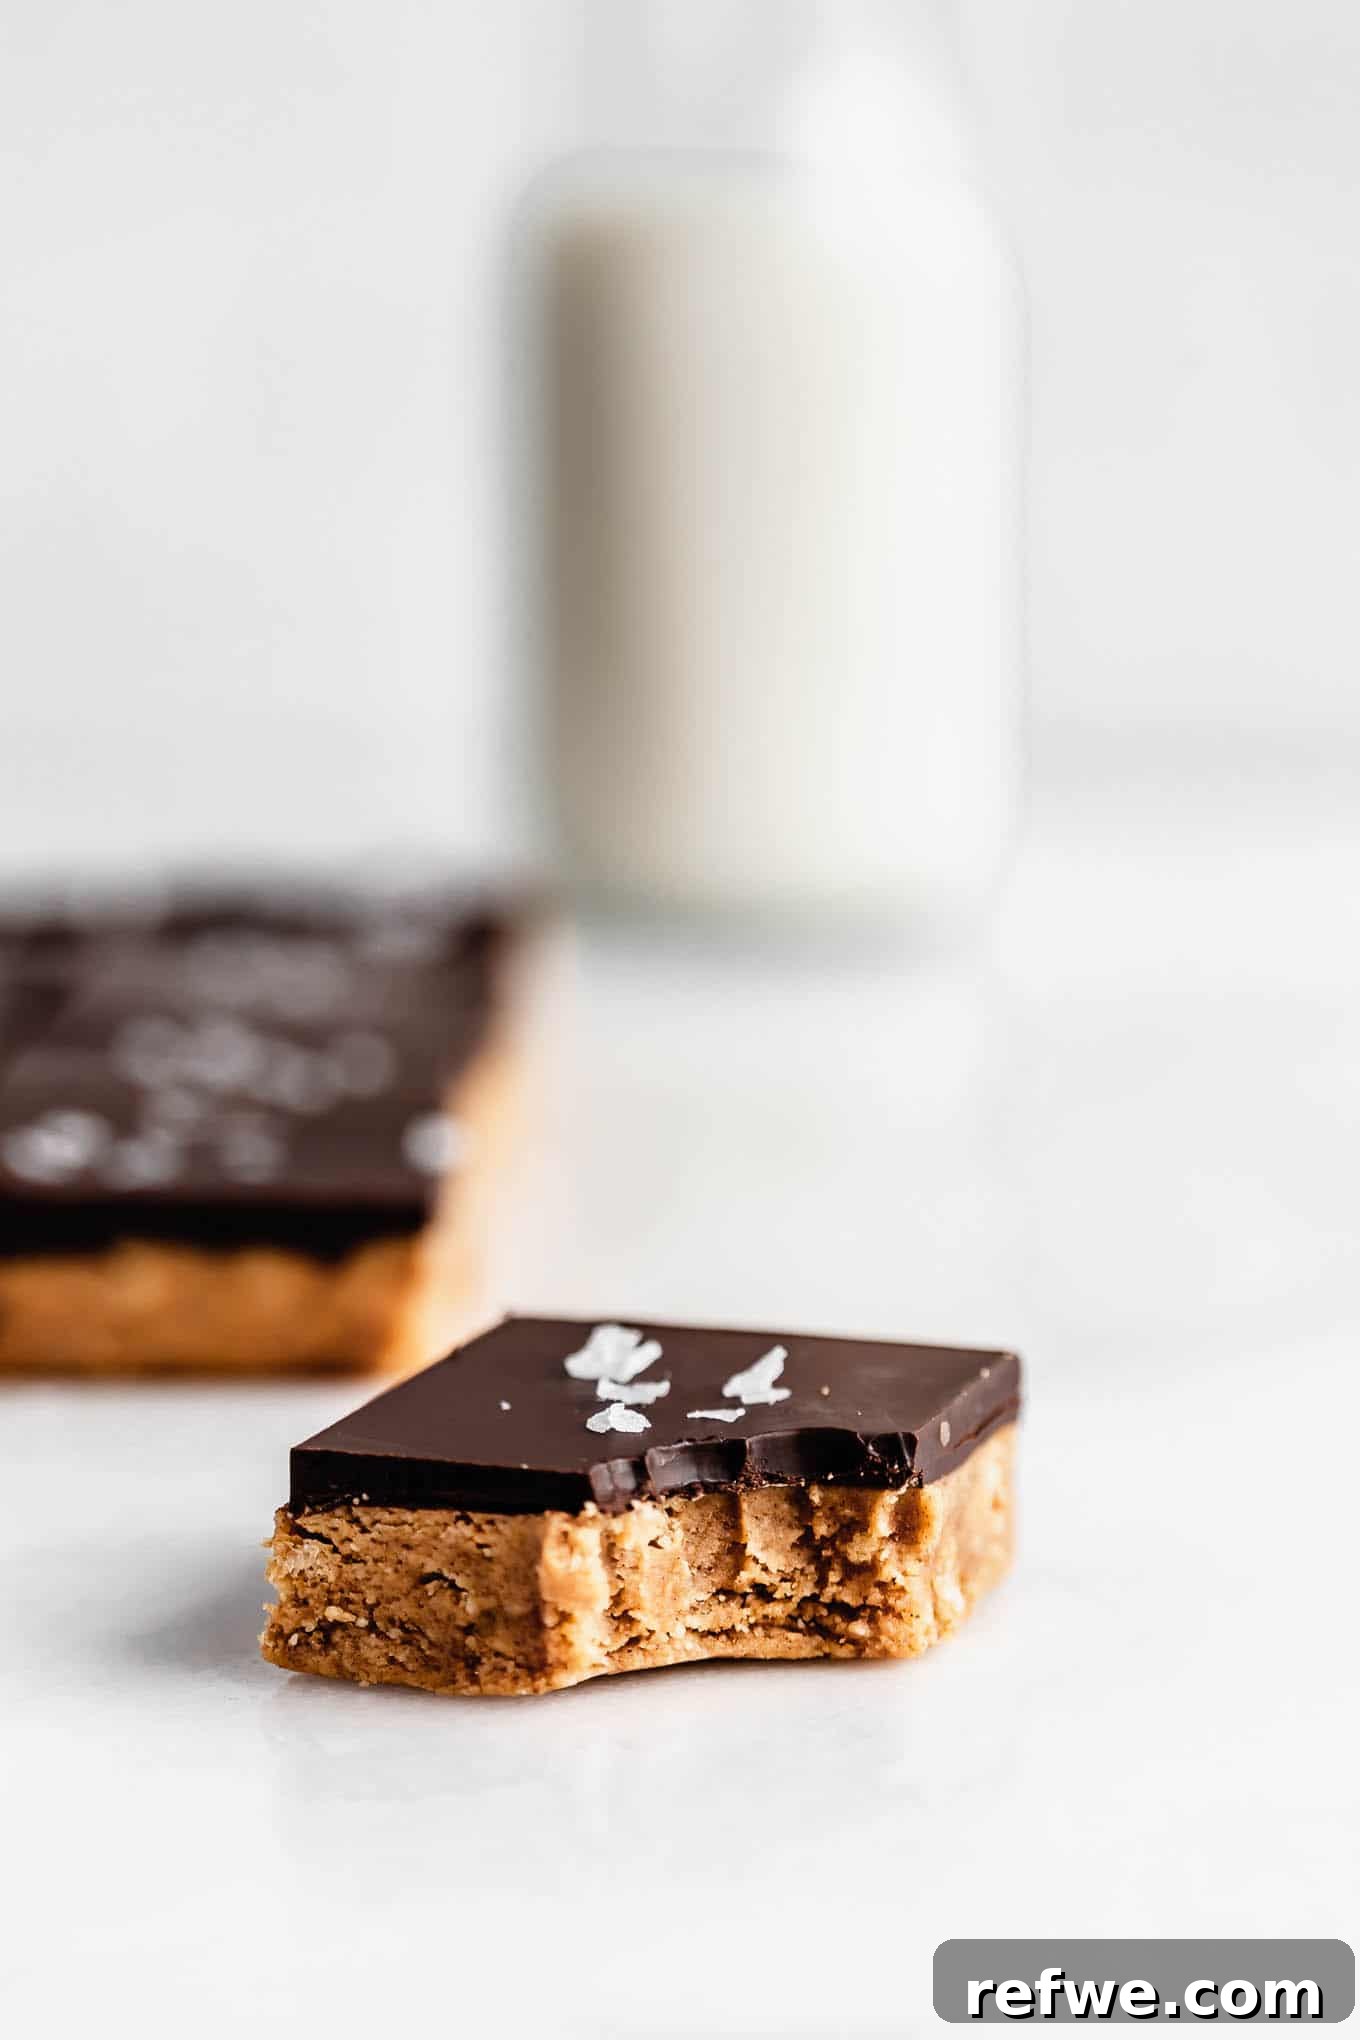
Irresistible No-Bake Chocolate Peanut Butter Protein Bars (Vegan & Gluten-Free)
Discover how to whip up these incredible Chocolate Peanut Butter Protein Bars in under 20 minutes! Each bar is a powerhouse, boasting over 11 grams of protein, making them an ideal snack to fuel your day. Crafted with simple, wholesome ingredients, these homemade protein bars are not only incredibly delicious but also completely vegan and gluten-free, catering to a variety of dietary needs. If you’re a fan of quick, nutritious, and satisfying treats, these bars are about to become your new favorite. Prepare to indulge without the guilt!
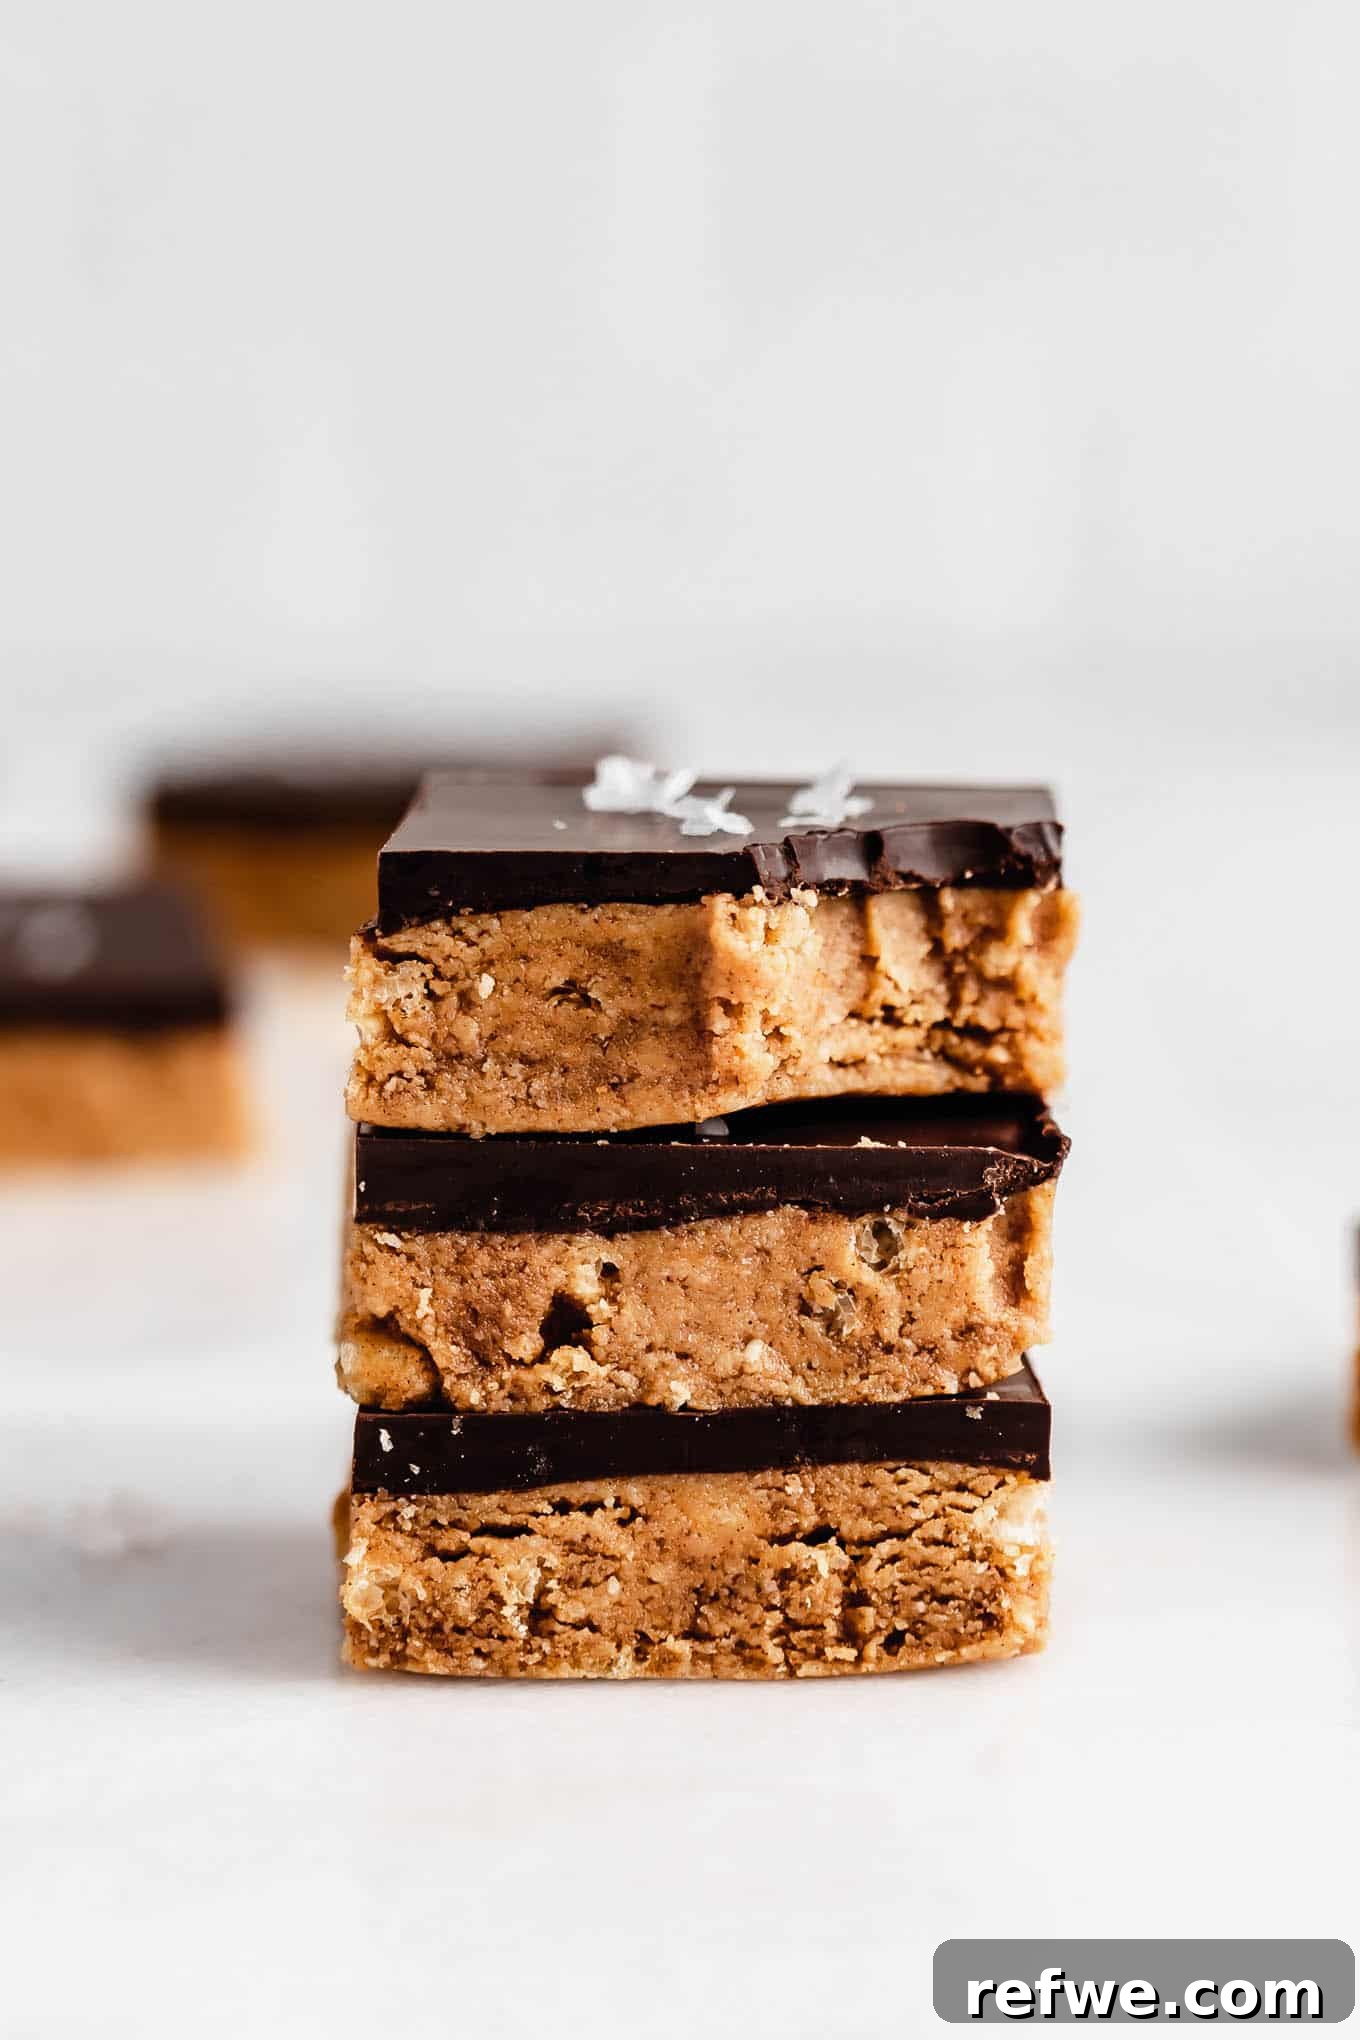
Table of Contents
- Why You’ll Love These Protein Bars
- Essential Ingredients for Your Protein Bars
- Customize Your Bars: Recipe Variations
- How To Make Chocolate Peanut Butter Protein Bars
- Storage Tips for Freshness
- Expert Tips for Perfect Protein Bars
- Frequently Asked Questions About Protein Bars
- More High-Protein Recipes to Try Next!
- Chocolate Peanut Butter Protein Bars Recipe Card
We all know that mid-afternoon energy dip. Instead of reaching for processed snacks, imagine having a delicious, homemade option ready to go. These Chocolate Peanut Butter Protein Bars are the perfect solution, offering a sweet indulgence that also provides sustained energy and vital nutrients. Forget those expensive, store-bought bars laden with artificial ingredients; these homemade alternatives are not only more affordable but also significantly healthier and tastier, giving you complete control over what goes into your body.
What truly sets these no-bake protein bars apart is their unique textural blend. They combine the rich, nutty goodness of almond flour with the protein punch of your favorite powder, all elevated by the satisfying crunch of rice puffs. This delightful combination creates a truly addictive snack that’s both nourishing and enjoyable. They are incredibly **easy to make**, highly **customizable** to suit your preferences, and a fantastic treat for the **entire family**. Feel empowered to experiment with different nut butters and protein powder flavors to truly make them your own!
Why You’ll Love These Protein Bars
- Rich in Protein: Each of these delectable peanut butter protein bars delivers a substantial 11 grams of protein. This makes them an excellent choice for a post-workout refuel, a quick breakfast on the go, or a satisfying snack to keep hunger at bay. Starting your day with adequate protein, whether from these bars or other delicious options like High-Protein Overnight Oats or Protein Powder Pancakes, is key to sustained energy and satiety.
- Dietary Inclusive (Vegan & Gluten-Free): Enjoy these bars with peace of mind knowing they are naturally **vegan** and **gluten-free**. This recipe is designed to be inclusive, ensuring that almost everyone can indulge. For those with specific grain sensitivities, you can easily adapt them to be grain-free by simply omitting the rice crisps, without compromising on flavor or protein content.
- Pure Peanut Buttery Bliss: If you’re a devoted fan of peanut butter, prepare to be absolutely smitten. The rich, creamy, and undeniably satisfying flavor of peanut butter shines through in every bite, perfectly complemented by the chocolate coating. If you adore treats like Snickers Stuffed Dates, these protein bars will quickly become a cherished favorite in your snack rotation.
- Effortlessly No-Bake: Say goodbye to turning on the oven! These protein bars require absolutely **no baking**. All the magic happens in a single bowl, making cleanup a breeze and preparation incredibly fast. From start to finish, you can have a batch of these wholesome bars ready in just **20 minutes**, perfect for busy schedules.
- Cost-Effective & Healthier: Making your own protein bars at home is a smart choice for both your wallet and your well-being. Store-bought bars can be surprisingly expensive and often contain hidden sugars and preservatives. By crafting these homemade chocolate peanut butter protein bars, you save money while ensuring every ingredient is fresh, natural, and contributes to a healthier lifestyle.
Essential Ingredients for Your Protein Bars
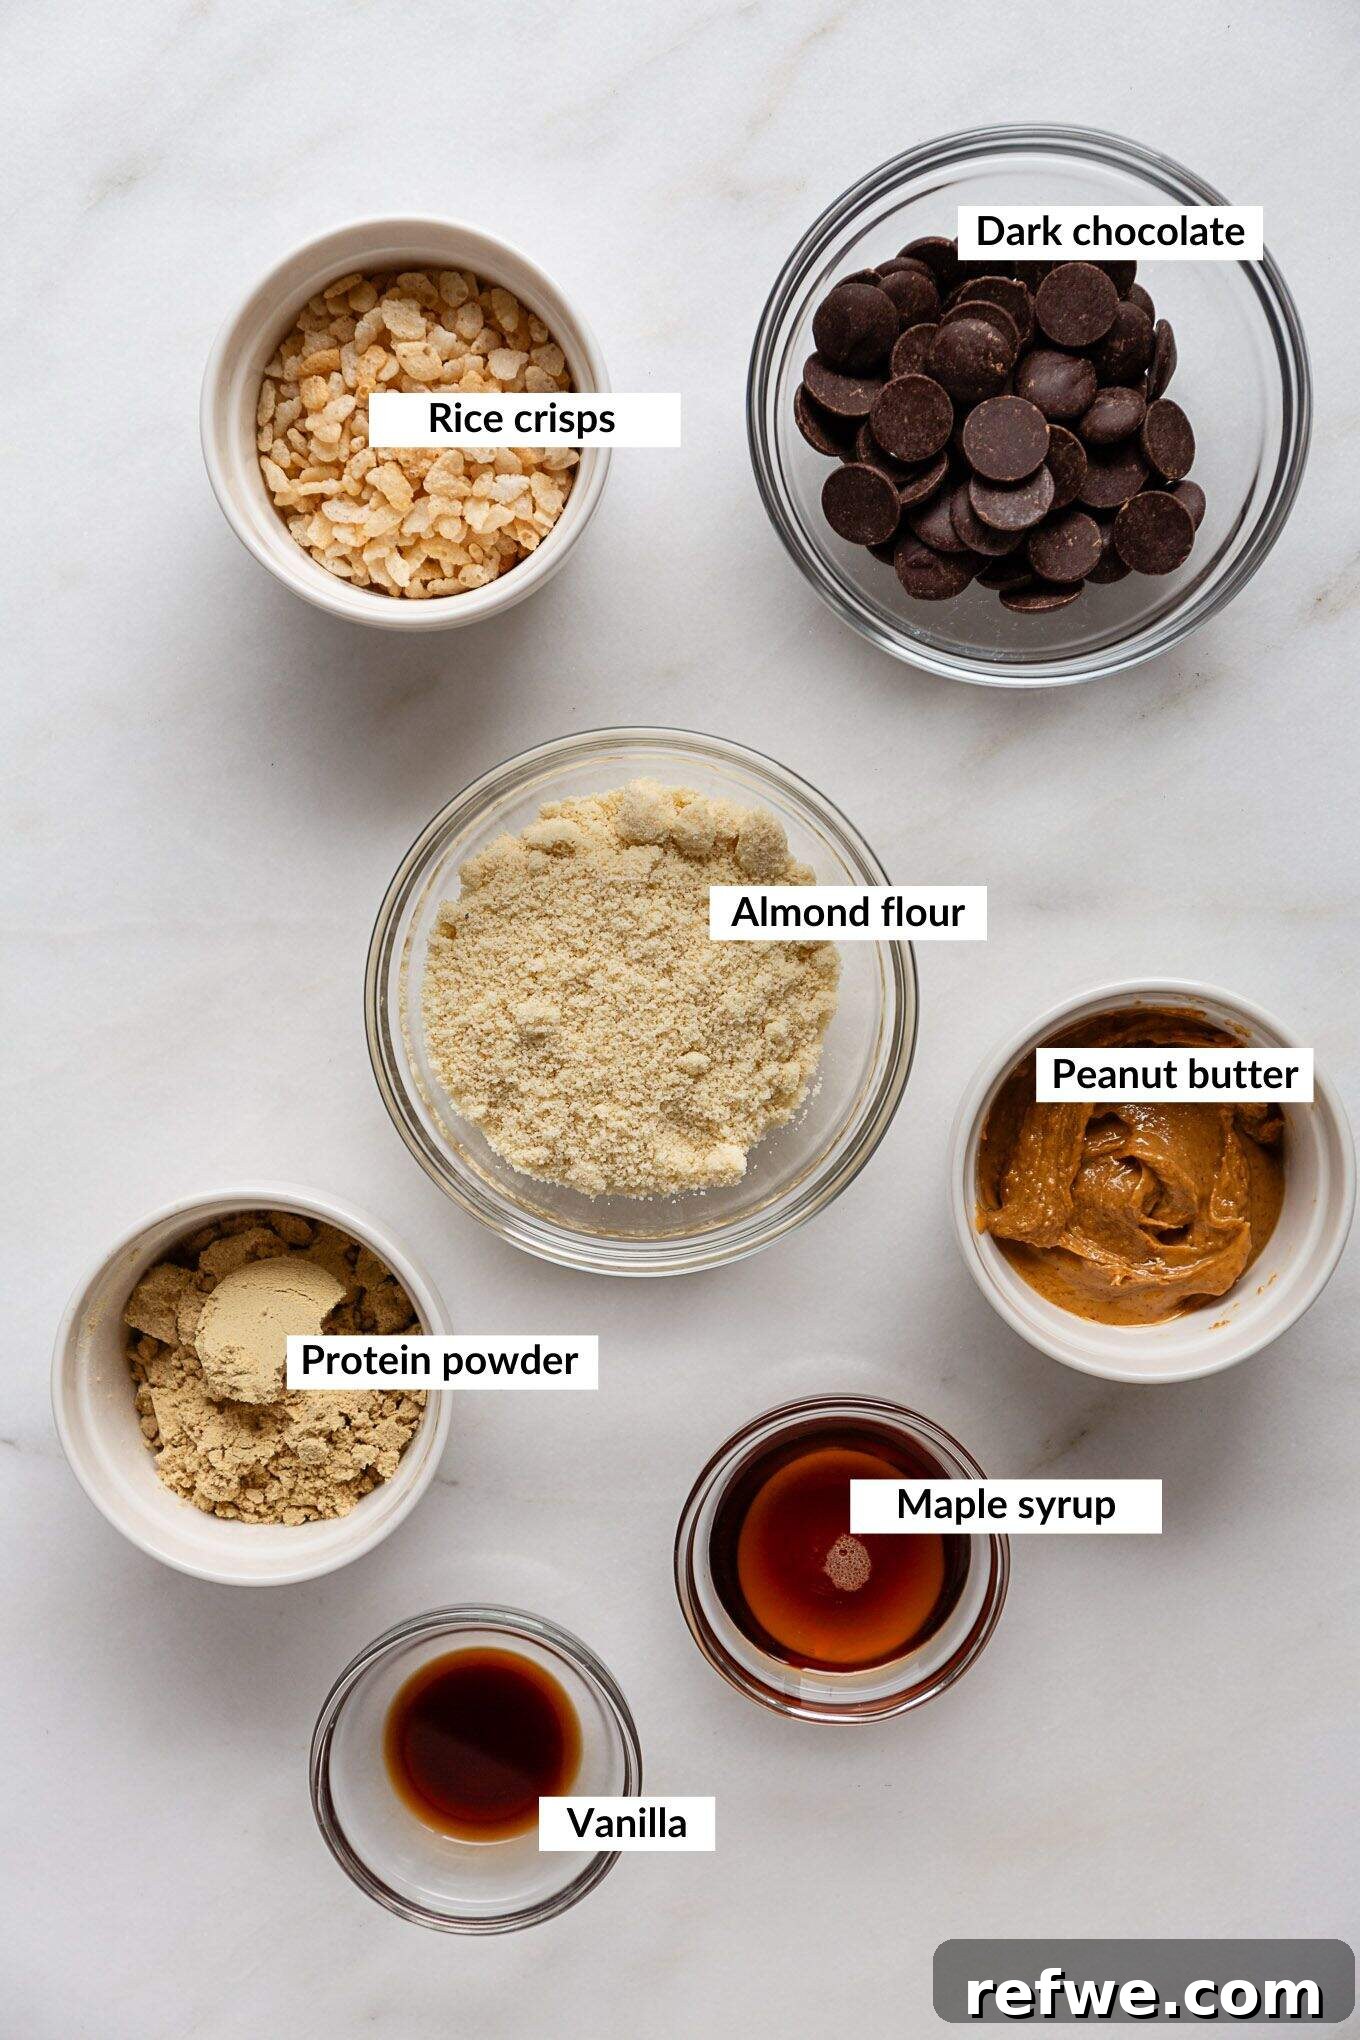
- Almond Flour: This is the foundational ingredient for our no-bake protein bars, providing a delightful texture and a neutral base for other flavors to shine. Almond flour is naturally gluten-free and grain-free, making it an excellent choice for a wide range of dietary preferences. Beyond its structural role, it contributes a healthy dose of protein, fiber, and healthy fats, boosting the nutritional profile of each bar. It’s also incredibly versatile, perfect for baking everything from Almond Flour Chocolate Chip Cookies to Almond Flour Waffles!
- Protein Powder: The key to that impressive 11g of protein per bar! For these specific chocolate peanut butter protein bars, I highly recommend using a vanilla, peanut butter, or unflavored protein powder. These options blend seamlessly with the other ingredients, creating a harmonious flavor profile. Personally, I find vanilla protein powder works exceptionally well, lending a subtle sweetness that complements the chocolate and peanut butter. It’s a staple in many of my high-protein recipes, including my Berry Protein Smoothie and Protein Overnight Oats.
- Peanut Butter: More than just a flavor enhancer, creamy peanut butter is a crucial binder that holds these bars together, ensuring a perfect consistency. It’s also loaded with healthy fats and, of course, a significant amount of plant-based protein, further increasing the nutritional value of your snack. For fellow peanut butter enthusiasts, consider incorporating it into other breakfast or snack options like Peanut Butter Overnight Oats or a satisfying Peanut Butter Chia Pudding. Using natural, unsweetened peanut butter is recommended for the best flavor and health benefits.
- Maple Syrup: Our natural sweetener of choice, maple syrup not only adds a touch of delicious sweetness but also contributes to the binding properties of the bars, creating that perfect chewiness.
- Rice Crisps: These provide a wonderful, light crunch that contrasts beautifully with the smooth texture of the bar, adding an exciting element to every bite.
*This is an ingredient overview designed to highlight the main components. For the complete list of ingredients with precise measurements, please refer to the detailed recipe card located below.
Customize Your Bars: Recipe Variations
One of the best aspects of these homemade protein bars is their versatility. You can easily adapt the recipe to fit various dietary needs or simply to try new flavor combinations. Here are some popular variations:
- Keto-Friendly Option: To make these bars suitable for a ketogenic diet, you’ll need to swap out the maple syrup for a keto-approved liquid sweetener like liquid stevia or a monk fruit sweetener blend. Since non-liquid sweeteners won’t provide the same binding properties, you may need to add an extra 1/4 cup of your chosen nut butter (or even a little more, depending on consistency) to ensure the bars hold together properly. This adjustment maintains the low-carb profile while keeping the texture just right.
- Peanut-Free Alternative: For those with peanut allergies or who simply prefer other nut butters, replacing peanut butter is a breeze. Great alternatives include creamy almond butter, smooth cashew butter, or for a completely nut-free option, sunflower seed butter (SunButter). Each of these will impart its own unique flavor while maintaining the essential binding function.
- Paleo-Friendly Adaptation: To align these bars with a paleo lifestyle, simply omit the rice crisps, as grains are not typically included in a paleo diet. Additionally, ensure the dark chocolate you use for the topping is paleo-approved, meaning it has a high cacao percentage and is free from refined sugars and dairy. Many high-quality dark chocolate brands fit this criteria.
- Almond-Free Substitution: If you have an almond allergy or simply want to try a different flour, oat flour is an excellent substitute for almond flour. It provides a similar structure and works beautifully in this recipe, creating a delicious and equally wholesome bar. This swap has also proven successful in other no-bake recipes, such as these Homemade Perfect Bars, showcasing its reliability.
- Add-ins for Extra Flavor & Texture: Feel free to mix in other ingredients to boost flavor or texture. A handful of chopped nuts (walnuts, pecans), shredded coconut, or even a sprinkle of mini chocolate chips can elevate these bars even further.
How To Make Chocolate Peanut Butter Protein Bars
Making these protein-packed delights is incredibly straightforward and doesn’t require any advanced culinary skills. Follow these simple steps for perfect no-bake bars every time.
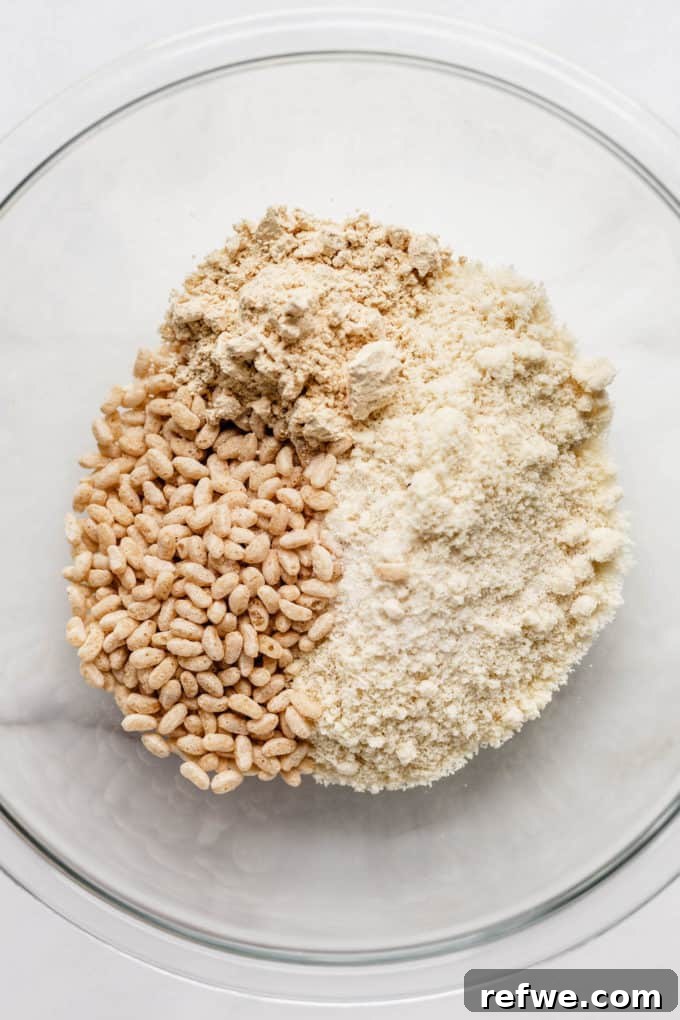
Step 1: In a large mixing bowl, combine the almond flour, your chosen protein powder (vanilla or unflavored works great!), rice crisps, and a pinch of salt. Whisk them together until they are well combined and evenly distributed. This ensures that every bite of your protein bar will have a consistent flavor and texture.
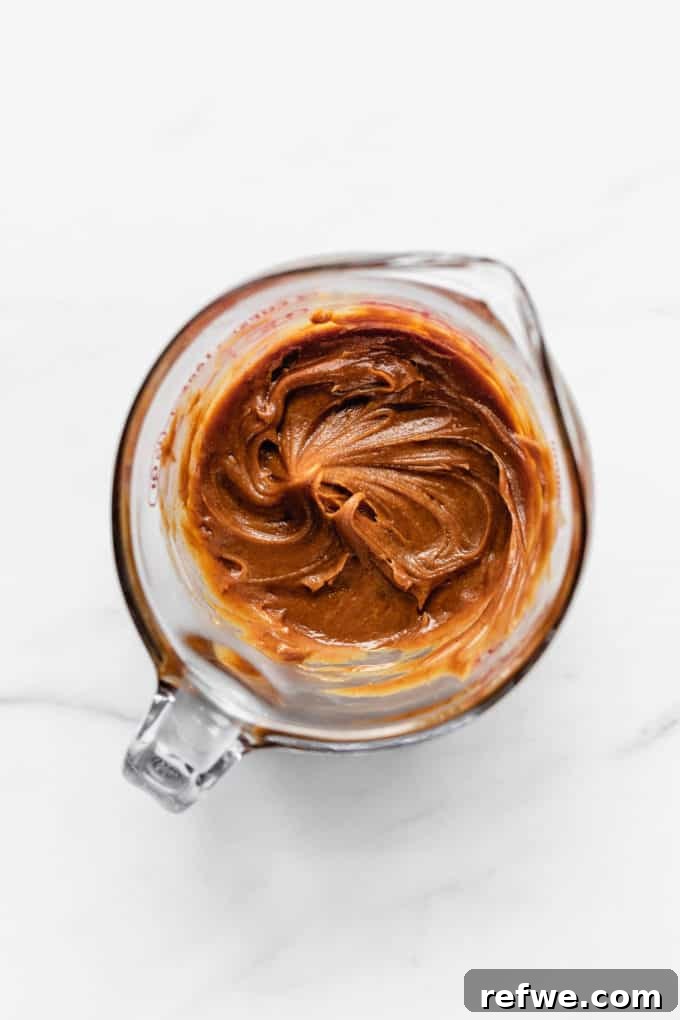
Step 2: In a separate smaller bowl, mix together the creamy peanut butter, rich maple syrup, and a dash of vanilla extract. Stir these wet ingredients until they form a smooth, homogenous mixture. This creamy blend will be the binding force for your delicious protein bars.
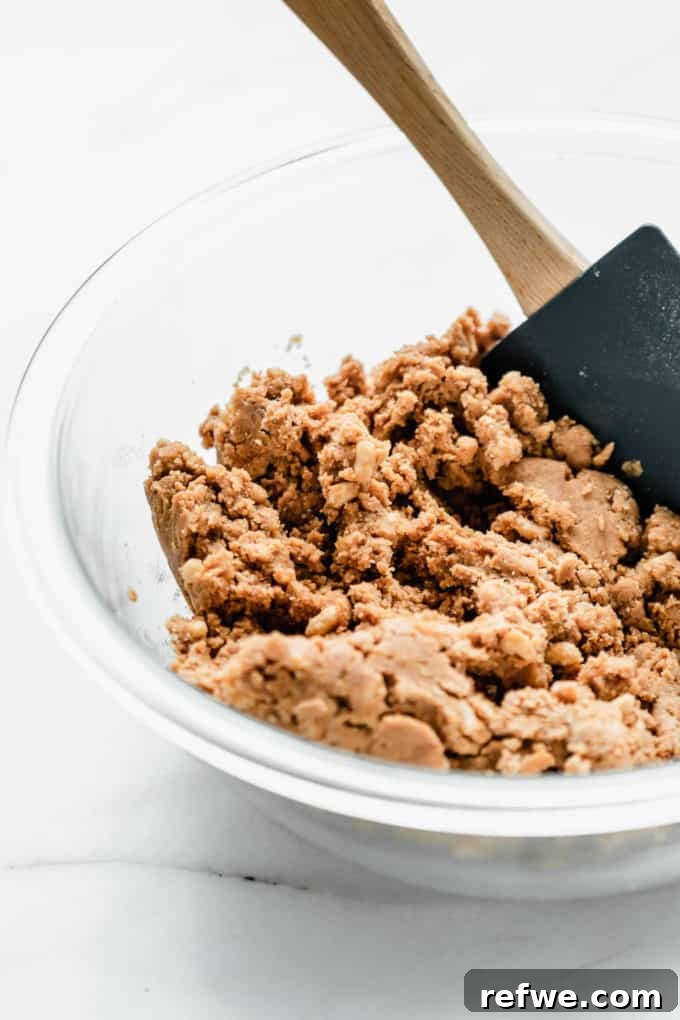
Step 3: Pour the wet peanut butter mixture into the large bowl containing your dry ingredients. Using a sturdy spatula or your hands, mix everything together thoroughly. Continue to mix until all the dry ingredients are fully incorporated and a cohesive, slightly sticky dough forms. If the mixture appears too dry and crumbly, add 1-2 teaspoons of almond milk at a time until it comes together easily.
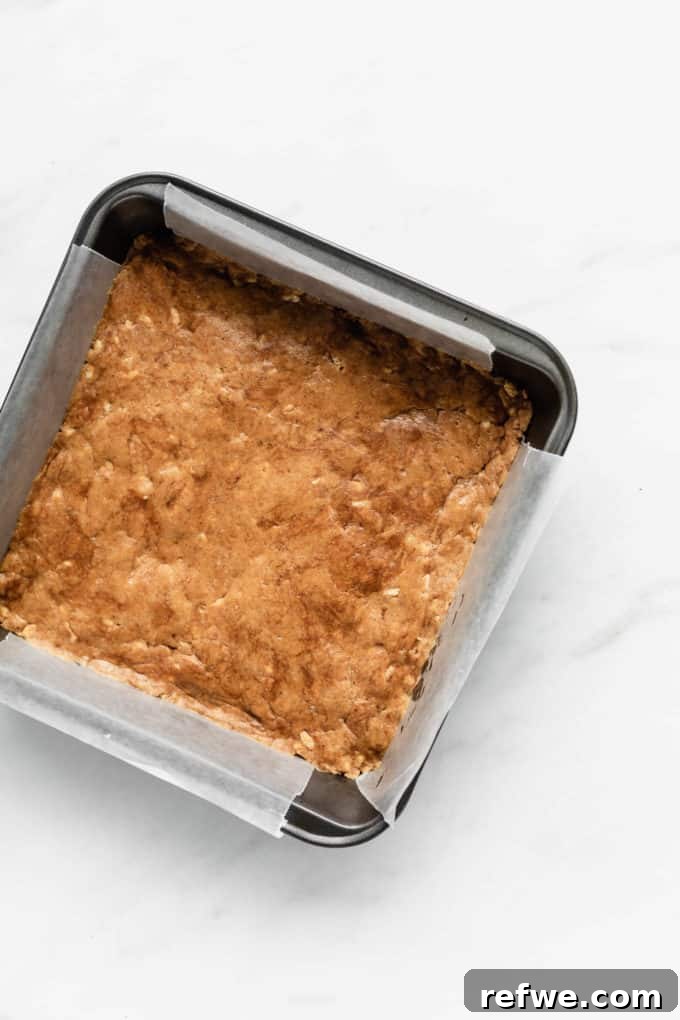
Step 4: Prepare an 8×8 inch baking pan by lining it with parchment paper, leaving an overhang on the sides to easily lift the bars later. Transfer the protein bar dough into the prepared pan. Using the back of a spoon, a spatula, or even the bottom of a glass, firmly press the dough down into an even layer. Compacting it tightly is crucial for the bars to hold their shape once sliced.
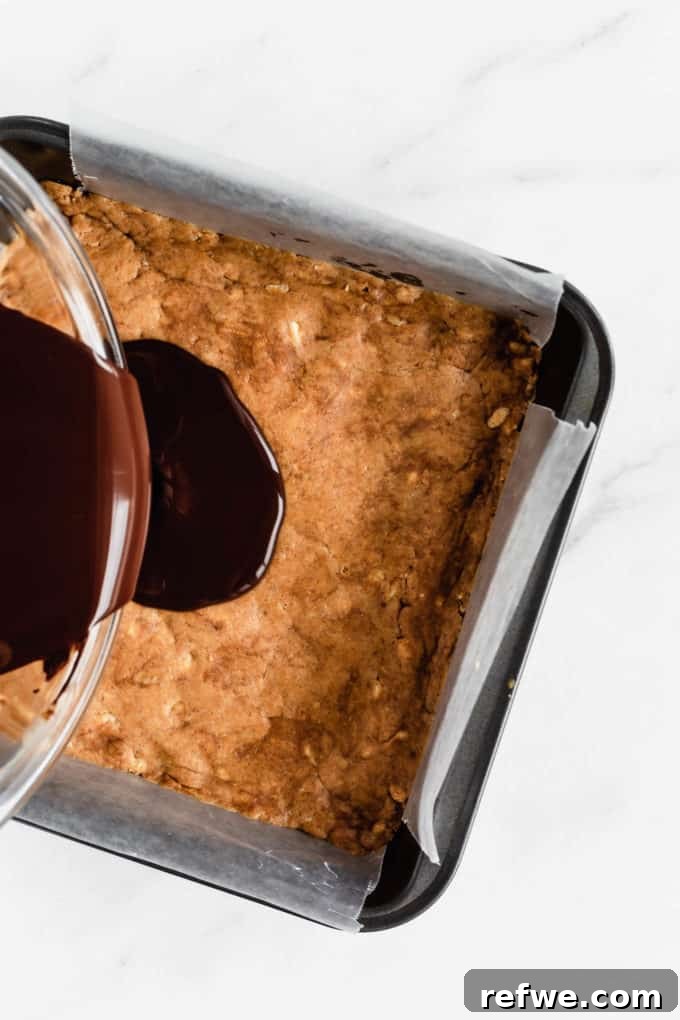
Step 5: In a microwave-safe bowl, gently melt your dark chocolate. Heat it in 30-second intervals on medium-low power, stirring after each interval, until it’s smooth and fully melted. Alternatively, you can melt it using a double boiler method. Once melted, carefully pour the luscious chocolate mixture evenly over the pressed protein bar base in the pan. Use an offset spatula or the back of a spoon to spread it to all edges, creating a beautiful, glossy topping.
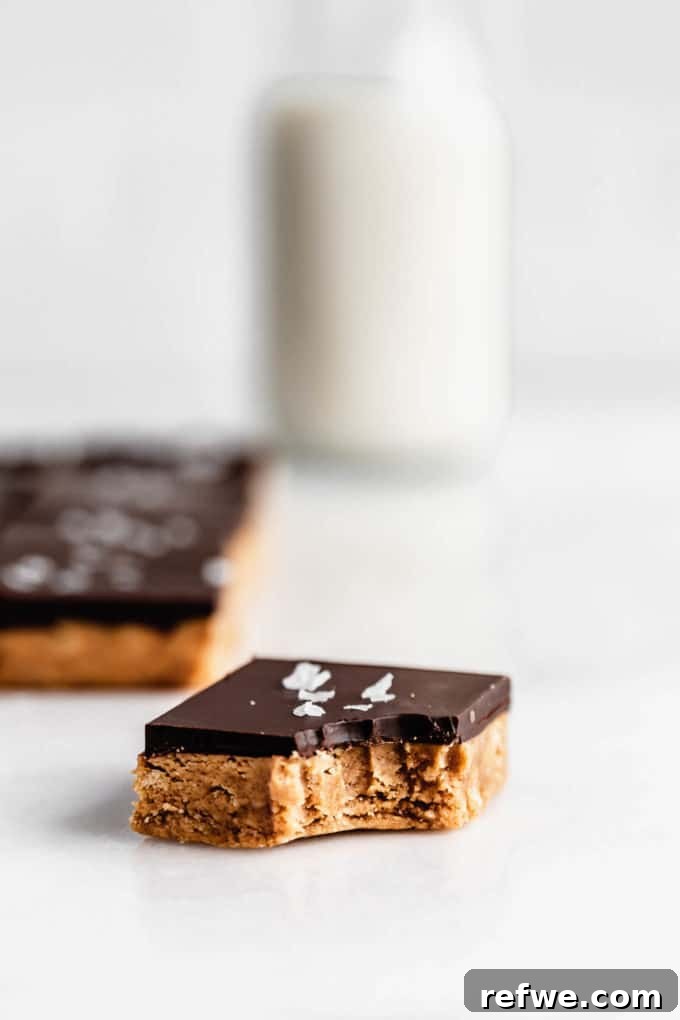
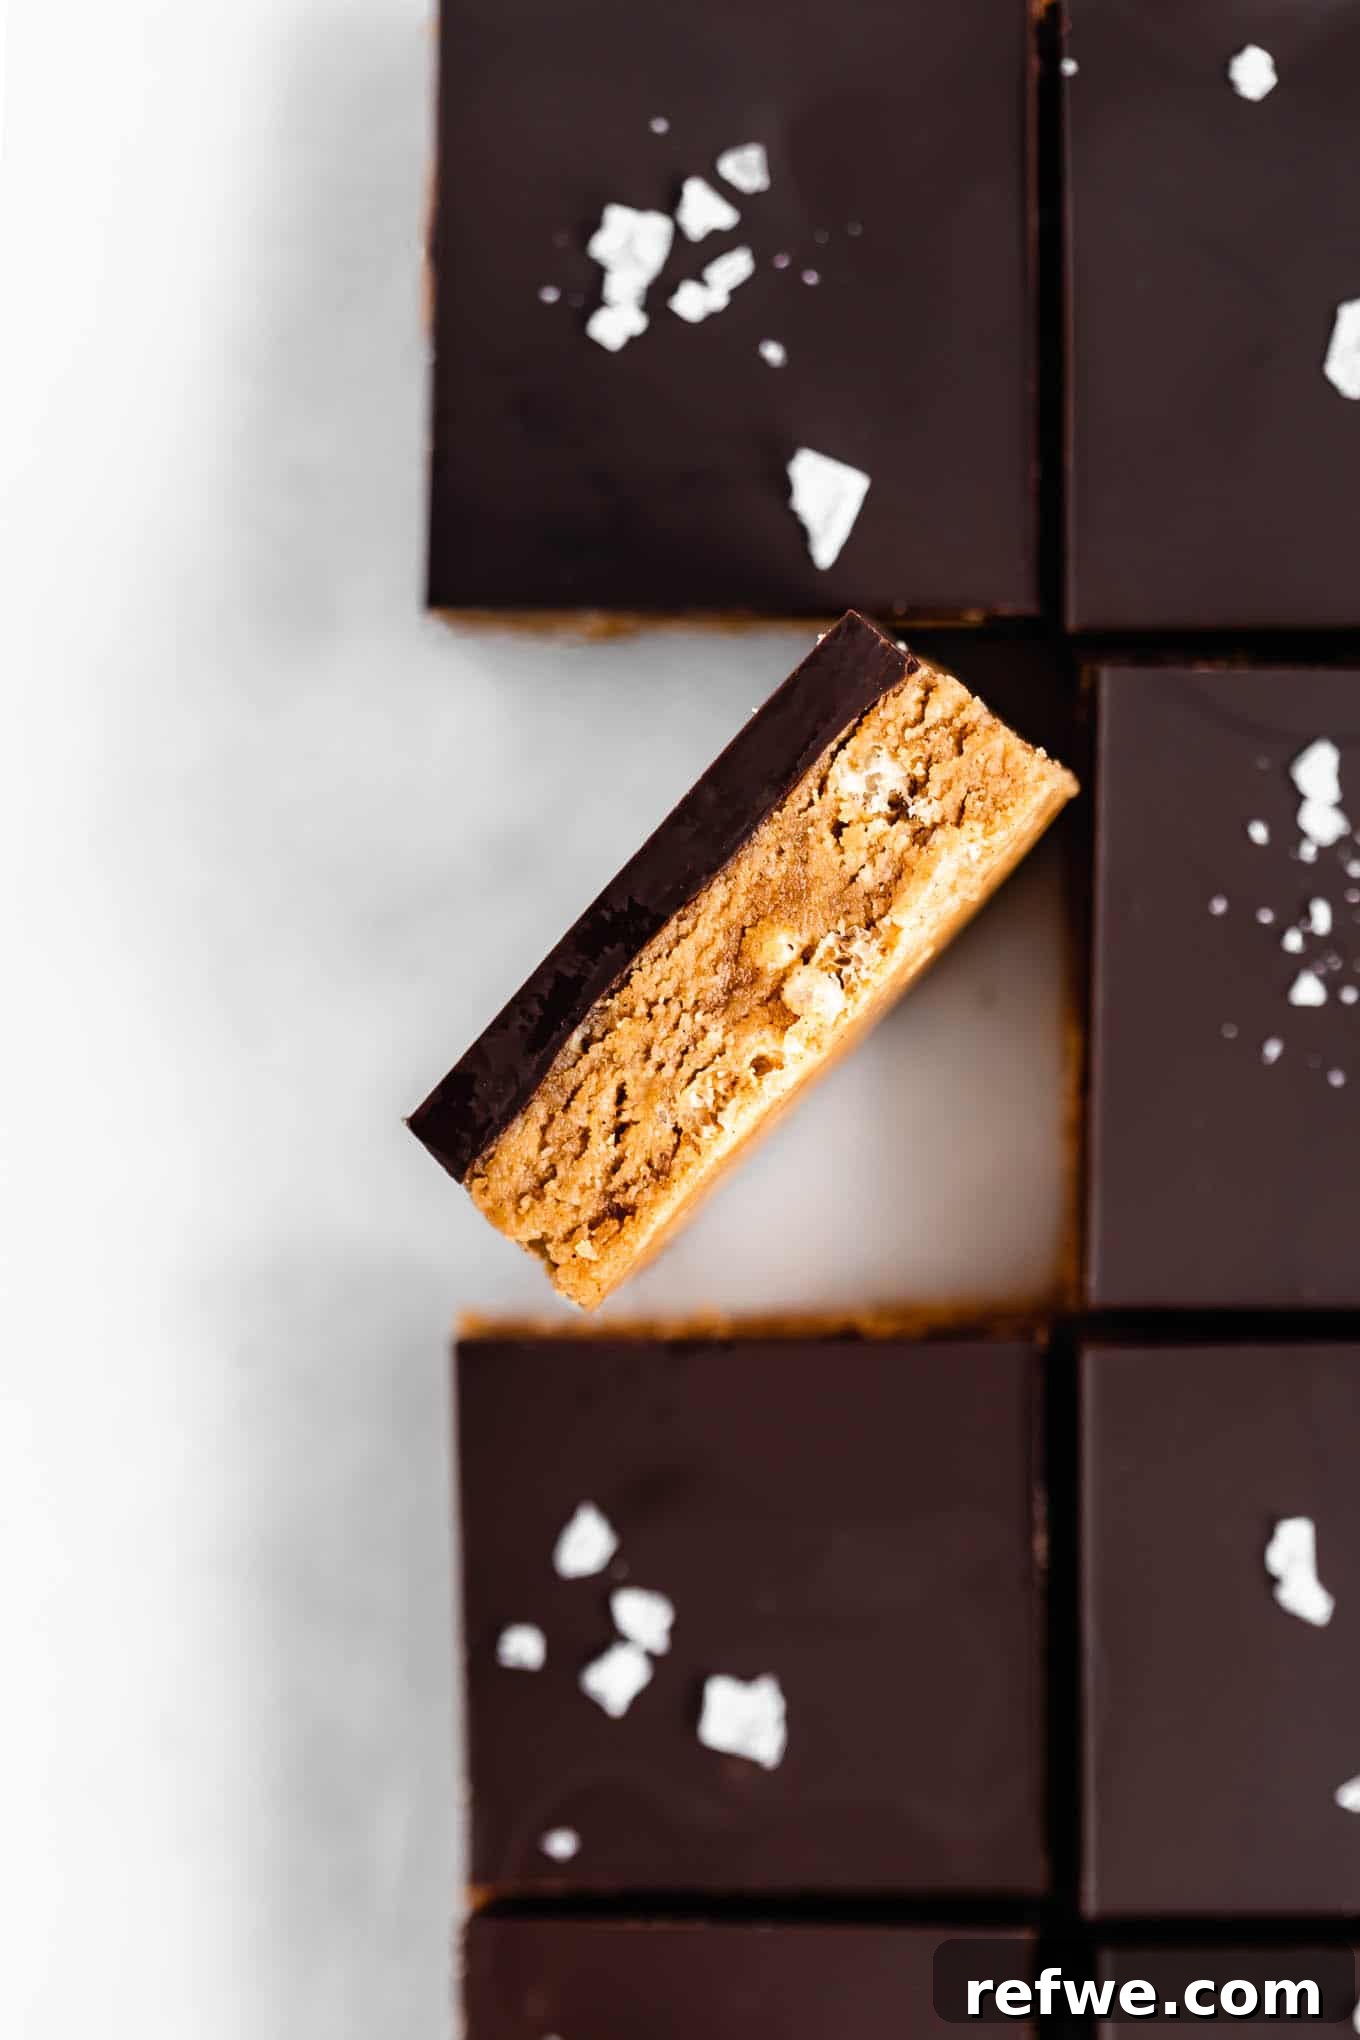
Step 6: Once the chocolate topping is spread, place the pan in the refrigerator for at least 2 hours. This chilling time is essential for the bars to firm up completely and for the chocolate to set. After chilling, remove the pan from the fridge, use the parchment paper overhang to lift the entire slab of bars, and place it on a cutting board. Use a sharp knife to slice them into 15 evenly sized bars. Serve and enjoy!
Storage Tips for Freshness
Proper storage is key to maintaining the delicious taste and texture of your homemade Chocolate Peanut Butter Protein Bars. Once prepared and sliced, these bars should always be kept in an air-tight container in the refrigerator. Stored this way, they will remain fresh and delightful for up to 2 weeks. This prevents them from becoming too soft at room temperature and helps preserve their quality and structural integrity. For longer storage, see the FAQ section below on freezing!
Expert Tips for Perfect Protein Bars
- Adjust the texture as needed: The consistency of your dough can vary slightly depending on the brand of peanut butter and protein powder you use. If the mixture feels too dry or crumbly and isn’t holding together, gradually add 1–2 teaspoons of unsweetened almond milk at a time. Mix thoroughly after each addition until the dough reaches a cohesive, manageable consistency that can be pressed firmly. Be careful not to add too much, as this can make the bars sticky.
- Substitute protein powder: If you don’t have protein powder on hand or prefer to omit it, you can easily replace it with an equal amount of almond flour. This will still result in a delicious bar, though with a slightly lower protein content. Any extra almond flour can be used for other delightful recipes like a batch of Fluffy Almond Flour Pancakes!
- Store in the fridge for optimal texture: These no-bake protein bars are designed to be firm and chewy, which requires cold temperatures. They will soften considerably at room temperature, potentially losing their shape and becoming messy. For the best enjoyment and to maintain their structure, always keep them stored in the refrigerator or freezer.
- Press the dough firmly into the pan: This step is crucial for the bars to hold together when cut. After spreading the dough into the parchment-lined pan, use a spatula, the back of a spoon, or even the bottom of a flat glass to press the mixture down as tightly and evenly as possible. A well-compacted base ensures clean, neat slices.
- Allow adequate chilling time: Patience is a virtue here! While it might be tempting to slice into them immediately, refrigerating the bars for at least 1-2 hours is essential. This allows both the base and the chocolate topping to firm up completely, ensuring that you can achieve clean, even squares without any crumbling or smudging. For an even quicker set, you can place them in the freezer for about 30-45 minutes.
Frequently Asked Questions About Protein Bars
The beauty of this recipe is its flexibility! You can use any brand or type of protein powder you love. For the best flavor integration with the chocolate and peanut butter, I personally recommend unflavored, vanilla, or peanut butter flavored protein powder. My favorite is the unflavored or vanilla Epic Protein from Sprout Living. It has an excellent taste, blends smoothly, and is generally easier on digestion compared to some whey proteins.
Absolutely! These protein bars are excellent for meal prepping and freeze exceptionally well, making them perfect for long-term storage. To freeze, simply slice the chilled bars, then layer them in an airtight container or a freezer-safe bag with parchment paper in between each layer to prevent sticking. They can be stored in the freezer for up to 3 months. When you’re ready to enjoy one, just let it thaw at room temperature for a few minutes, or grab it straight from the freezer for a colder, chewier treat.
Yes, you certainly can! These homemade chocolate peanut butter protein bars, or my no-bake chocolate protein bars, are designed to be a healthy and balanced snack. Enjoying one every day in moderation can be a great way to boost your protein intake and satisfy cravings with a wholesome, nutritious option. They are a much better alternative to highly processed snacks and candies, providing essential nutrients and sustained energy.
Definitely! With 11 grams of protein per bar and a good balance of healthy fats and carbohydrates, these bars are an excellent choice for both pre and post-workout fuel. The protein helps with muscle repair and growth, while the fats and carbs provide sustained energy. The no-bake convenience also means you can easily grab one on your way to or from the gym.
More High-Protein Recipes to Try Next!
Breakfast
Protein Pancake Bowl
Drinks
Green Protein Smoothie
Snacks
Birthday Cake Protein Balls
Breakfast
Fluffy Protein Pancakes
If you’ve tried these delicious Chocolate Peanut Butter Protein Bars or any other recipe from our blog, we’d absolutely love to hear from you! Please let us know how you liked it by leaving a comment and rating below. Your feedback helps us grow and inspires others to try these wonderful recipes. Don’t forget to follow us on Pinterest, Instagram, and Facebook for even more delicious and healthy recipe inspiration!
Print Recipe
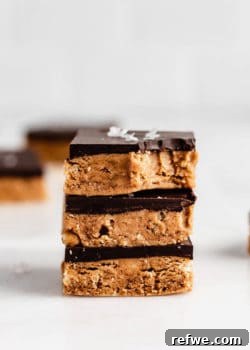
Chocolate Peanut Butter Protein Bars
- Author: Jessica Hoffman
- Prep Time: 20 minutes
- Cook Time: 0 minutes
- Total Time: 20 minutes
- Yield: 15 bars
- Category: Snack
- Method: Mix
- Cuisine: American
- Diet: Vegan
Description
These No-Bake Chocolate Peanut Butter Protein Bars are incredibly easy to make in just 20 minutes and are packed with 11 grams of protein per bar. A perfect vegan and gluten-free snack!
Ingredients
- 3/4 cup almond flour
- 1/4 cup protein powder (vanilla, peanut butter, or unflavored recommended)
- 1/3 cup rice crisps
- 1/4 tsp salt
- 1 cup creamy peanut butter (natural, unsweetened)
- 1/4 cup maple syrup
- 1 tsp vanilla extract
- 2-3 tsp unsweetened almond milk (if needed to help bind)
- 200 grams (about 7 oz) 70% dark chocolate (dairy-free for vegan)
Instructions
- In a large bowl, combine the almond flour, protein powder, rice crisps, and salt. Stir well until all dry ingredients are evenly mixed.
- In a separate small bowl, mix together the peanut butter, maple syrup, and vanilla extract until smooth.
- Pour the wet mixture into the large bowl with the dry ingredients. Mix thoroughly with a spatula or your hands until a cohesive dough forms. If the mixture is too dry, add 2-3 teaspoons of almond milk, one teaspoon at a time, until it binds together. Do not add too much.
- Line an 8×8 inch baking pan with parchment paper, leaving an overhang on the sides. Transfer the dough to the pan and press it down very firmly and evenly across the bottom.
- Melt the dark chocolate in a microwave-safe bowl (in 30-second intervals, stirring) or over a double boiler until smooth. Pour the melted chocolate over the pressed base in the pan and spread evenly.
- Place the pan in the refrigerator for at least 1-2 hours (or freezer for 30-45 minutes) to allow the bars to set completely.
- Once firm, use the parchment paper overhang to lift the bars from the pan. Place on a cutting board and slice into 15 equal bars.
- Store the finished Chocolate Peanut Butter Protein Bars in an airtight container in the refrigerator.
Notes
- For best flavor, use unflavored, vanilla, or peanut butter flavored protein powder.
- If the dough is too dry or crumbly, add almond milk 1 teaspoon at a time until it comes together.
- Protein powder can be swapped for an equal amount of almond flour if preferred, but protein content will differ.
- Press the dough very firmly into the pan to ensure the bars hold their shape.
- Chilling time is crucial for the bars to set properly before cutting.
- Store these protein bars in the refrigerator for up to 2 weeks or in the freezer for up to 3 months.
Nutrition
- Serving Size: 1 bar
- Calories: 190
- Sugar: 10g
- Fat: 12g
- Carbohydrates: 14g
- Fiber: 2.5g
- Protein: 11g