
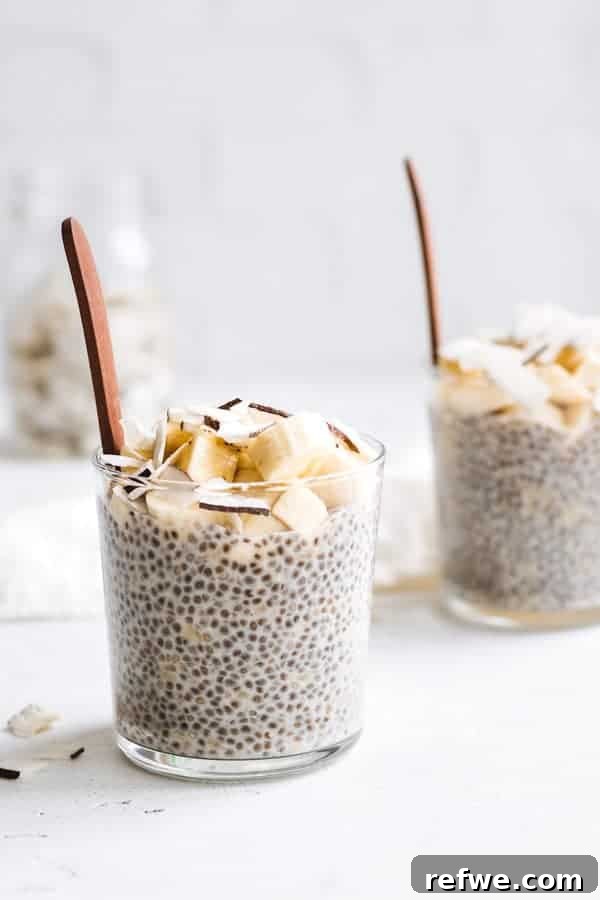
Have you ever scrolled through Instagram, admiring beautifully styled food photos, and wished you could capture your own culinary creations with the same visual flair? You’re not alone! Many aspiring food bloggers, home cooks, and digital creators often ask about the secrets behind those irresistible food images. Whether you’re just starting your journey or looking to refine your skills, this comprehensive guide on food photography tips for beginners is designed to equip you with the knowledge and confidence to create stunning visuals for your blog and social media platforms like Instagram.
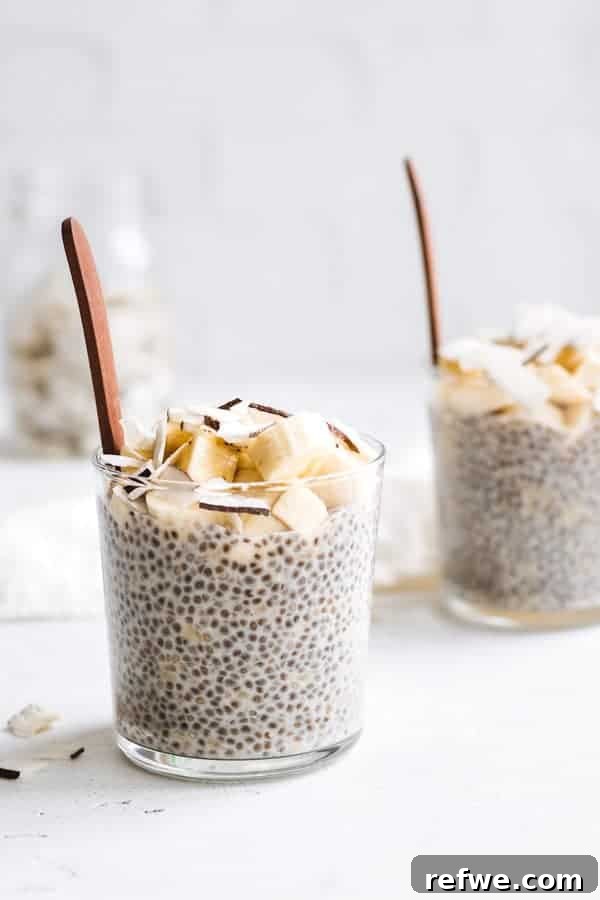
I’ve had the pleasure of sharing snippets of my food photography insights and behind-the-scenes glimpses on my Instagram stories. However, recognizing that these valuable tips fade away over time, I felt compelled to compile them into a lasting resource. This guide is built upon years of practice, experimentation, and a passion for making food look as good as it tastes. Consider it your go-to manual to help you significantly improve your food photography skills, transforming ordinary dishes into extraordinary visual feasts. (For an exclusive peek into my food photography setup and processes, make sure to follow along on Instagram!)
Whether you are completely new to the world of food photography, armed only with a smartphone, or you’ve already dipped your toes in but want to elevate your game, this guide is packed with actionable information. We’ll delve into everything from understanding the nuances of light to mastering your camera settings and crafting compelling compositions. I’ll even share some of my favorite camera gear and a few of my most cherished photography “secrets” to help you achieve those coveted “wow” photos.
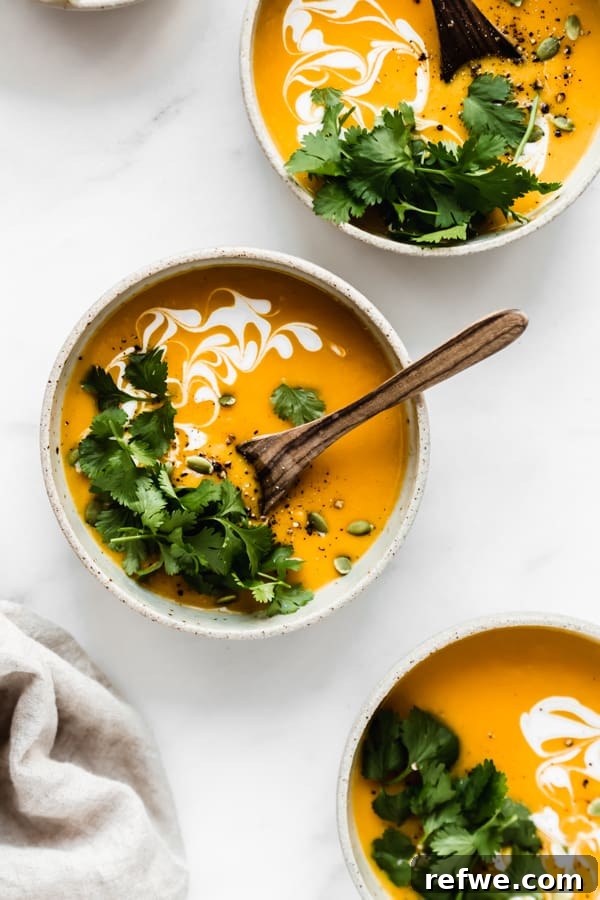
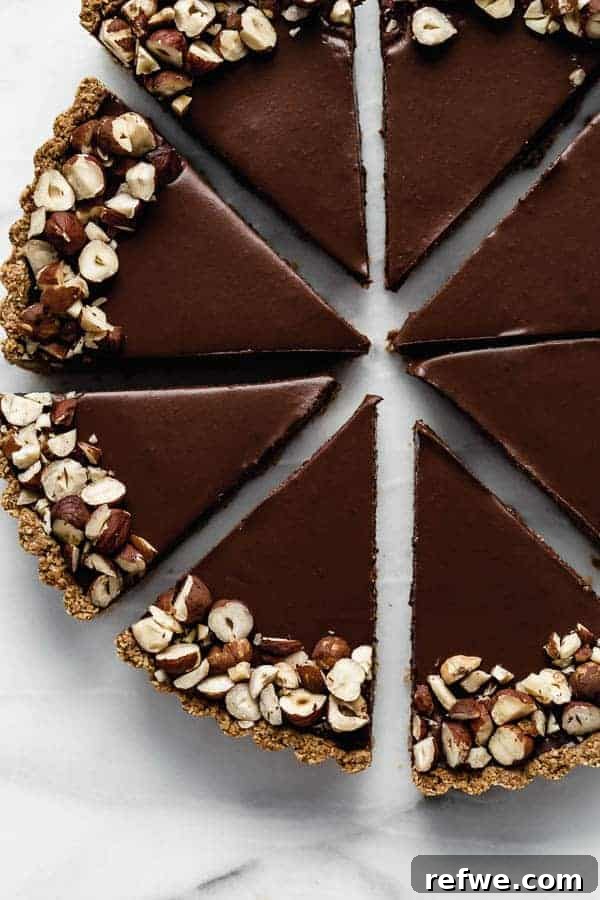
Want to see the journey? Take a look back at the very first photo I ever posted on my blog, and then compare it to my recent work like this spicy Thai butternut squash soup. The transformation is a testament to consistent practice and applying the very tips you’re about to learn!
1. The Cornerstone of Stunning Food Photography: Mastering Natural Light
Let’s get straight to the most critical element in food photography, hands down: light. Forgive the emphatic capitalization, but if there’s one singular takeaway you absorb from this entire blog post, it absolutely must be the profound impact and strategic use of lighting. Great lighting can make even the simplest dish look gourmet, while poor lighting can render a masterpiece unappetizing. Understanding and harnessing light is the first, most powerful step towards captivating food photography.
1A. Types of Light: Natural vs. Artificial
When it comes to illuminating your culinary subjects, you generally have two primary light sources at your disposal:
- Natural Light: This is the radiant glow bestowed upon us by the sun, whether direct or filtered.
- Artificial Light: This encompasses studio lights, continuous lights, speedlights, or even household lamps, used to mimic or replace natural light.
For beginners, and indeed for many seasoned food photographers, natural light is often the preferred choice. Why? Because it’s free, readily available, and inherently beautiful. It offers a soft, organic quality that is incredibly flattering to food. While artificial lighting provides ultimate control and consistency, mastering it can be complex and requires an investment in equipment. Therefore, this guide will focus predominantly on how to effectively utilize natural light to its fullest potential, helping you achieve professional-looking results without the need for expensive studio setups.
The first step in your food photography journey is to actively scout for the best natural light within your home or shooting environment. Don’t fall into the trap of thinking you must photograph your food in the kitchen just because that’s where you cooked it! Good light can be found anywhere. Experiment by setting up your food near a window in your living room, bedroom, or even a garage. Sometimes, the soft, indirect light from an open doorway can be perfect. If you venture outdoors, remember to keep your food in the shade; direct, harsh sunlight is generally not your friend in food photography, as it creates unflattering hot spots and deep, distracting shadows.
Pro Tip: Always turn off any overhead artificial lights in your room when shooting with natural light. Mixing artificial indoor light with natural daylight can result in unwanted color casts, often a yellow or orange tint, that are difficult to correct in post-processing.
1B. The Magic of Diffused Light
If you’re looking for a quick win to dramatically improve your food photography, embracing diffused light is the answer. This concept will instantly elevate the quality of your images.
Diffused light is soft, gentle, and significantly less intense than direct light. Instead of beaming directly from a single source, diffused light is scattered and bounces from multiple directions. This scattering effect is precisely what makes it so desirable for food photography: it minimizes harsh shadows, softens bright highlights, and produces an even, flattering illumination across your subject. The result is an image with delicate transitions between light and shadow, beautifully highlighting textures and colors without creating stark contrasts that can obscure details.
So, how does natural light become diffused light? The simplest and most beautiful diffuser is Mother Nature herself: clouds! Overcast or cloudy days are truly a food photographer’s best friend. The clouds act as a giant, natural softbox, spreading the sunlight evenly and creating that coveted soft, diffused glow. This type of lighting brings out the best in your food photos, creating clear, inviting, and professional-looking images.
If you’re not blessed with a consistently cloudy sky, don’t despair! You can easily create your own diffusion. Simply place a sheer white curtain over a sunny window, or use a translucent white diffuser panel (often found in 5-in-1 reflector kits) between your window and your food setup. These tools will soften direct sunlight, transforming it into beautiful diffused light.
Actionable Tip: Once you’ve identified the best room in your home with ample natural light, conduct a simple experiment. Take photos of the same dish on a bright, sunny day (using a diffuser!) and then again on a cloudy day. Observe and analyze the subtle yet significant differences in how the light interacts with your food and the overall mood of the images. This practice will sharpen your eye for quality light.
1C. Understanding Light Direction
The angle from which your light source hits your subject fundamentally alters the mood, texture, and visual impact of your photograph. There are four primary possibilities for positioning your light relative to your food:
- Right Side Light: The light source emanates from the right side of your food setup. This is excellent for revealing texture and adding depth.
- Left Side Light: Similar to right-side light, but the source comes from the left. Again, great for texture and dimensionality.
- Front Light: The light source is positioned directly in front of your subject, shining straight onto it.
- Back Light: The light source is situated behind your subject, shining towards the camera.
A crucial piece of advice for food photography: front light is generally not recommended. When light comes from directly in front, it tends to flatten your subject, eliminating shadows and making your food appear dull and two-dimensional. It strips away texture and depth, making the dish less appealing.
Conversely, side light and back light are your allies. Side lighting creates beautiful shadows that highlight the textures and shapes of your food, adding a sense of depth and three-dimensionality. Backlighting, when diffused, can create a stunning halo or rim light around your food, making it pop and giving it a fresh, ethereal glow – particularly effective for drinks, baked goods, or anything with steam or transparency.
Don’t limit yourself to just these primary angles. Play around with having your light source at various positions, including corner light (a hybrid between side and back light), to discover which style you prefer and which best suits the dish you’re photographing. Using reflectors or bounce cards (simple white foam boards work wonders) opposite your main light source can also help fill in harsh shadows, creating a more balanced illumination.
Creative Tip: Different types of food and dishes often look best with specific lighting directions. For instance, a hearty stew might benefit from strong side lighting to emphasize its rustic texture, while a glistening dessert might shine under gentle backlighting. Take a few test shots of your subject from each light angle to find the one that truly makes your food sing!

2. Beyond the Smartphone: Unleashing Creativity with a DSLR Camera
While modern smartphones are incredibly capable and can produce truly great quality images, especially for casual snaps and quick social media sharing, if you are truly serious about elevating your food photography to create those high-quality, professional-looking “wow” photos that grab attention and inspire, investing in a DSLR (Digital Single-Lens Reflex) or a mirrorless camera is a natural and rewarding progression. These cameras offer a level of control, image quality, and creative flexibility that even the best smartphones cannot yet match.
The ultimate secret to unlocking the full potential of a DSLR camera in food photography is consistently shooting in manual mode. While auto modes are convenient, they make all the creative decisions for you. Manual mode, on the other hand, puts you, the photographer, firmly in the driver’s seat. It’s a transformative experience that allows you to develop a distinctive photographic style, consciously work with light, and gain unparalleled control over every aspect of your images – from exposure to depth of field and motion blur. This mastery is what separates good photographers from truly exceptional ones.
I wholeheartedly recommend dedicating time to practice and experiment with these settings. Understand how they interrelate and influence each other. There is simply no substitute for hands-on experience and continuous learning. Don’t be intimidated; start by making small adjustments and observing the results. Patience and persistence will be your best teachers.
Let’s dive a little deeper into the three key components of the “exposure triangle” that define manual mode: ISO, Aperture, and Shutter Speed. Mastering these will give you complete control over your final image.
2A. ISO: Your Camera’s Sensitivity to Light
ISO measures your camera’s sensitivity to light. In simple terms, it determines how much light your camera’s sensor absorbs. Here’s the essential relationship to remember:
- Lower ISO (e.g., 100-400): Results in a higher-quality image with minimal “noise” (graininess). However, the trade-off is that the sensor is less sensitive, requiring more ambient light or longer exposure times.
- Higher ISO (e.g., 800-6400+): Allows your camera to capture an image in darker conditions by making the sensor more sensitive to light. The downside is a lower-quality image with increased noise, which can make your photos look pixelated or gritty.
Therefore, if you are shooting on a bright, well-lit day with abundant natural light, you can comfortably set your ISO to a lower number (like 100 or 200) to ensure the cleanest, crispest image possible. If you find yourself in a darker environment with less available light, you might need to increase your ISO to achieve a proper exposure. Always aim for the lowest ISO setting that still allows for a well-exposed photo, as this will yield the best image quality for your food photography. (For a visual demonstration of this concept, watch this short video!)
2B. Aperture (or “F-stop”): Controlling Depth of Field and Light
The aperture is essentially the adjustable opening within your camera lens that controls the amount of light passing through to the sensor. You can think of it like the pupil of your eye: in a bright environment, your pupil constricts to let less light in; in a dark environment, it dilates to gather more light. Your camera’s aperture works in a similar fashion, but with an added creative benefit.
- Wide Aperture (smaller f-number, e.g., f/1.8, f/2.8): A wide-open aperture allows more light to enter the lens. Crucially, it also creates a shallow depth of field, resulting in a beautiful “bokeh” effect – a pleasing blur in the background or foreground, making your main food subject sharply stand out. This is highly sought after in food photography to draw the viewer’s eye directly to the dish.
- Small Aperture (larger f-number, e.g., f/8, f/11): A smaller aperture opening restricts the amount of light, meaning you’ll need more light or a slower shutter speed for a correct exposure. It also produces a greater depth of field, keeping more of your scene in sharp focus. This is useful when you want to show context, multiple elements on a table, or if you’re shooting overhead and want everything in focus.
An aperture setting of F1.8 will give you a significant amount of background blur, creating a dreamy, artistic look. Conversely, an aperture of F6.0 or higher will yield less blur and a greater area of sharpness. Experiment with different f-stops to control which elements are in focus and which gently recede into a soft blur, guiding the viewer’s eye through your composition. (To see this concept in action, check out this informative short video!)
2C. Shutter Speed: Freezing Motion and Managing Light
Shutter speed refers to the duration for which your camera’s shutter remains open, exposing the sensor to light. It’s measured in fractions of a second (e.g., 1/1000s, 1/60s, 1s).
- Slow Shutter Speed (longer duration, e.g., 1/30s, 1/15s, or several seconds): A longer exposure time allows more light to reach the sensor, making it useful in low-light conditions. However, the critical drawback is that any movement of the camera or the subject during this time will result in motion blur, leading to a less crisp image. This is only advisable when using a tripod.
- Fast Shutter Speed (shorter duration, e.g., 1/250s, 1/500s, 1/1000s): A shorter exposure time lets in less light but effectively “freezes” any motion. This is vital for capturing sharp images, especially when shooting handheld or when there’s movement in your scene (like pouring syrup, falling sprinkles, or steam rising from hot food).
The important thing to remember here, especially for food photography, is image sharpness. If you are shooting handheld at a low shutter speed (generally anything slower than 1/60th of a second), you risk ending up with a photo that isn’t perfectly crisp. This is because our hands naturally have tiny shakes, which become noticeable at slower speeds. Shooting at a higher shutter speed generally helps to create sharper images by minimizing camera shake. I always recommend shooting above 1/100th of a second if you are not using a tripod. For truly motionless subjects in low light, a tripod is indispensable, allowing you to use very slow shutter speeds without introducing blur from camera movement. (For a clear illustration of shutter speed, watch this short video!)
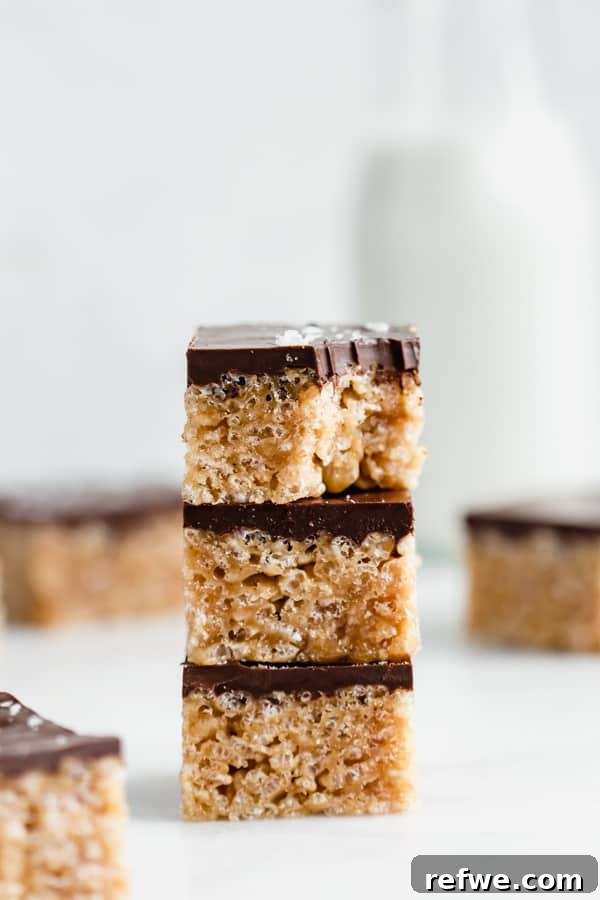
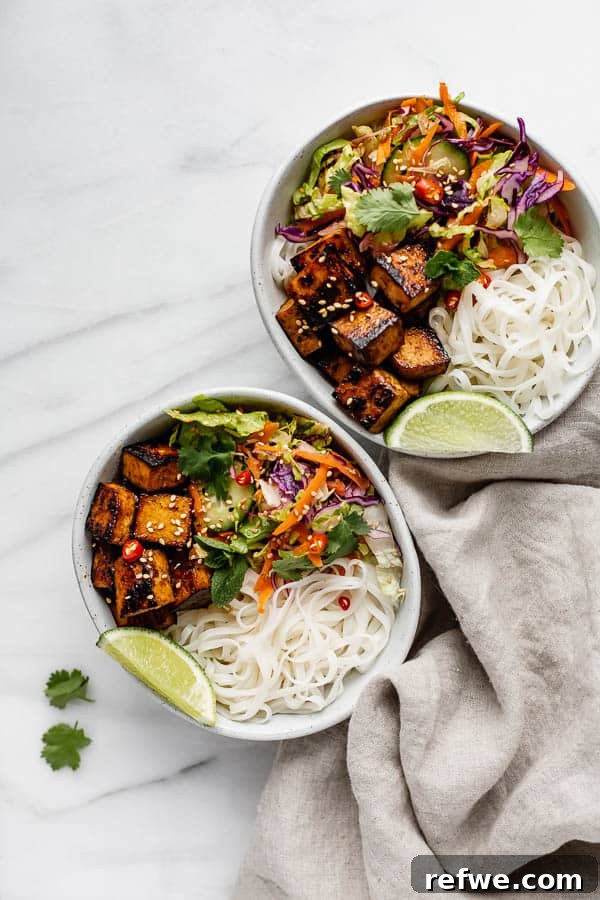
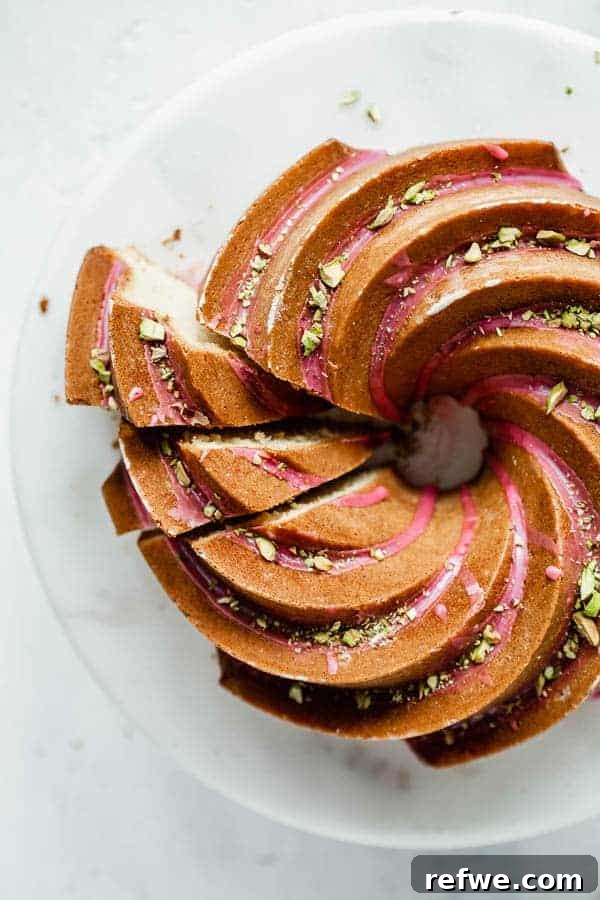
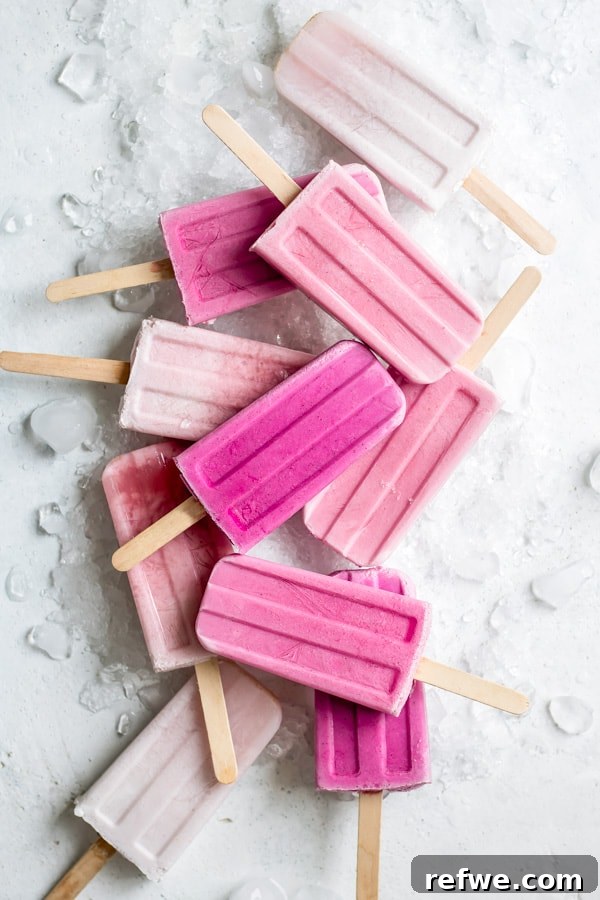
3. The Art of Presentation: Food Styling and Composition Secrets
Once you’ve mastered the art of finding and manipulating light, and you’re comfortable with your camera’s manual settings, it’s time to unleash your creativity in crafting the scene itself. Food styling and composition are where you transform a simple dish into a compelling visual narrative, making it look utterly delicious and inviting. So, what goes into creating a truly “yum-worthy” food setup that stops the scroll?
3A. Composition: Arranging Your Visual Story
Composition is the strategic arrangement of elements within your frame to create a visually appealing and balanced photograph. It guides the viewer’s eye and tells the story of your food. One of the most fundamental composition guidelines you’ll frequently encounter in photography is the “Rule of Thirds.”
The Rule of Thirds suggests imagining your image divided into nine equal segments by two equally spaced horizontal and two equally spaced vertical lines, creating a grid. The “best” points of interest within your photograph are often found where these lines intersect. Placing your main subject or key compositional elements along these lines or at their intersections can make an image feel more balanced, engaging, and dynamic than simply centering everything. (If you’re interested in a more in-depth exploration of this foundational concept, you can read more here).
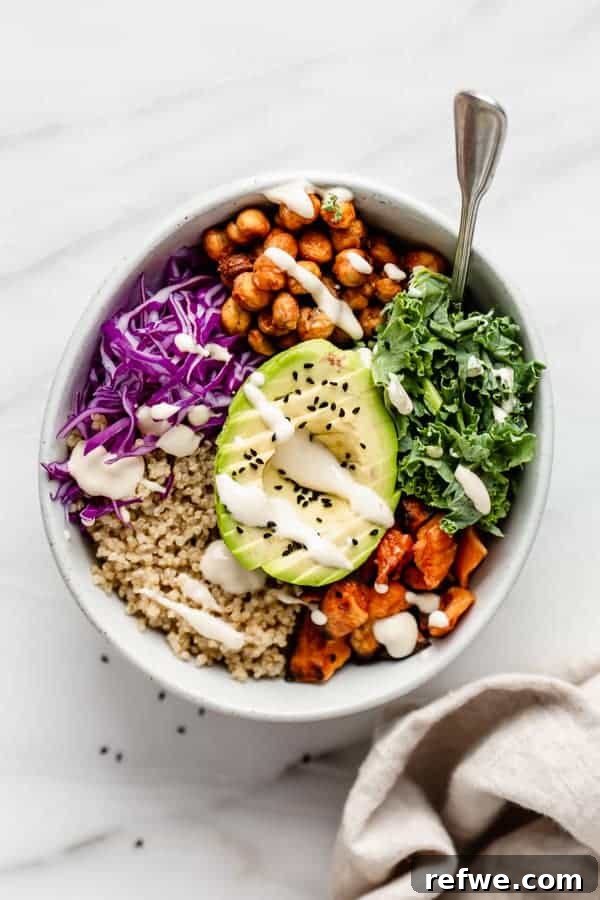
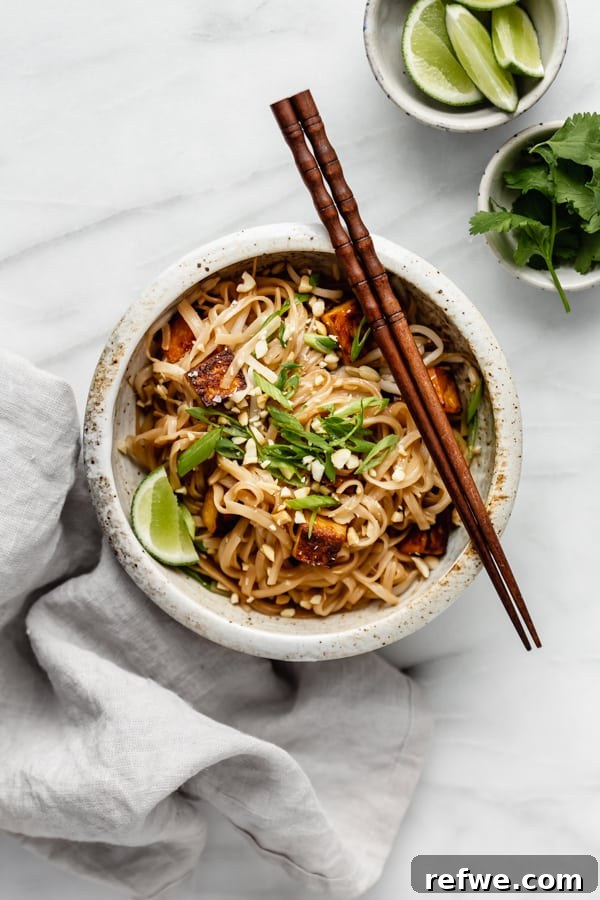
Beyond the Rule of Thirds, another crucial aspect of compelling composition, especially in food photography, is layering. This applies not only to how you arrange the food within your dish itself but also to the arrangement of props around it. Layering adds visual texture, depth, and interest to your photo. For instance, consider adding a beautifully textured napkin under your serving dish, scattering a few key ingredients around the plate, or garnishing your food with fresh herbs like cilantro or a sprinkle of flaky sea salt. These layers create a sense of richness and complexity, making the image more captivating.
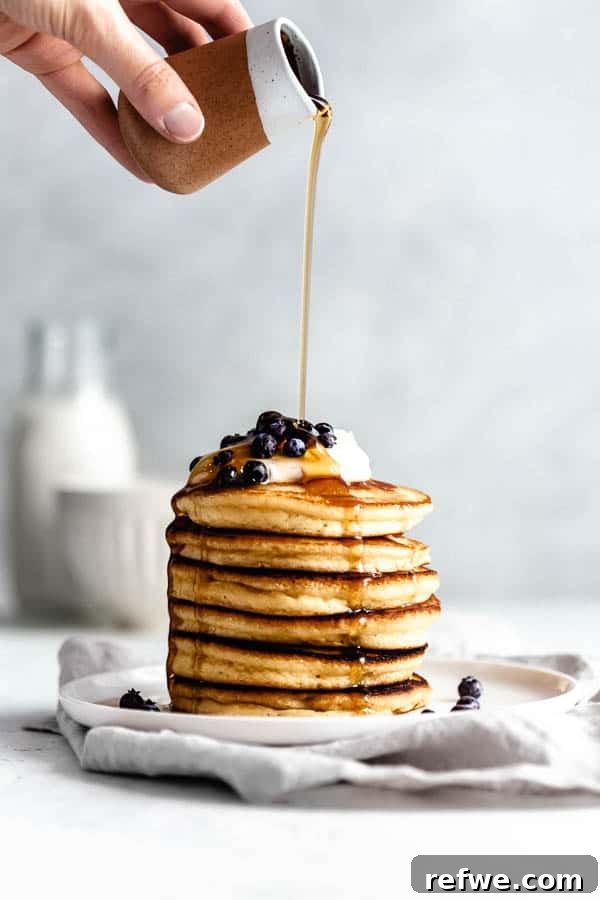
Experiment with different camera angles as well. An overhead “flat lay” shot can be perfect for showing all the ingredients in a vibrant salad, while a 45-degree angle is often ideal for highlighting the height and dimension of a dish like a stack of pancakes or a burger. A straight-on shot can be incredibly impactful for showing a slice of cake or a beautiful beverage. Each angle offers a unique perspective and emotional connection to the food.
3B. Propping: Setting the Scene and Telling a Story
Props are powerful tools that help give a distinct “feel” to your photo and effectively tell a story. They add context, scale, and character to your food photography, transforming a simple dish into an entire experience. You might gravitate towards more vintage props, such as antique pots, distressed wooden boards, and old silver spoons, to evoke a rustic or nostalgic mood. Alternatively, you might prefer modern, minimalist props like sleek ceramic bowls, crisp linens, and contemporary cutlery for a clean, sophisticated aesthetic. The choice of props allows you to create and reinforce a unique style for your images, helping you stand out.
When selecting props, think about colors and textures that complement your food without overpowering it. Often, simpler is better. You don’t need to overdo it with props; sometimes, a single well-placed linen napkin, a strategically angled fork, or a scattering of key ingredients is all you need to elevate the photo. Consider backdrops and surfaces too – a textured wooden table, a marble slab, or even a simple painted board can dramatically change the look and feel of your photograph. The goal is to enhance the food, not distract from it. Every prop should contribute to the overall narrative and visual appeal of your dish.
My Essential Camera Gear: Tools for Professional Results
Here’s a breakdown of the camera bodies and lenses I personally use and recommend to achieve high-quality food photography:
- Canon Rebel T6s: An excellent entry-level DSLR, perfect for beginners looking to step up from smartphone photography.
- Canon 5D Mark III: A professional-grade full-frame DSLR, offering superior image quality and low-light performance.
- Canon EF 50mm f/1.8 lens: Often called the “nifty fifty,” this prime lens is incredibly affordable and fantastic for achieving beautiful bokeh and sharp images.
- Canon EF 100mm f/2.8 Macro lens: An indispensable lens for food photographers, allowing for incredibly close-up, detailed shots of food textures and intricate garnishes.
- Canon EF 24-70mm f/4.0 lens: A versatile zoom lens for various shooting scenarios, from wide table shots to tighter compositions.
- Manfrotto 290 Xtra Aluminum Tripod: Essential for stability, especially in low light or when using slower shutter speeds, ensuring crisp, sharp images.
- Manfrotto Compact Ball Head: Provides smooth, precise adjustments for camera positioning on the tripod.
- Manfrotto Lateral Arm: A fantastic accessory for overhead shots, allowing you to position your camera directly above your food setup without the tripod legs getting in the way.
Other Indispensable Gear for Food Photography
Beyond the camera and lenses, these tools are crucial for controlling light, storage, and post-processing:
- 5-in-1 Reflector: An incredibly versatile tool that includes a diffuser, silver reflector (for bright highlights), gold reflector (for warm tones), white reflector (for soft fill light), and black panel (for negative fill/creating shadows).
- SD Cards: Reliable, high-speed memory cards are essential for storing your RAW image files.
- Solid State Hard Drive: For fast, secure storage and backup of your precious photographs.
- Adobe Creative Cloud: The industry standard for post-processing, including Lightroom (for organizing and editing RAW files) and Photoshop (for more advanced retouching and manipulation).
Recommended Resources for Further Learning
To continue your growth in food photography, I highly recommend exploring these valuable resources:
- Pinch of Yum – Tasty Food Photography eBook: An incredibly popular and practical guide that has helped countless food bloggers improve their photography.
- Creative Live Photography Online Courses: Offers a wide range of courses taught by industry experts, covering various aspects of photography, including food.
I sincerely hope these foundational food photography tips for beginners provide you with a clear roadmap to capture delicious-looking dishes. Remember, practice is key, and every great photographer started exactly where you are now. Don’t be afraid to experiment, make mistakes, and learn along the way! If you have any questions, need clarification on a specific technique, or are interested in more in-depth food photography guides (perhaps focusing solely on advanced styling or detailed editing techniques?), please let me know in the comments below!
This post contains affiliate links. Rest assured, I only recommend products and resources that I genuinely know, trust, and absolutely love! Your support through these links helps me continue to create valuable content like this.