
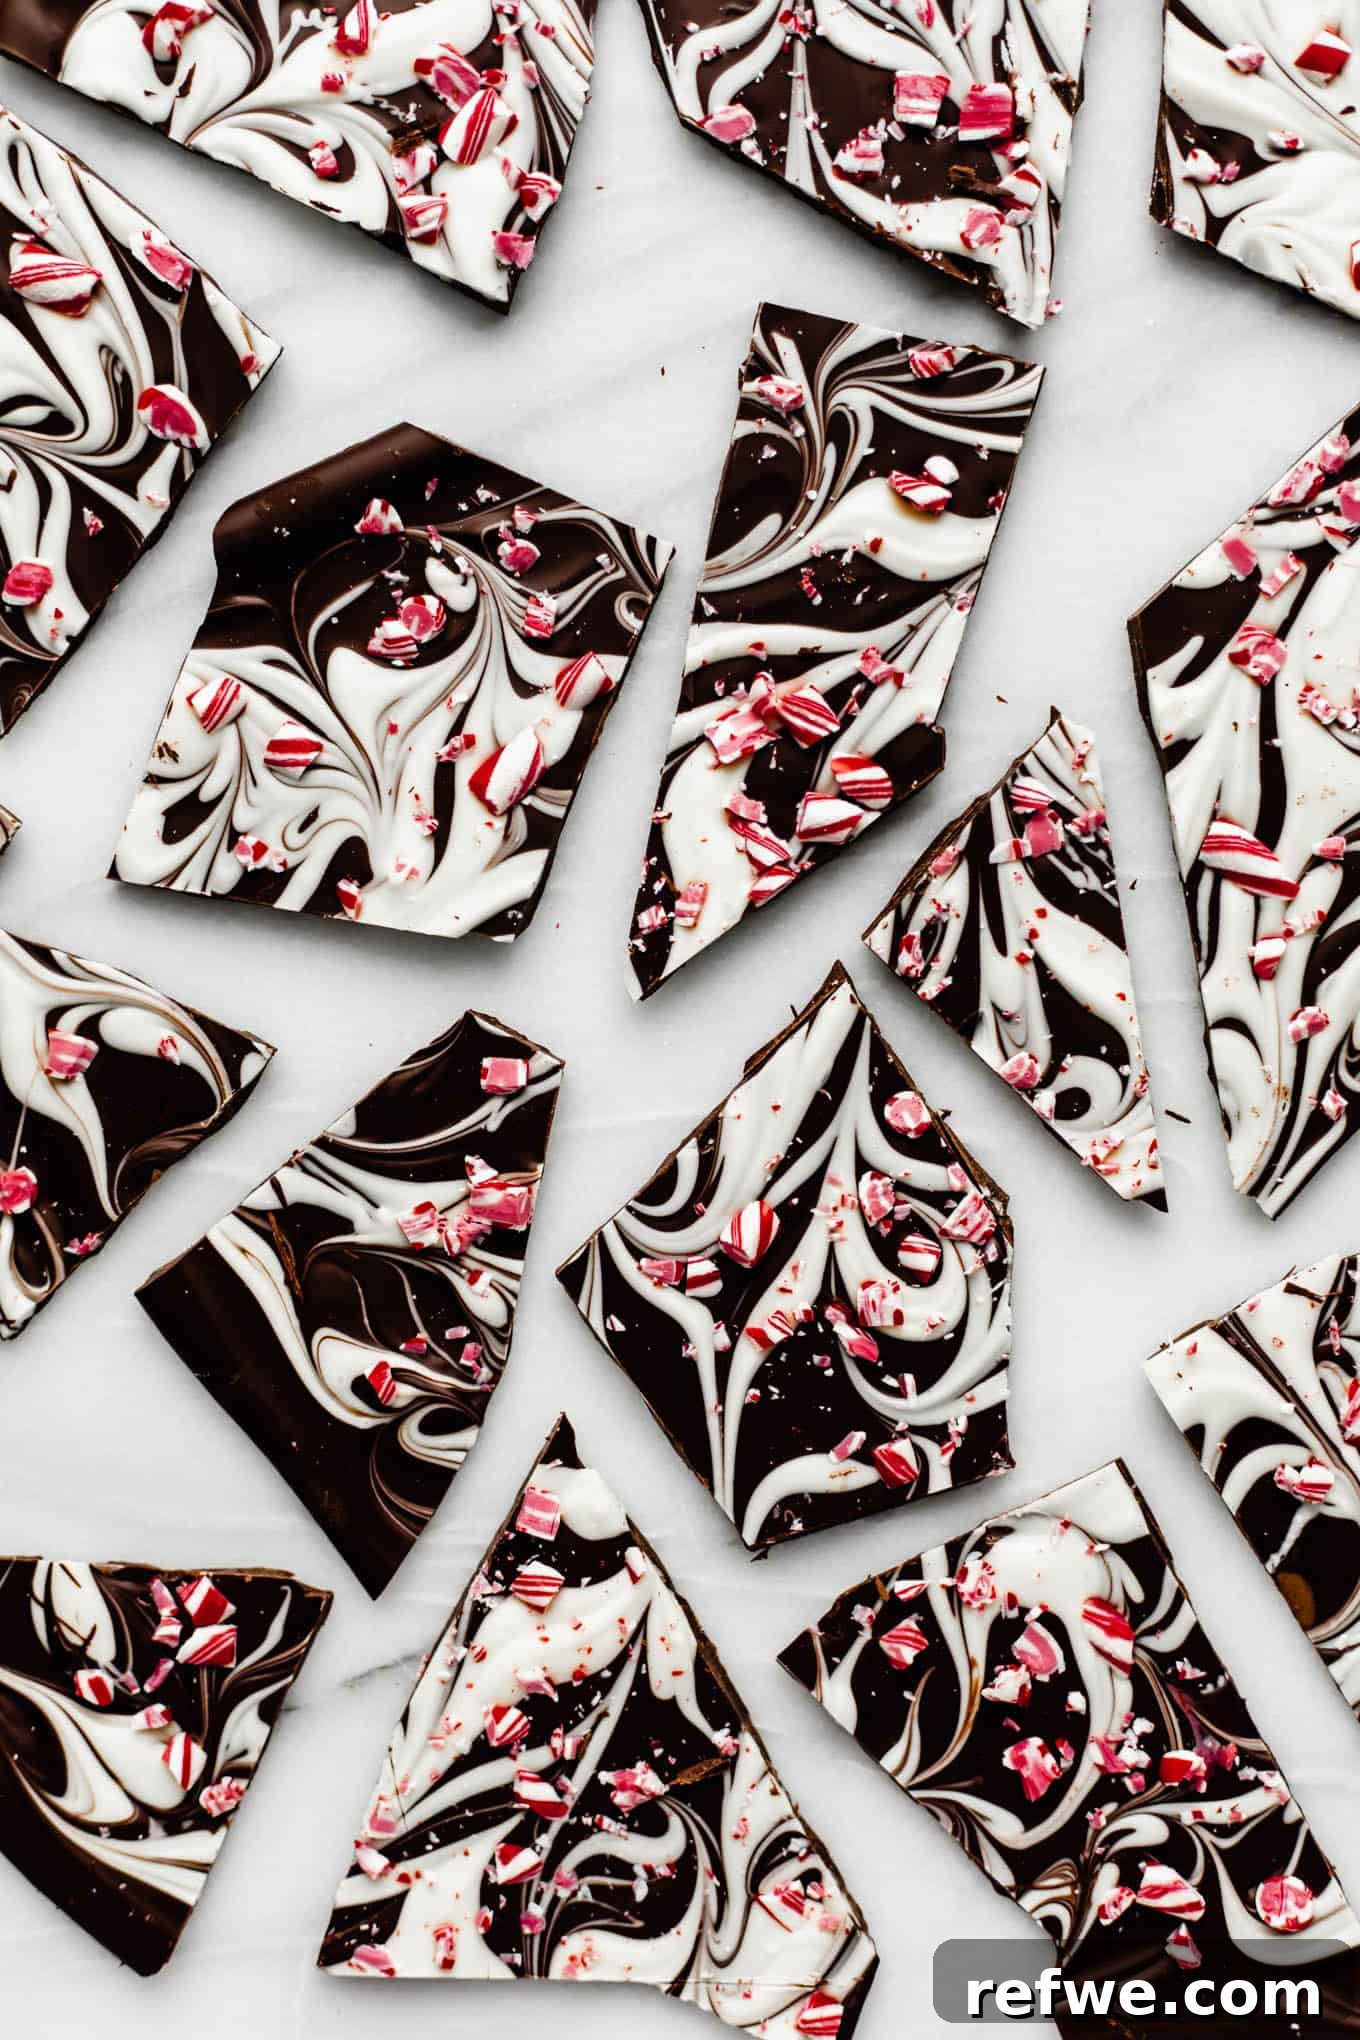
Get ready for your new favorite holiday tradition! This stunning Marbled Peppermint Bark is not only incredibly festive but also unbelievably easy to make. With just three essential ingredients and a mere 15 minutes of active preparation, you can create a crowd-pleasing dessert that’s perfect for holiday parties, thoughtful gifts, or simply a sweet treat for your family.
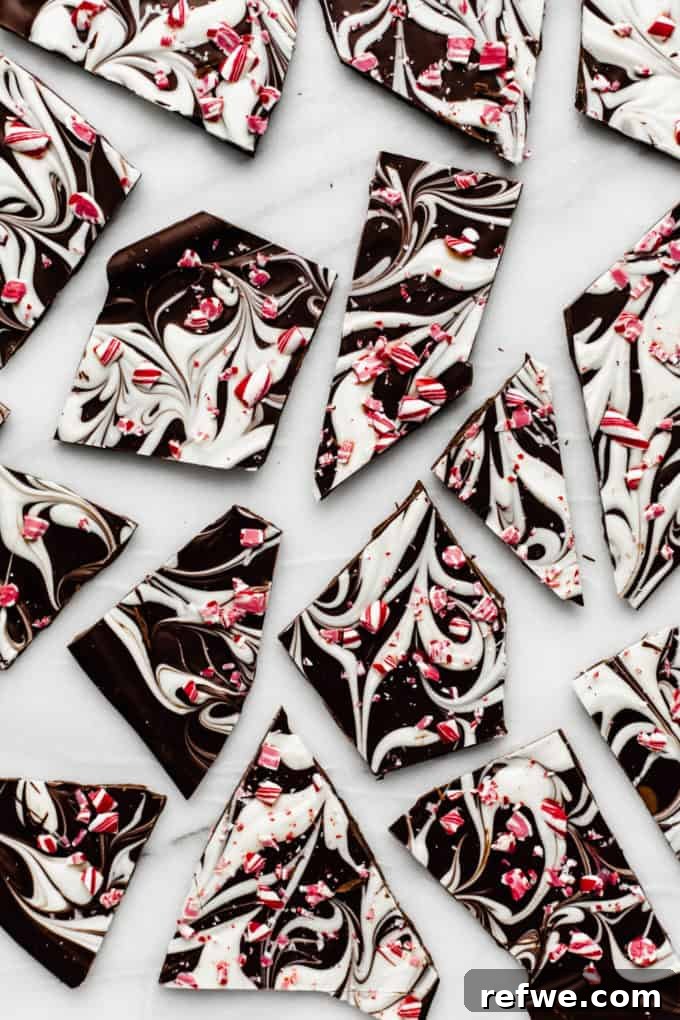
Irresistible Marbled Peppermint Bark: A Holiday Classic
As the holiday season approaches, the air fills with the delightful scents of peppermint and chocolate, signaling the arrival of cherished festive treats. Among these joyous confections, homemade peppermint bark stands out as a true icon. Our recipe elevates this beloved classic with a beautiful marbled effect, combining the rich depth of dark chocolate with the creamy sweetness of white chocolate, all crowned with the vibrant crunch of peppermint candy canes. It’s a symphony of flavors and textures that captures the very essence of Christmas.
This Marbled Peppermint Bark is a testament to simplicity and elegance. Crafted with just three core ingredients, it’s one of the most accessible and rewarding holiday recipes you’ll find. Beyond its delicious taste, its ease of preparation makes it an ideal choice for busy holiday schedules. I particularly enjoy preparing large batches of this peppermint bark, breaking it into charming pieces, and carefully wrapping them to give as heartfelt, homemade gifts to friends, family, and neighbors. It’s a gift that truly spreads holiday cheer!
Why This Marbled Peppermint Bark Will Be Your Favorite Holiday Treat
There are countless reasons to adore this Marbled Peppermint Bark, making it a staple in your holiday baking repertoire:
- Effortlessly Easy to Make: Unlike many complex holiday desserts that demand hours in the kitchen, this peppermint bark recipe is refreshingly simple. In just 15 minutes of hands-on time, you can create an impressive treat that looks like it took hours. It’s the perfect solution for last-minute entertaining or when you crave something sweet without the fuss.
- A Delightful Activity for Kids & Family: Involving children in holiday preparations creates lasting memories, and this recipe is perfectly suited for little helpers. From crushing candy canes to drizzling chocolate and swirling the marbled patterns, kids will love contributing to this fun, edible project. It’s an engaging and delicious way to bond as a family during the festive season.
- The Ultimate Homemade Gift: If you cherish the tradition of giving homemade gifts, this peppermint bark is an absolute winner. Its beautiful appearance and irresistible taste make it a truly special present. Package it in pretty tins, festive bags, or decorative boxes, and watch your loved ones light up with joy. It’s a thoughtful, delicious gesture that everyone appreciates.
- Impressively Beautiful: The swirling patterns of dark and white chocolate, adorned with glittering candy cane pieces, create a visually stunning dessert. It adds an elegant touch to any holiday dessert spread, making it look far more complicated than it actually is.
- Customizable to Your Taste: While this recipe is perfect as is, it’s also wonderfully adaptable. You can easily adjust the types of chocolate or add other festive toppings to suit personal preferences, making it a versatile treat for all palates.
Understanding the Simple Ingredients of Peppermint Bark
The beauty of this classic confection lies in its minimalist approach. At its core, Marbled Peppermint Bark is crafted from just three fundamental ingredients, each playing a crucial role in creating its iconic flavor and texture:
- Dark Chocolate: This forms the rich, deep base layer, providing a wonderfully intense cocoa flavor that beautifully complements the vibrant mint.
- White Chocolate: Offering a creamy, sweet contrast, white chocolate is essential for achieving the elegant marbled effect and contributes a smooth, melt-in-your-mouth texture.
- Peppermint (Crushed Candy Canes): The signature festive crunch and invigorating minty flavor come from finely crushed candy canes, which are sprinkled generously over the chocolate layers.
While this recipe focuses on dark and white chocolate for a sophisticated contrast, the world of peppermint bark is wonderfully diverse. Many recipes feature milk chocolate for a sweeter, milder profile, or even a single layer of white chocolate infused with peppermint extract. The beauty is in its flexibility: feel free to experiment with your favorite type of chocolate to tailor the bark to your personal taste, ensuring a perfectly customized holiday treat.
Choosing Your Peppermint Bark Ingredients for Optimal Flavor
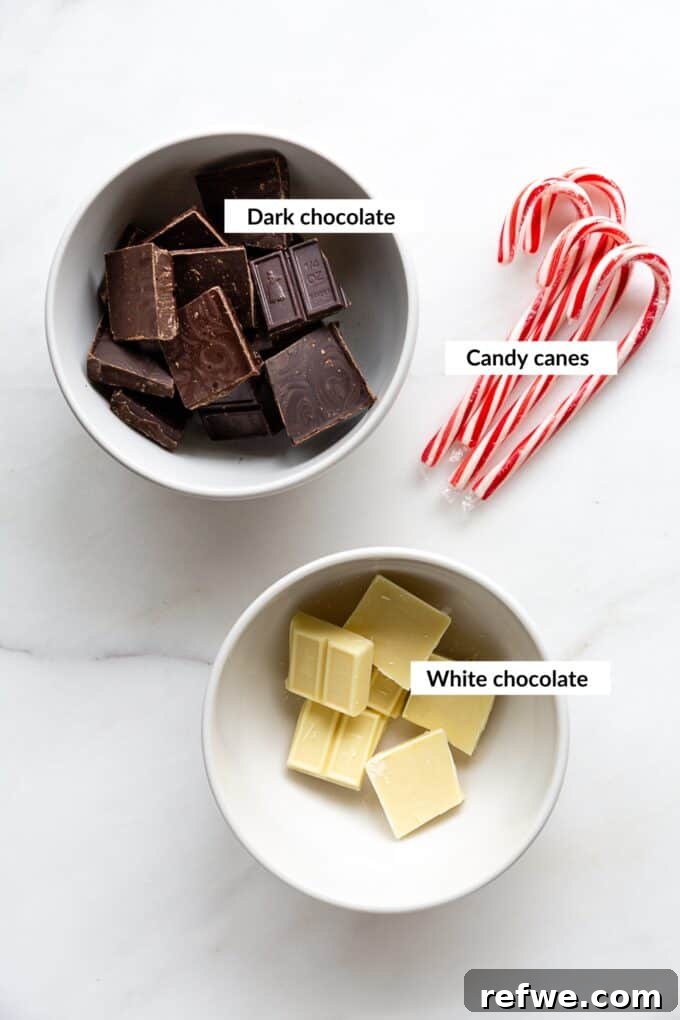
Crafting the perfect Marbled Peppermint Bark starts with selecting high-quality ingredients. Here’s a closer look at what you’ll need and tips for choosing the best:
- Dark Chocolate (70% Cacao Recommended): This is the foundation of our bark, offering a deep, slightly bitter cocoa flavor that provides a sophisticated counterpoint to the sweet white chocolate and peppermint. I recommend using a good quality 70% dark chocolate for a rich, intense profile that isn’t overly sweet. You can use chocolate bars chopped into small pieces or high-quality dark chocolate chips. Look for brands known for their smooth melting properties.
- White Chocolate: White chocolate delivers a creamy, sweet, and vanilla-infused layer that is crucial for the marbled effect. Choose a good quality white chocolate bar or chips that are made with real cocoa butter, not just vegetable fats. This ensures a smoother melt and a superior flavor. Avoid “white confectionery coating” if possible, as it doesn’t melt as smoothly and often lacks the rich taste.
- Peppermint Candy Canes: The quintessential topping for peppermint bark! Crushed candy canes provide both a vibrant peppermint flavor and a delightful crunchy texture. You’ll want standard peppermint-flavored candy canes, whether they are classic red and white stripes or include green. For best results, crush them finely but leave some larger pieces for visual appeal and textural variety. You can place them in a zip-top bag and gently crush them with a rolling pin or the back of a sturdy pan.
*For precise measurements and full step-by-step instructions, please refer to the detailed recipe card below.
How to Make Marbled Peppermint Bark: A Step-by-Step Guide
Creating this beautiful and delicious marbled peppermint bark is surprisingly simple. Follow these steps for a perfect holiday treat every time:
Step 1: Melt the Chocolates
Begin by preparing your chocolates. You’ll need to melt the white chocolate and dark chocolate in two separate bowls. The key is to melt them gently to prevent scorching and ensure a smooth, workable consistency. You have two excellent methods for this:
- Double-Boiler Method: This is a classic and gentle way to melt chocolate. Place a heat-proof bowl over a saucepan filled with about an inch or two of simmering water, ensuring the bottom of the bowl does not touch the water. The steam will gently heat the bowl, melting the chocolate evenly. Stir frequently until smooth and fully melted.
- Microwave Method: For a quicker approach, place chopped chocolate or chips in a microwave-safe bowl. Heat in 30-second intervals, stirring thoroughly after each interval. Continue until the chocolate is about 85% melted, then remove from the microwave and stir continuously with a spatula until the residual heat melts the remaining solid pieces, creating a perfectly smooth consistency. This prevents overheating.
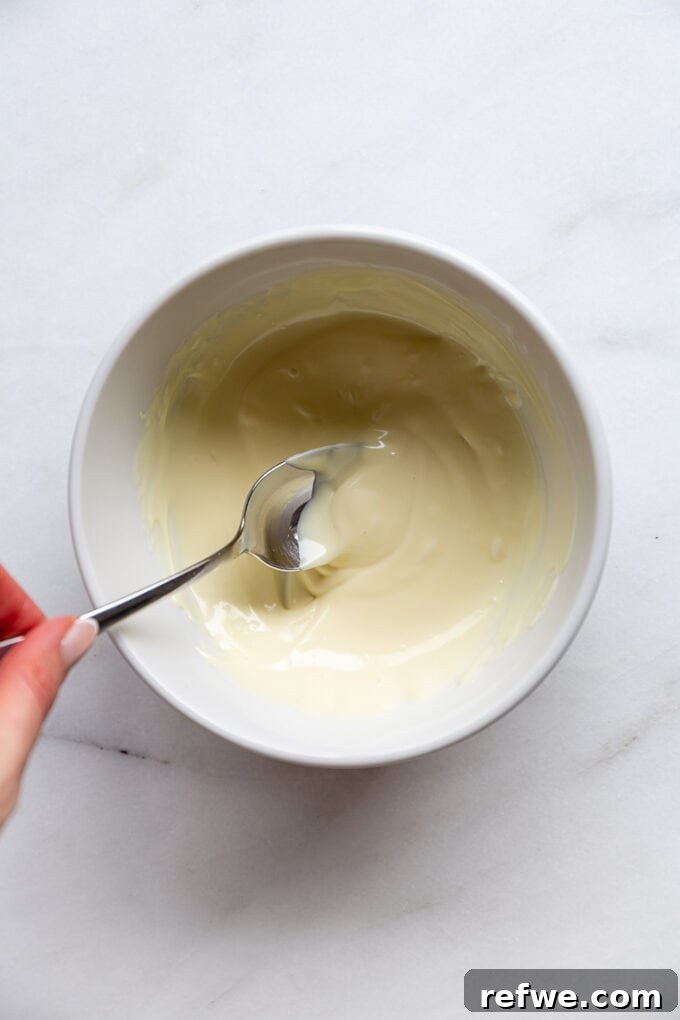
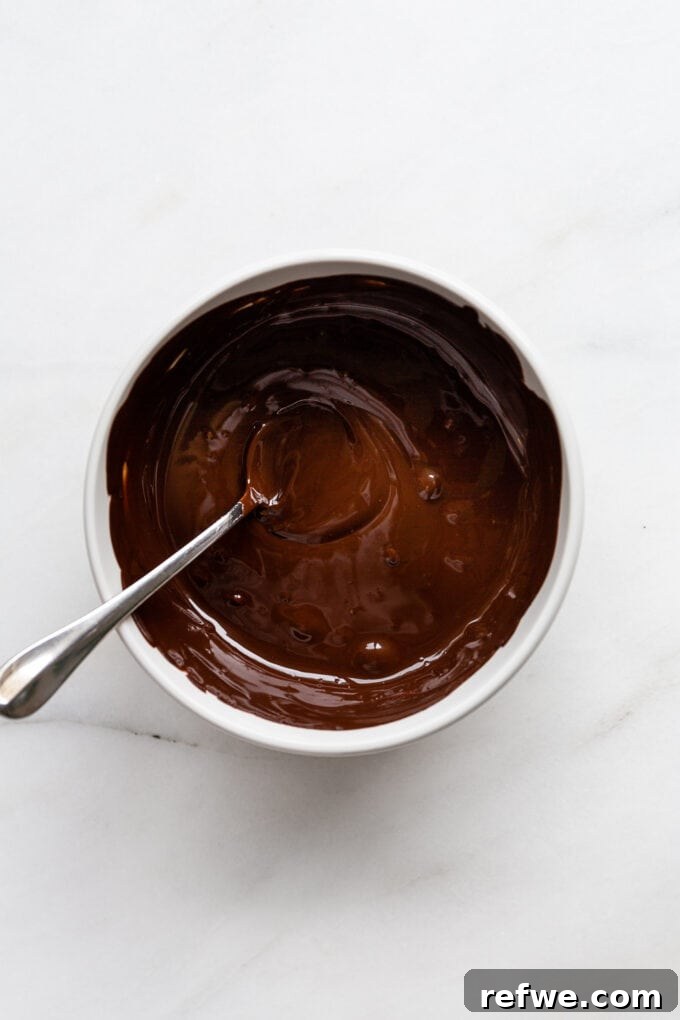
Step 2: Create the Base Layer
Prepare a large baking sheet by lining it with either parchment paper or a silicone baking mat. This crucial step prevents the chocolate from sticking and makes for easy removal once set. Once your dark chocolate is perfectly melted and smooth, pour it onto the prepared baking sheet. Use an offset spatula or the back of a spoon to spread the dark chocolate evenly into a large rectangle, aiming for a thickness of about 1/4 inch. Work relatively quickly, as chocolate can begin to set as it cools. Next, take spoonfuls of the melted white chocolate and gently dollop them randomly over the spread dark chocolate layer.
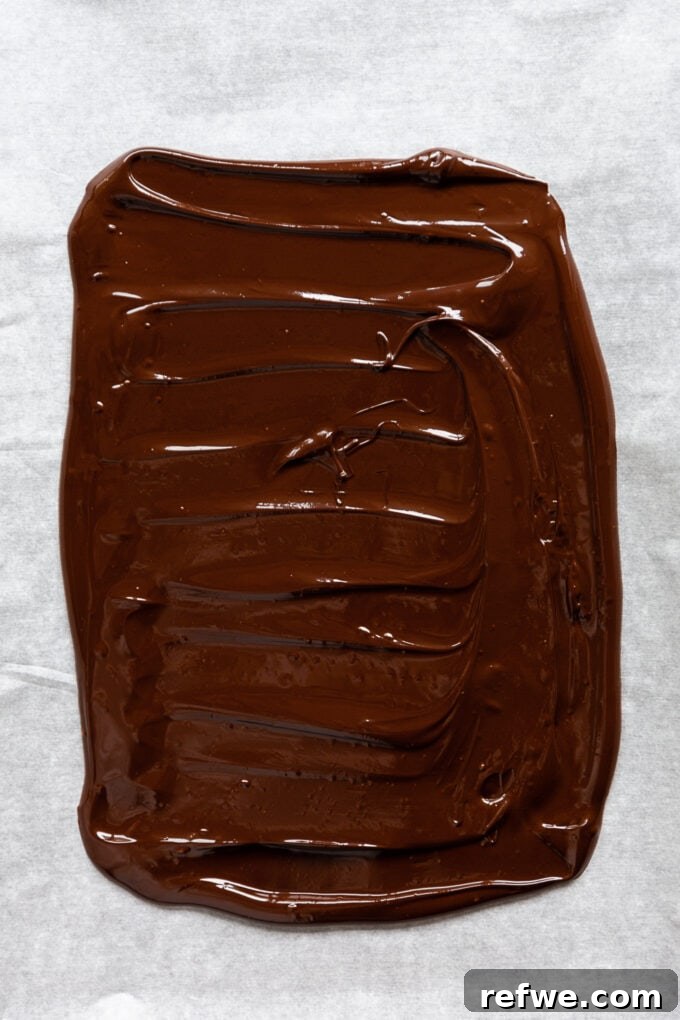
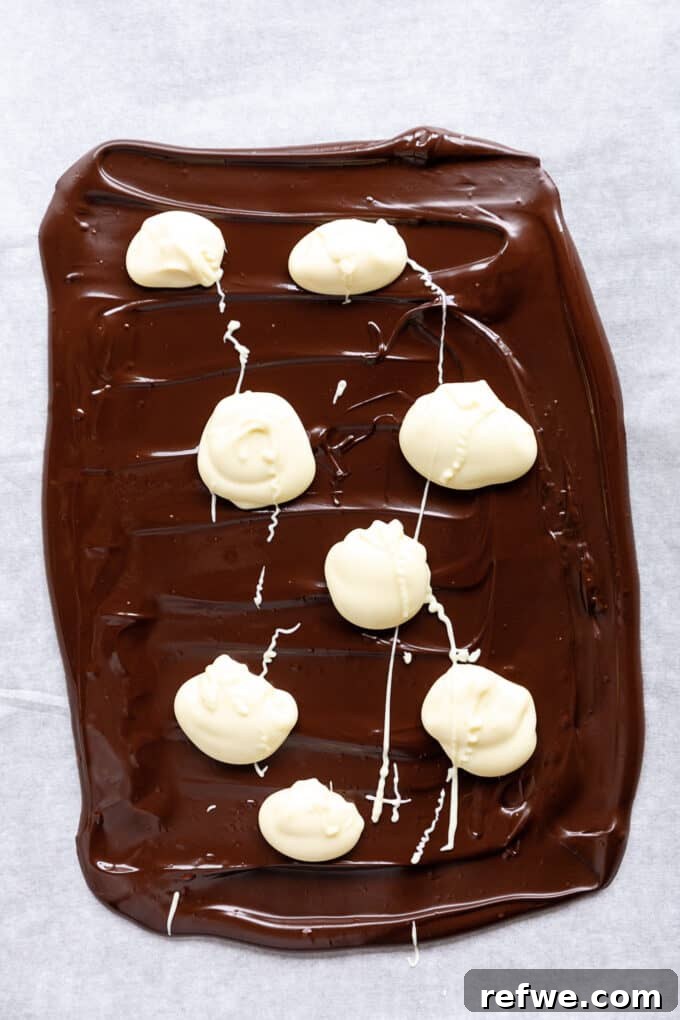
Step 3: Achieve the Marble Effect & Add Topping
Now for the fun part that gives this bark its signature look! Take a knife, a chopstick, a skewer, or even a toothpick, and gently swirl the dollops of white chocolate into the dark chocolate. Create elegant, flowing patterns, but avoid over-mixing, as you want distinct swirls rather than a muddy blend. Once you’re happy with your marbled design, immediately sprinkle the crushed candy canes generously over the entire surface of the still-wet chocolate. Press them down ever so slightly to ensure they adhere well.
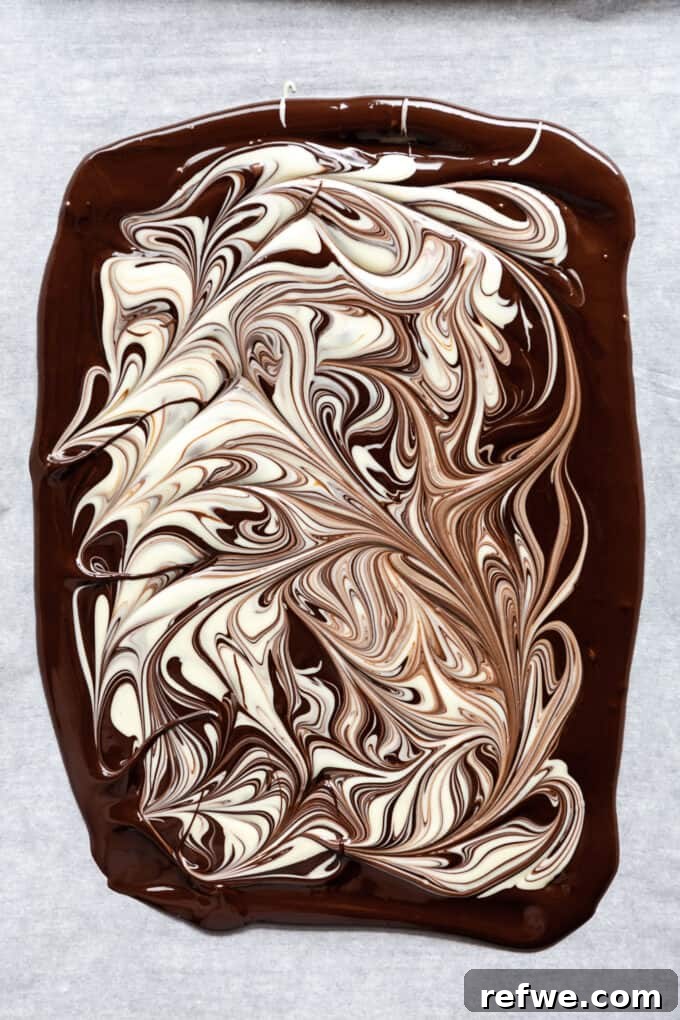
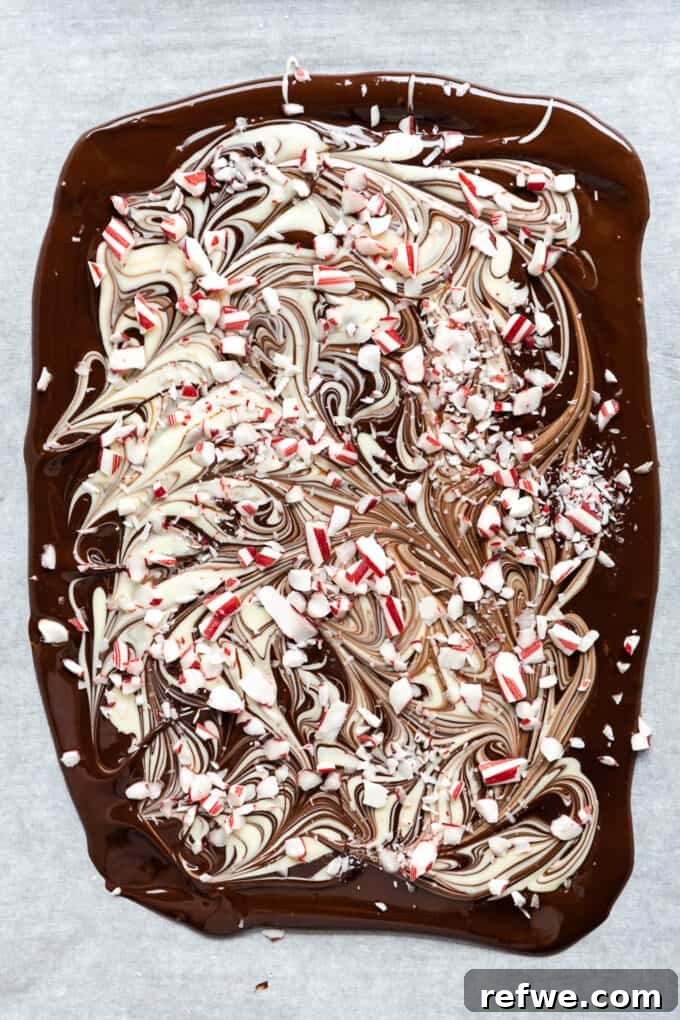
Step 4: Chill and Break
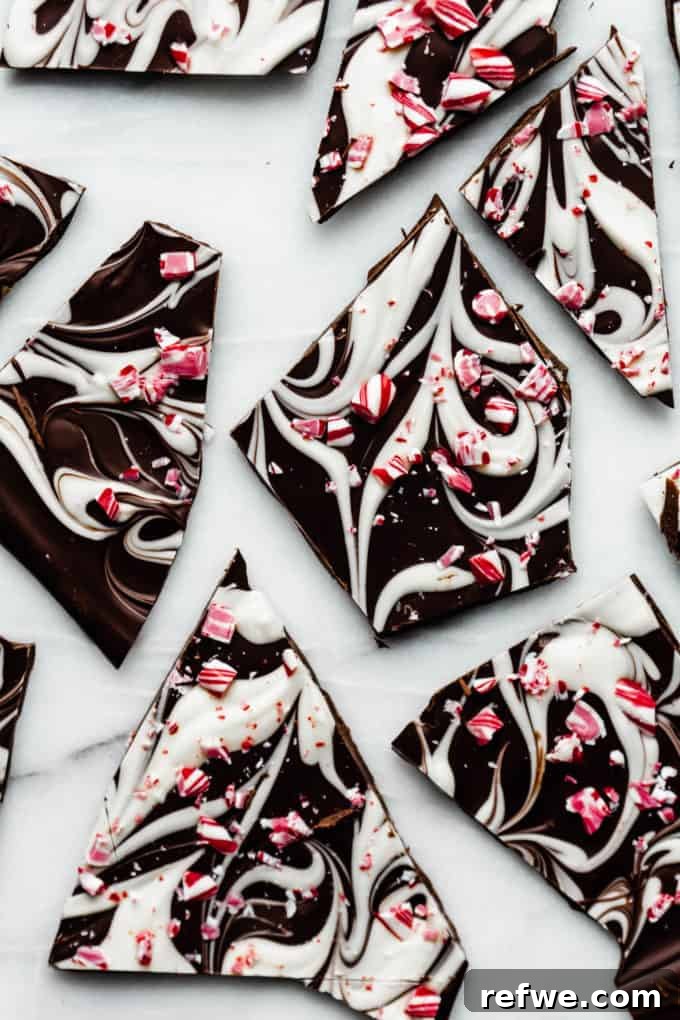
Carefully transfer the baking sheet with your freshly swirled and topped peppermint bark to the refrigerator. Allow it to chill and set completely for at least 1 hour, or until the chocolate is firm and snaps cleanly when broken. Once fully set, remove the bark from the fridge. Gently peel it off the parchment paper or silicone mat. You can then break the bark into irregular, rustic pieces using your hands, or use a sharp knife to cut it into more uniform squares or rectangles. The satisfying “snap” as it breaks is a sign of perfectly set chocolate!


How to Properly Store Your Marbled Peppermint Bark
Proper storage is key to keeping your homemade peppermint bark fresh, crisp, and delicious throughout the holiday season. You have several excellent options, depending on how long you plan to store it:
Countertop Storage: Once your peppermint bark is completely set and broken into pieces, transfer it to an airtight container. To prevent the pieces from sticking together, especially if stacking, place a sheet of parchment paper or wax paper between each layer. Stored at room temperature in a cool, dry place, away from direct sunlight and heat, your bark will remain delightful for up to two weeks. While convenient, the counter offers the least protection against “chocolate bloom” (a harmless but visually unappealing cloudy, grainy appearance caused by temperature fluctuations).
Refrigerator Storage: If your home tends to be warmer, or if you simply prefer a firmer, snappier texture, storing your bark in the refrigerator is an excellent choice. Place the broken pieces in an airtight container, again using parchment paper between layers if stacking. The colder temperature helps maintain its firmness and prevents softening. Before serving, allow the chocolate to sit at room temperature for 3-5 minutes for optimal flavor and texture, letting it slightly soften for the best melt-in-your-mouth experience.
Freezer Storage: For long-term preservation, the freezer is your best friend. Tightly wrap individual pieces or stacks of bark in plastic wrap, then place them inside a freezer-safe zip-top bag or an airtight container. This double layer of protection helps prevent freezer burn and keeps unwanted odors out. Properly stored, peppermint bark can last in the freezer for up to 3 months. When you’re ready to enjoy it, simply remove the desired amount from the freezer and let it thaw on the countertop for 5-10 minutes before eating. It will taste as fresh as the day it was made!
Expert Tips for Perfectly Marbled Peppermint Bark
Achieving a professional-looking and tasting peppermint bark is easier than you think with these expert tips:
- Invest in High-Quality Chocolate: This is perhaps the most crucial tip. The flavor of your bark is only as good as the chocolate you use. Opt for good quality chocolate bars (chopped) or high-grade chocolate chips. I highly recommend using 70% dark chocolate and white chocolate made with real cocoa butter for the best flavor, texture, and melting consistency.
- Consider Tempering Your Chocolate: While not strictly necessary for delicious bark, tempering chocolate is the process of precisely heating and cooling it to stabilize its crystal structure. This gives the chocolate that coveted shiny, glossy finish and a satisfying “snap” when you break it, while also preventing bloom. If you’re new to tempering, don’t fret; even untempered chocolate will taste amazing, but for that extra touch of professionalism, it’s a technique worth exploring.
- Ensure Even Melting: Whether using a double boiler or microwave, melt your chocolates gently and thoroughly. Overheated chocolate can become grainy or seize. For microwave melting, stir frequently in short bursts. For a double boiler, ensure no water or steam gets into the chocolate, as even a tiny drop can cause it to seize.
- Cool Completely for the Perfect Snap: Patience is a virtue when making bark. Allow your chocolate to cool and set completely in the refrigerator (or a very cool room) before attempting to break or cut it. Rushing this step can result in soft, sticky, or crumbling pieces rather than crisp, clean breaks.
- Add Toppings While Chocolate is Wet: Once you’ve swirled your chocolates, don’t delay in sprinkling your crushed candy canes (or any other desired toppings). The chocolate needs to be sufficiently wet and tacky for the toppings to adhere properly. If the chocolate starts to set, they won’t stick.
- Achieve the Perfect Marble Swirl: For the most visually appealing marble effect, aim for 3-5 gentle swirls through the chocolate. Over-swirling can blend the colors too much, leading to a less distinct and muddier appearance. You want visible streaks and swirls of both dark and white chocolate.
- Crush Candy Canes to Varying Sizes: A mix of finely crushed peppermint powder and slightly larger chunks of candy cane adds both visual interest and a more dynamic crunch to each bite. Place candy canes in a sturdy zip-top bag and use a rolling pin or meat mallet.
- Line Your Baking Sheet Properly: Always use parchment paper or a silicone baking mat. This prevents the chocolate from sticking, ensures easy removal, and keeps your baking sheet clean.
Frequently Asked Questions About Peppermint Bark
While chocolate has a long shelf life, homemade peppermint bark can eventually “go bad” in terms of quality. The crushed candy canes can become stale, losing their crispness and flavor. The chocolate itself can also develop “bloom” (a harmless, cloudy, or grainy white film) after a week or two, especially if stored on the counter in fluctuating temperatures. While still safe to eat, it won’t have the ideal texture or appearance. To prevent this, temper your chocolate if possible, and store it correctly in an airtight container.
Peppermint bark tastes like the quintessential combination of mint and chocolate – a truly festive flavor profile! Our Marbled Peppermint Bark, in particular, offers a delightful interplay of tastes and textures: the deep richness of dark chocolate, the smooth creaminess of white chocolate, and the refreshing, crunchy burst of peppermint from the candy canes. It’s a harmonious balance of sweet, rich, and minty notes that is incredibly satisfying.
No, peppermint bark does not strictly need to be refrigerated. It will keep well in an airtight container on the countertop in a cool, dry place for up to two weeks. However, if your home is warm, or if you prefer a firmer, snappier texture, storing it in the fridge can be beneficial. Just remember to let it sit at room temperature for a few minutes before eating for the best flavor release.
For the best possible taste and texture in your peppermint bark, it’s crucial to use good quality chocolate. I highly recommend using a 70% dark chocolate or semi-sweet chocolate for the base. This provides a wonderfully rich and slightly bitter contrast to the sweet white chocolate and the sugary candy canes, creating a balanced and complex flavor profile. Quality chocolate melts smoother and tastes superior.
The best candy canes for peppermint bark are good old-fashioned peppermint-flavored ones. You can use the traditional red and white striped candy canes for a classic look, or if you want to add a bit more festive color, candy canes with red, green, and white stripes work wonderfully too. Just ensure they are peppermint-flavored for that signature minty kick.
Absolutely! While our recipe features dark and white chocolate for a beautiful contrast, feel free to get creative. You can use milk chocolate for a sweeter bark, or even a combination of all three. Experiment with your favorite chocolate varieties to customize the flavor profile to your liking.
Yes, if you desire an extra intense peppermint flavor, you can add a few drops of pure peppermint extract to the white chocolate (or even the dark chocolate if preferred). Start with 1/4 teaspoon and add more to taste, ensuring it’s a high-quality, oil-based extract that won’t seize the chocolate. Stir it in thoroughly before spreading.
While crushed candy canes are traditional, you can certainly experiment with other festive toppings! Consider adding sprinkles, chopped nuts (like pecans or walnuts), mini chocolate chips, a drizzle of caramel, or even a sprinkle of sea salt to enhance the flavors. Just make sure to add them while the chocolate is still wet.
Expand Your Holiday Delights: More Peppermint Recipes to Explore!
If you’ve fallen in love with the festive flavor of peppermint in this bark, you’ll be thrilled to explore these other delightful peppermint-infused recipes:
- Vegan Mocha Peppermint Donuts: A perfect blend of coffee, chocolate, and mint in a delicious donut form.
- Creamy Peppermint Hot Chocolate: The ultimate comforting drink to warm you up on a chilly winter evening.
- Rich Chocolate Peppermint Pudding: A silky smooth dessert combining the best of both worlds.
If you tried this Marbled Peppermint Bark or any other festive recipe on the blog, we would love to hear from you! Please let us know how you liked it by leaving a comment and rating below. Your feedback helps other home cooks discover delicious new treats. Be sure to follow along on Pinterest, Instagram, and Facebook for even more delicious recipes, holiday inspiration, and behind-the-scenes glimpses!

Marbled Peppermint Bark
Author: Jessica Hoffman
Prep Time: 15 minutes
Cook Time: 0 minutes
Total Time: 15 minutes
Yield: 20 servings
Category: Dessert
Method: Melt
Cuisine: American
Diet: Gluten Free
Description
This Marbled Peppermint Bark, made with just 3 simple ingredients, is the ultimate quick and festive holiday treat!
Ingredients
- 12 oz (340g) 70% dark chocolate, chopped
- 6 oz (170g) white chocolate, chopped
- 2 large candy canes, crushed
Instructions
- Melt the dark chocolate and white chocolate separately. Use a double boiler method for gentle melting or microwave in 30-second intervals, stirring after each, until 85% melted then stir to finish.
- Line a large baking sheet with parchment paper or a silicone mat.
- Pour the melted dark chocolate onto the lined pan, spreading it evenly into a large rectangle, about 1/4 inch thick.
- Next, carefully add dollops of the melted white chocolate evenly on top of the dark chocolate layer using a spoon.
- Using a knife, chopstick, or skewer, gently swirl the white chocolate into the dark chocolate to create a marbled effect.
- Immediately sprinkle generously with the crushed candy canes, gently pressing them into the chocolate.
- Transfer the baking sheet to the refrigerator and chill for at least 1 hour, or until the chocolate is completely set and firm.
- Once set, remove from the fridge and break into irregular pieces using your hands, or cut into desired shapes with a sharp knife.
Notes
Always use high-quality chocolate for the best flavor and melting consistency.
Store your finished peppermint bark in an airtight container on the countertop in a cool, dry place for up to two weeks, or in the refrigerator for a firmer texture.
Nutrition
- Serving Size: 1 piece
- Calories: 143
- Sugar: 15g
- Fat: 8g
- Saturated Fat: 5g
- Carbohydrates: 17g
- Fiber: 1g
- Protein: 2g